Building a Light Bridge
This was a relatively quick project. I’ve been relying on a small desk lamp for lighting. It’s done a decent enough job, but for my use cases I really need as much light as I can get and that just wasn’t cutting it.
I’d come across a picture of an LED light bridge ages ago, and not only did it look really cool, but it also seemed like the perfect solution to my problem.
I ended up using this model, which came in three size variants depending on the length of the LED light strip you would be using. In my case, that meant the 140cm variant, which roughly fits the PAUTIX 6.56ft LED strip I picked out.
Printing the whole thing was not nearly as time consuming as I expected. There were two bases, a small middle piece, and twenty standard segments. I printed these in white Voxel PETG.
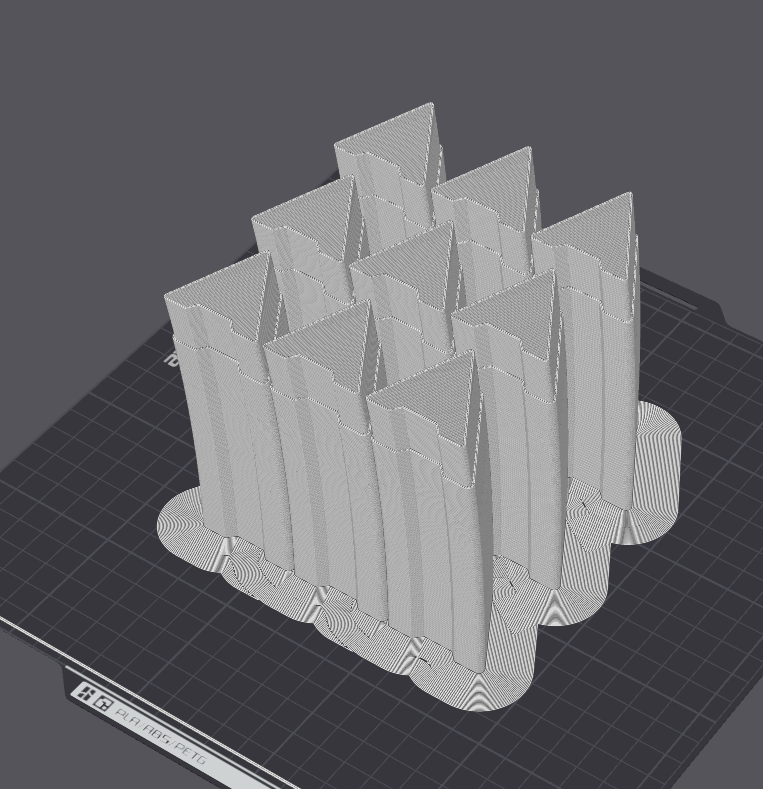
The way that they were designed meant they could be grouped many to a bed at one time, allowing me to knock out the entire print in four plates and about 16 total hours of printing.
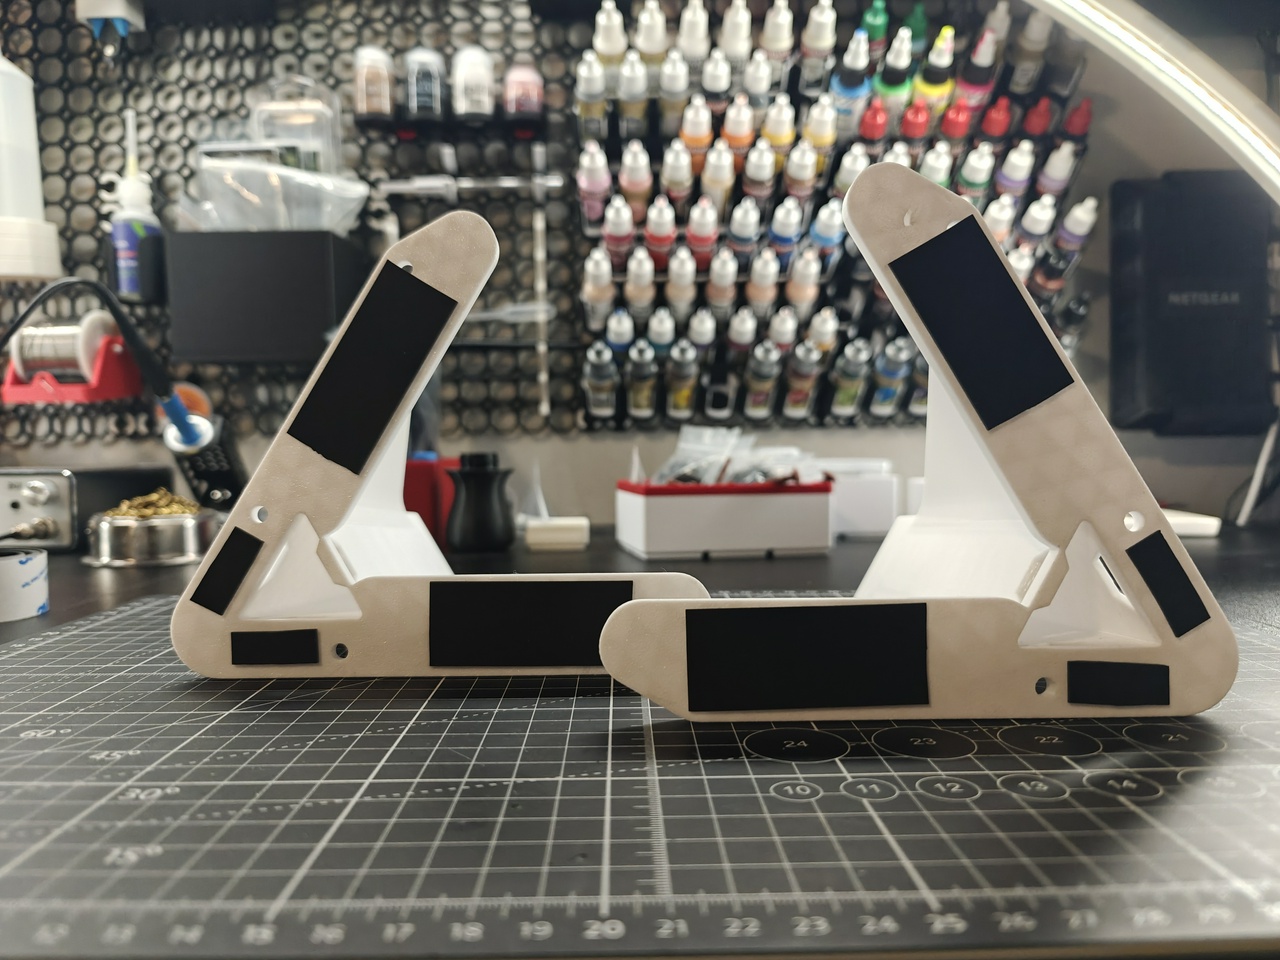
When all was said and done, it was as easy as slotting the segments together; ten segments on either side of the center piece, and then slotting the outer segments into the bases.
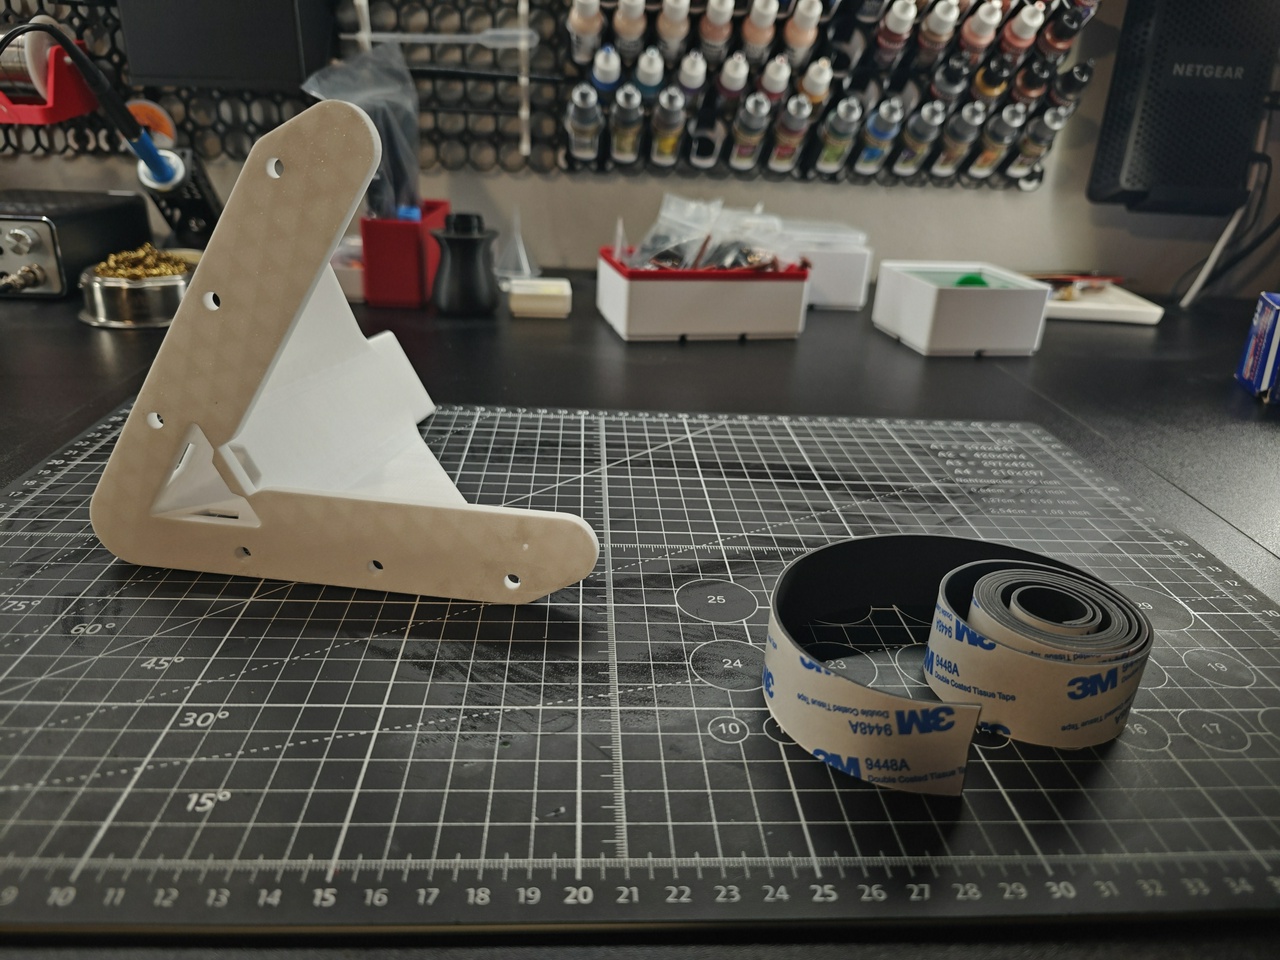
As you can see from the bases, they were clearly designed with screws in mind. I didn’t like the idea of screwing the light bridge down to my desk (what if I wanted to take it off the desk and not have screw holes, or what if I needed to move it over slightly to create more space on either side of the light bridge?). I decided it made more sense to put some rubber feet on it.
After cutting some self-adhesive rubber strips and placing them on the bottom of the feet, it was time to put everything together and install the LED strip.
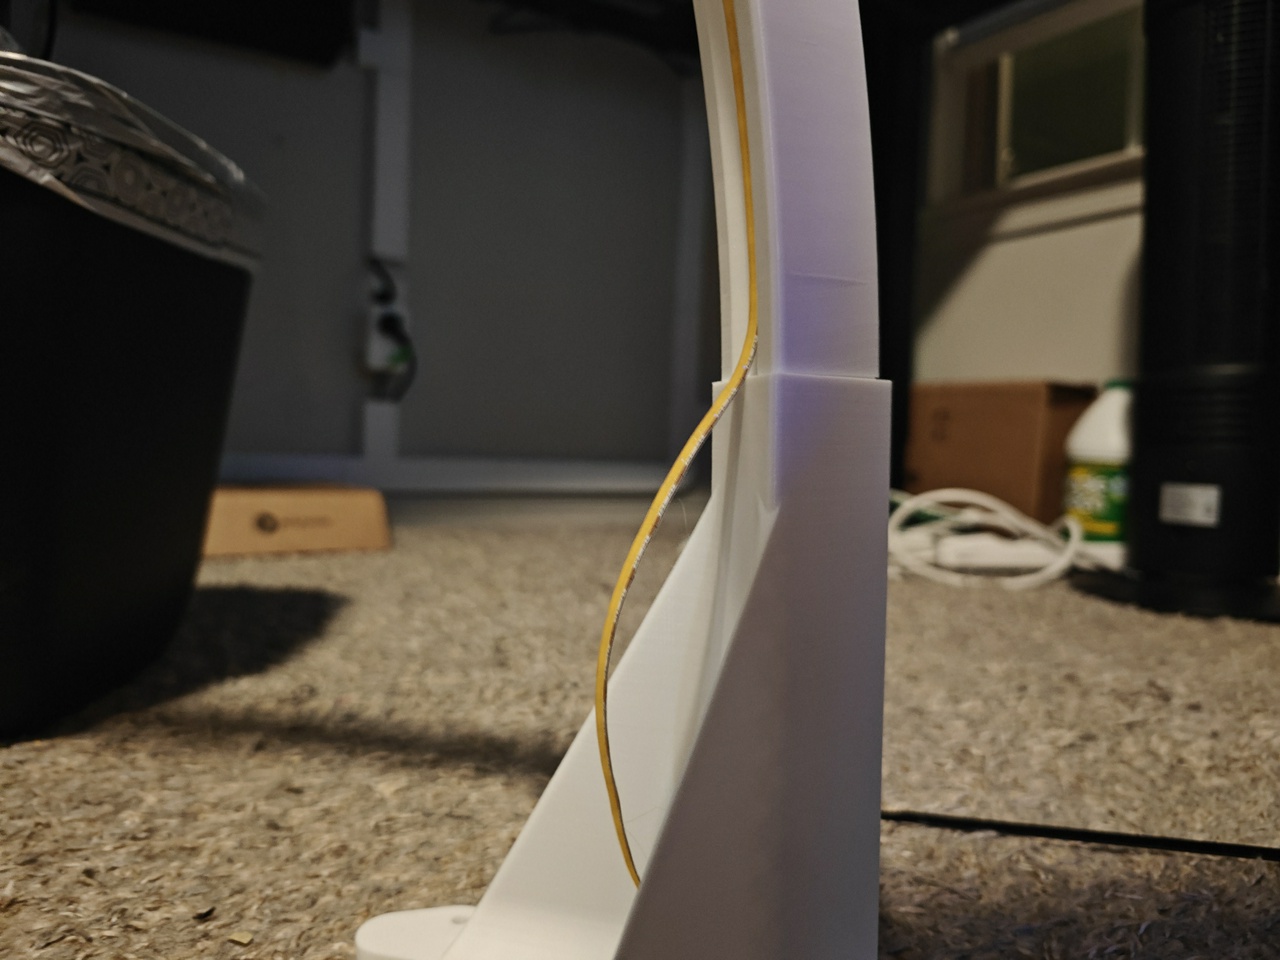
Like the rubber feet, the LED strip was self-adhesive. I used a few cable ties to strap it to the length of the light bridge before lining the whole thing up. Since it’s pretty big, it made more sense to me to do it this way than just sticking the whole strip on there from end to end. While I could put one end on and roll it along, since the whole thing is so big the other end of the strip could end up slightly out of alignment and out of the groove, and if I corrected this too many times the adhesive would naturally get weaker.
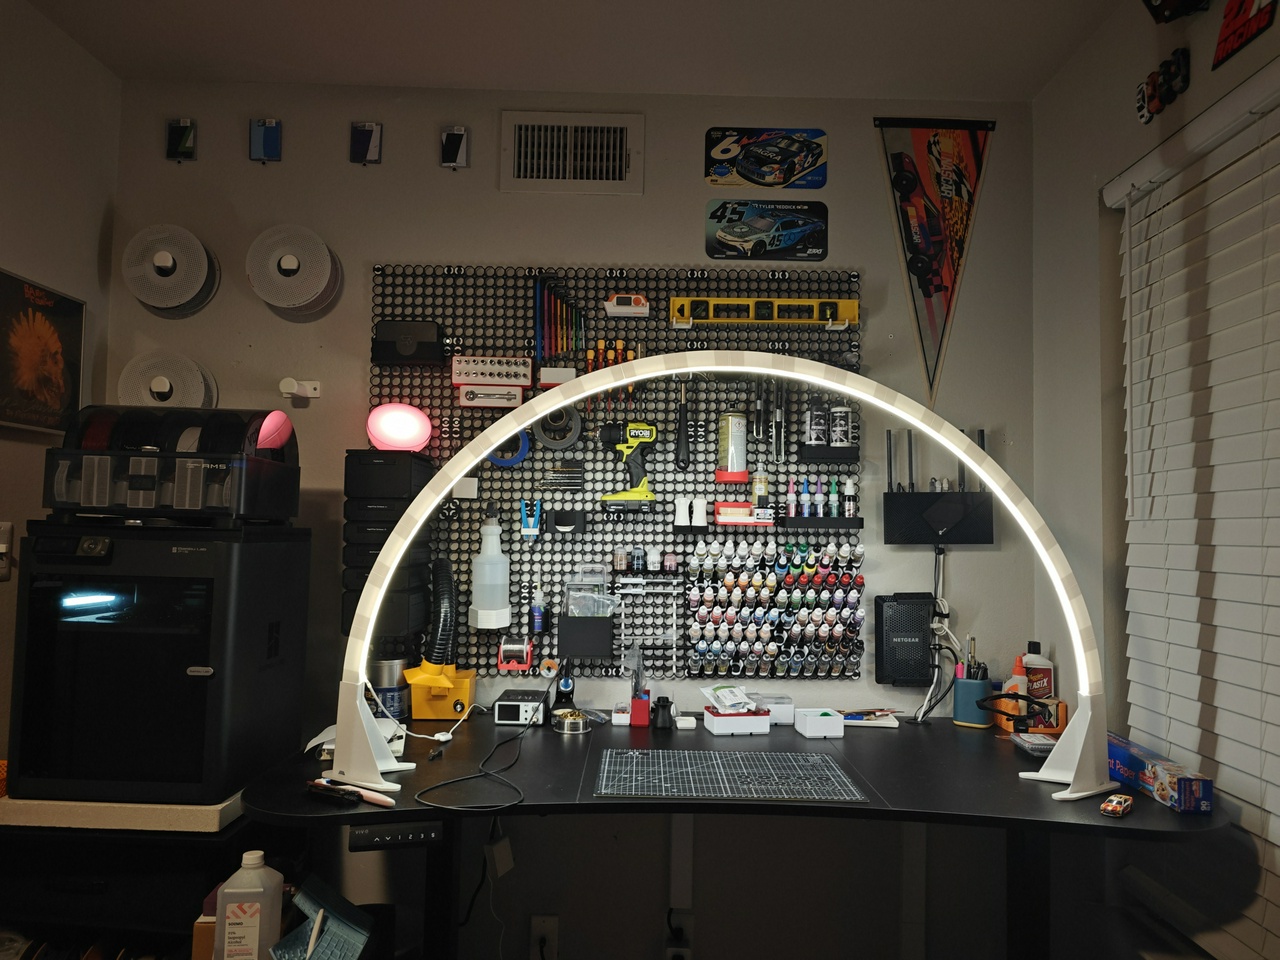
The end result was a bright, cool-looking LED light bridge. I’ve used it to paint a couple of figures and work on a couple of small projects since and have found it to be a massive improvement over a simple lamp. The rubber feet work very well, and this thing does not budge unless I choose to move it. If I were to re-attempt this, I might use a filament with a metallic finish for the segments and something grittier for the bases, but I’m pretty happy with how this turned out.