Drawer Full of Screws
I had some obscene levels of clutter that needed to be dealt with in my office. Mainly stray screws, electrical components, and other random stuff. A lot of them inevitably found their way into this set of drawers.
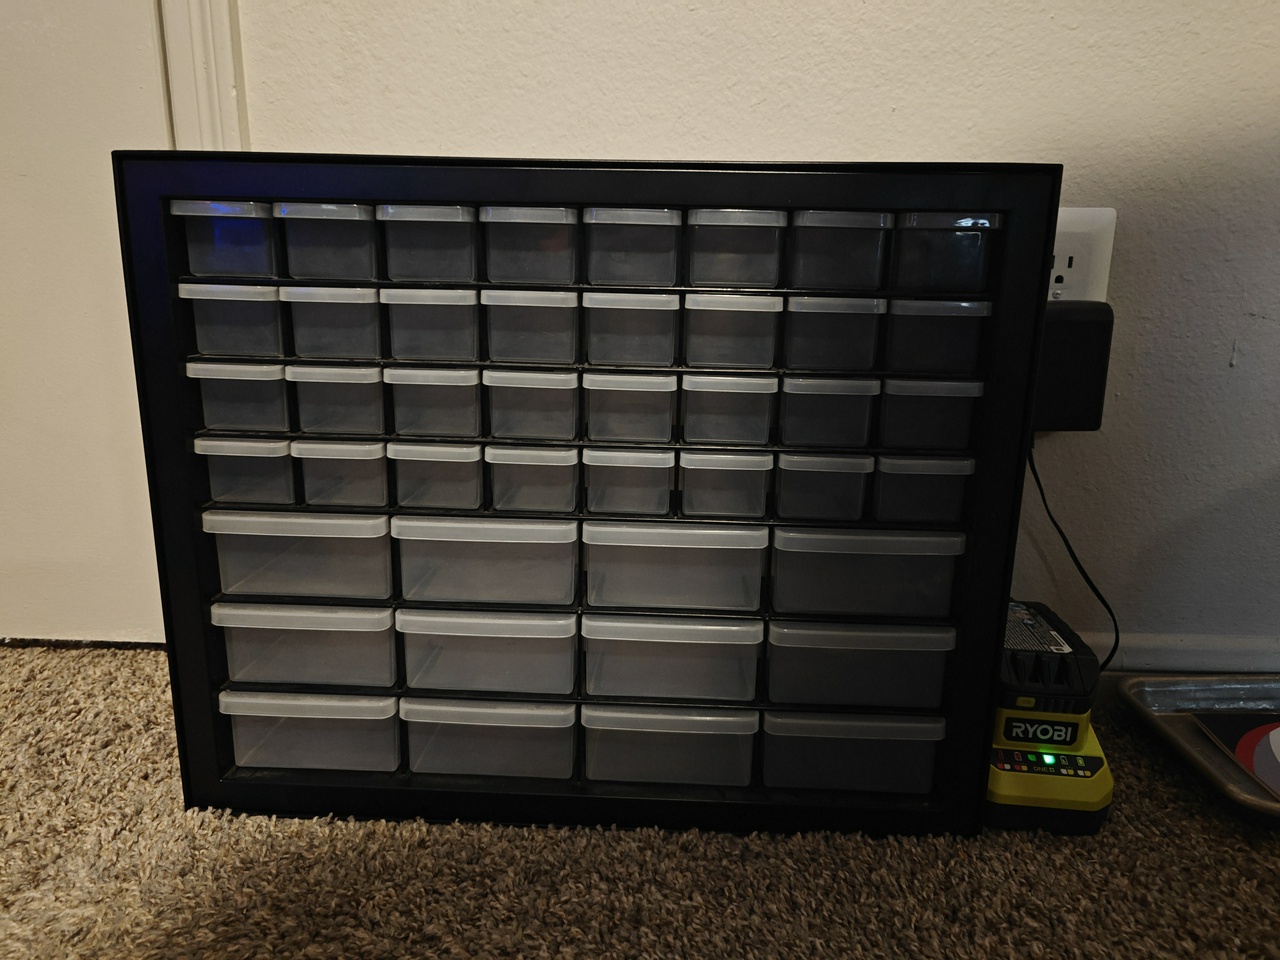
They used to be sitting on top of my desk before I put up the Multiboard setup, but now I didn’t really have a place for them so they’ve just been sitting in the floor away from everything waiting to get emptied. I figured now was as good a time as any to take care of that.
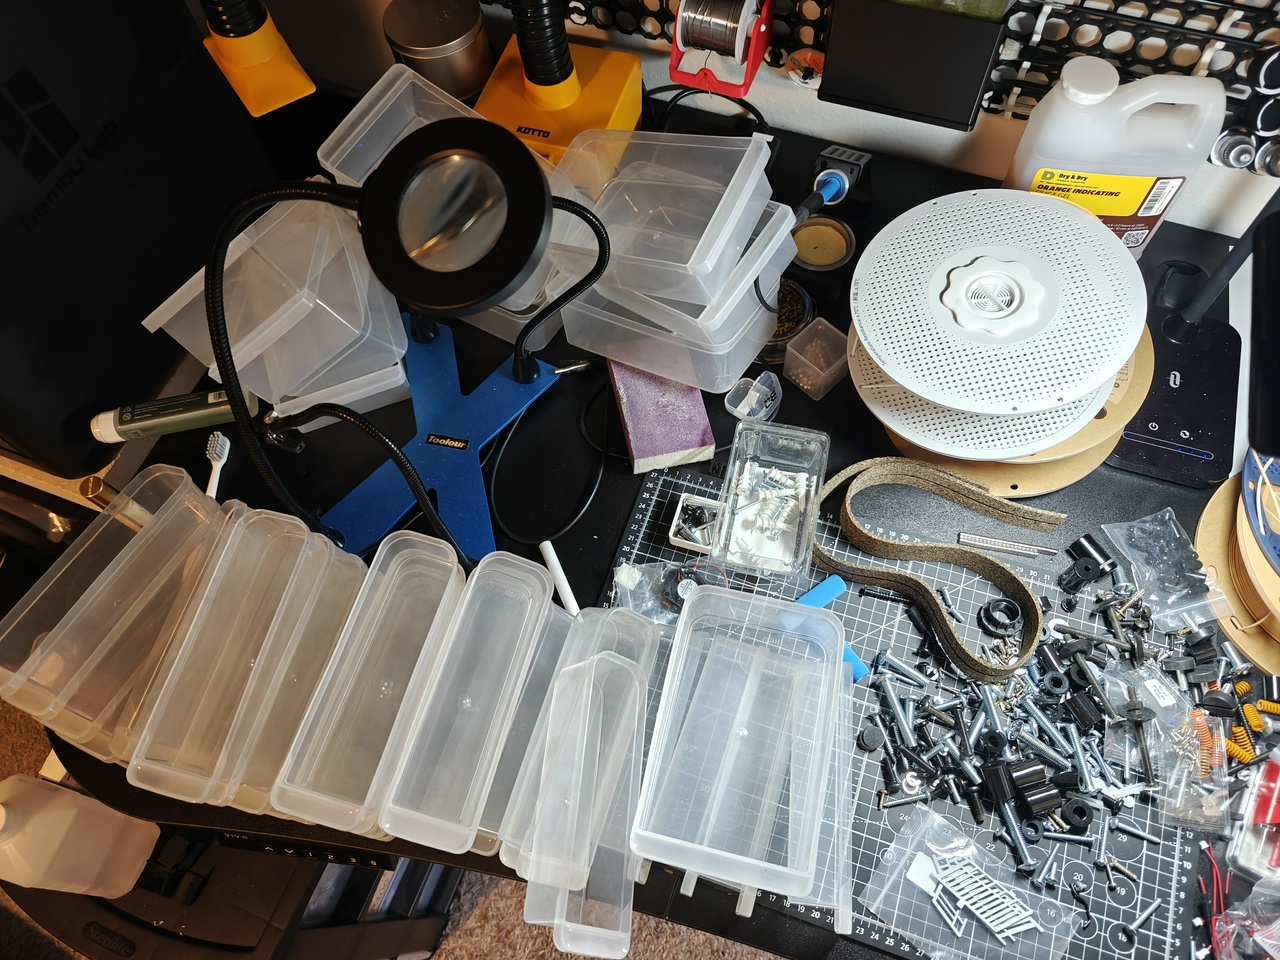
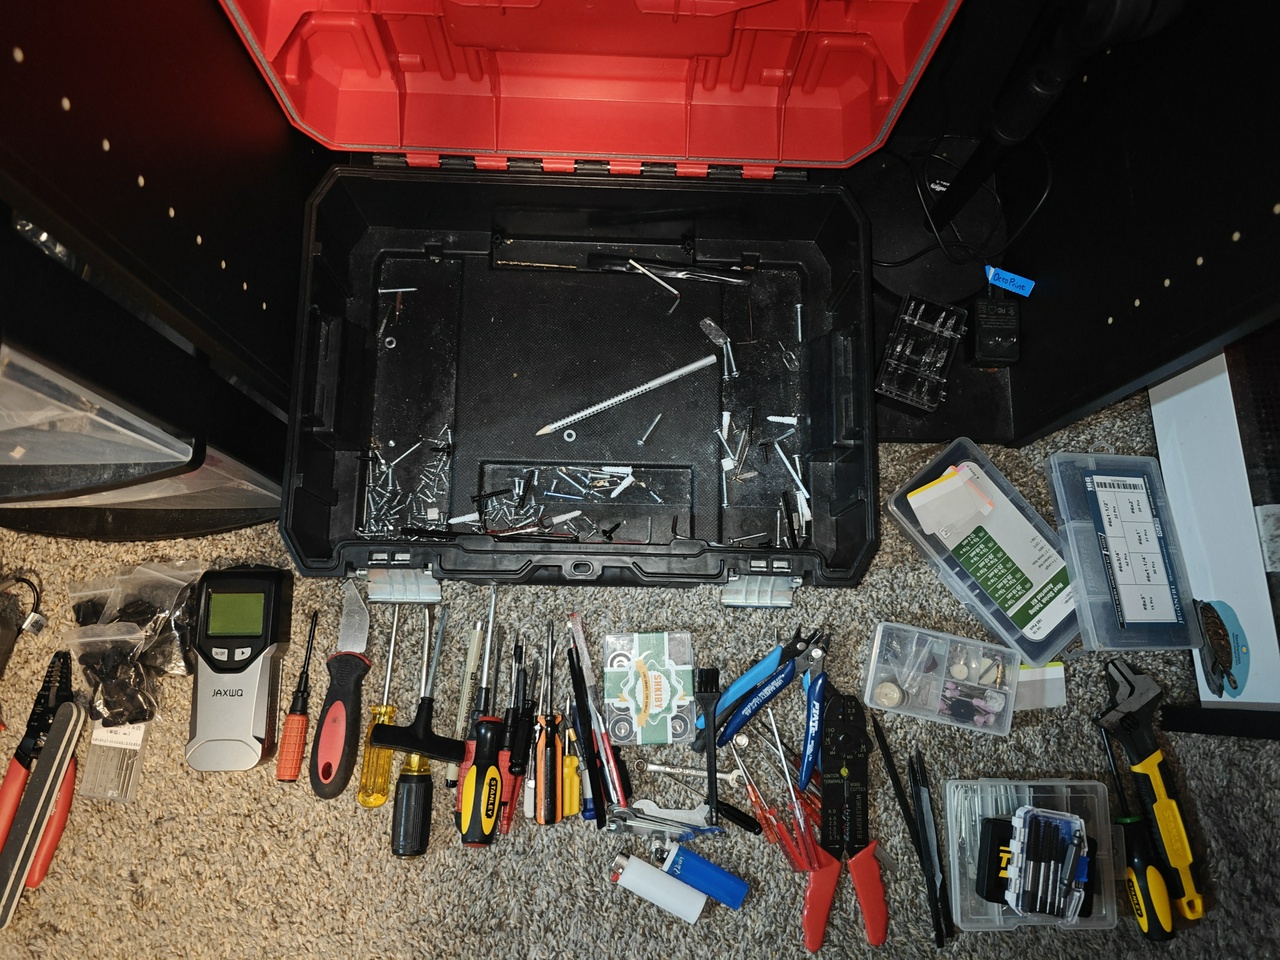
I went through and dumped out every single drawer. I did the same thing with the random stuff sitting in my toolbox (organizing this thing is on my to-do list, but that’s gonna be a lot easier now that I’ve cleaned out all the screws and stuff).
In the end, a lot of junk found its way onto my desk.

I did what I could to organize it into piles.
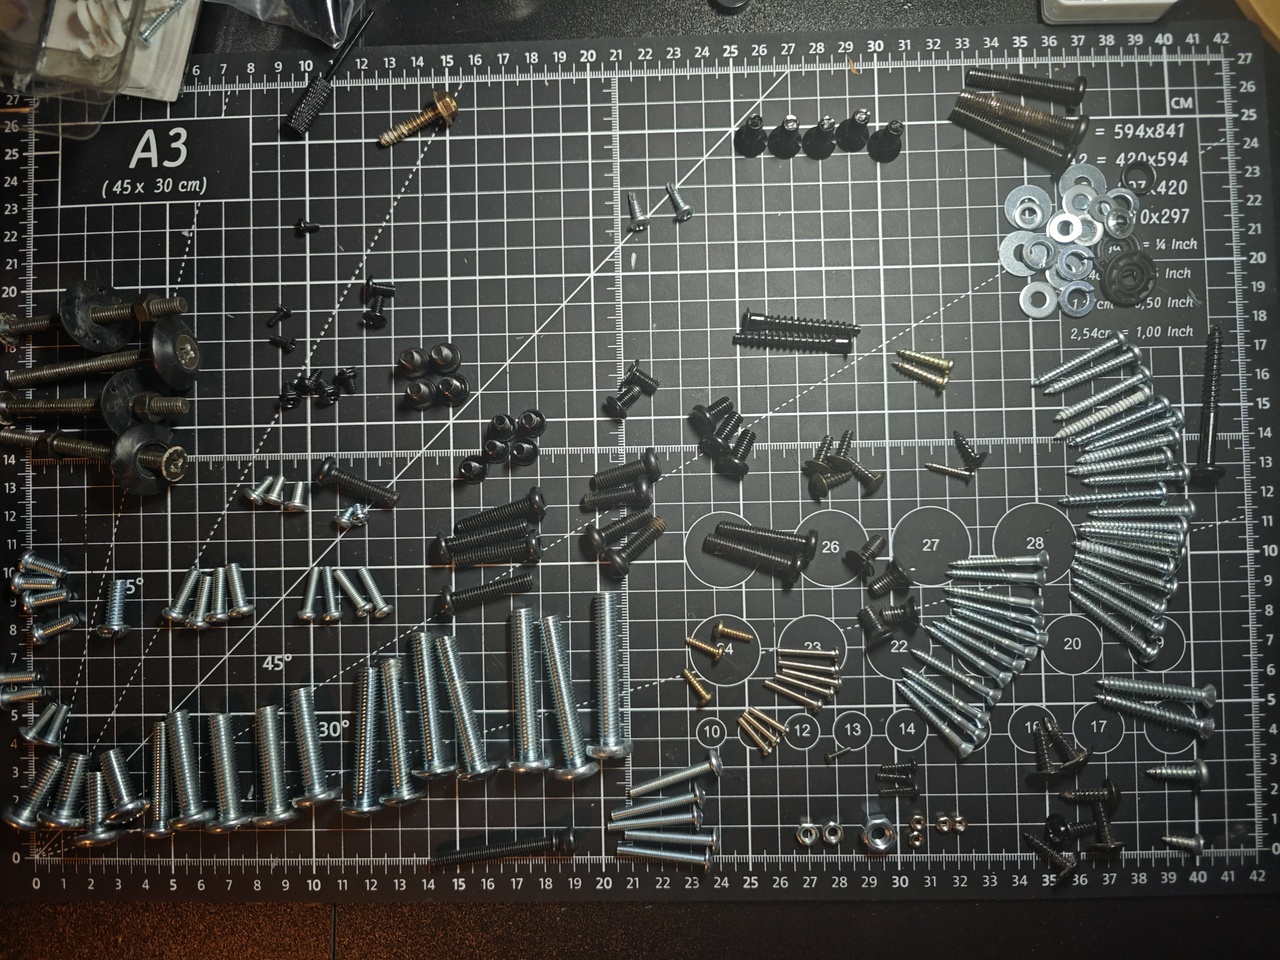
And from here it got a lot easier to categorize things to figure out where they were going to end up. I ended up with a basic list: Machine screws, drywall screws, drywall anchors, nuts, washers, electrical components, rubber, fasteners, printer maintenance, magnets, and sanding.
The plan was to make only a handful of drawers for the Multiboard; I was limited to one column and if the drawers are too high up they’re not very useful. I measured and determined that I’d have room for 8 rows.
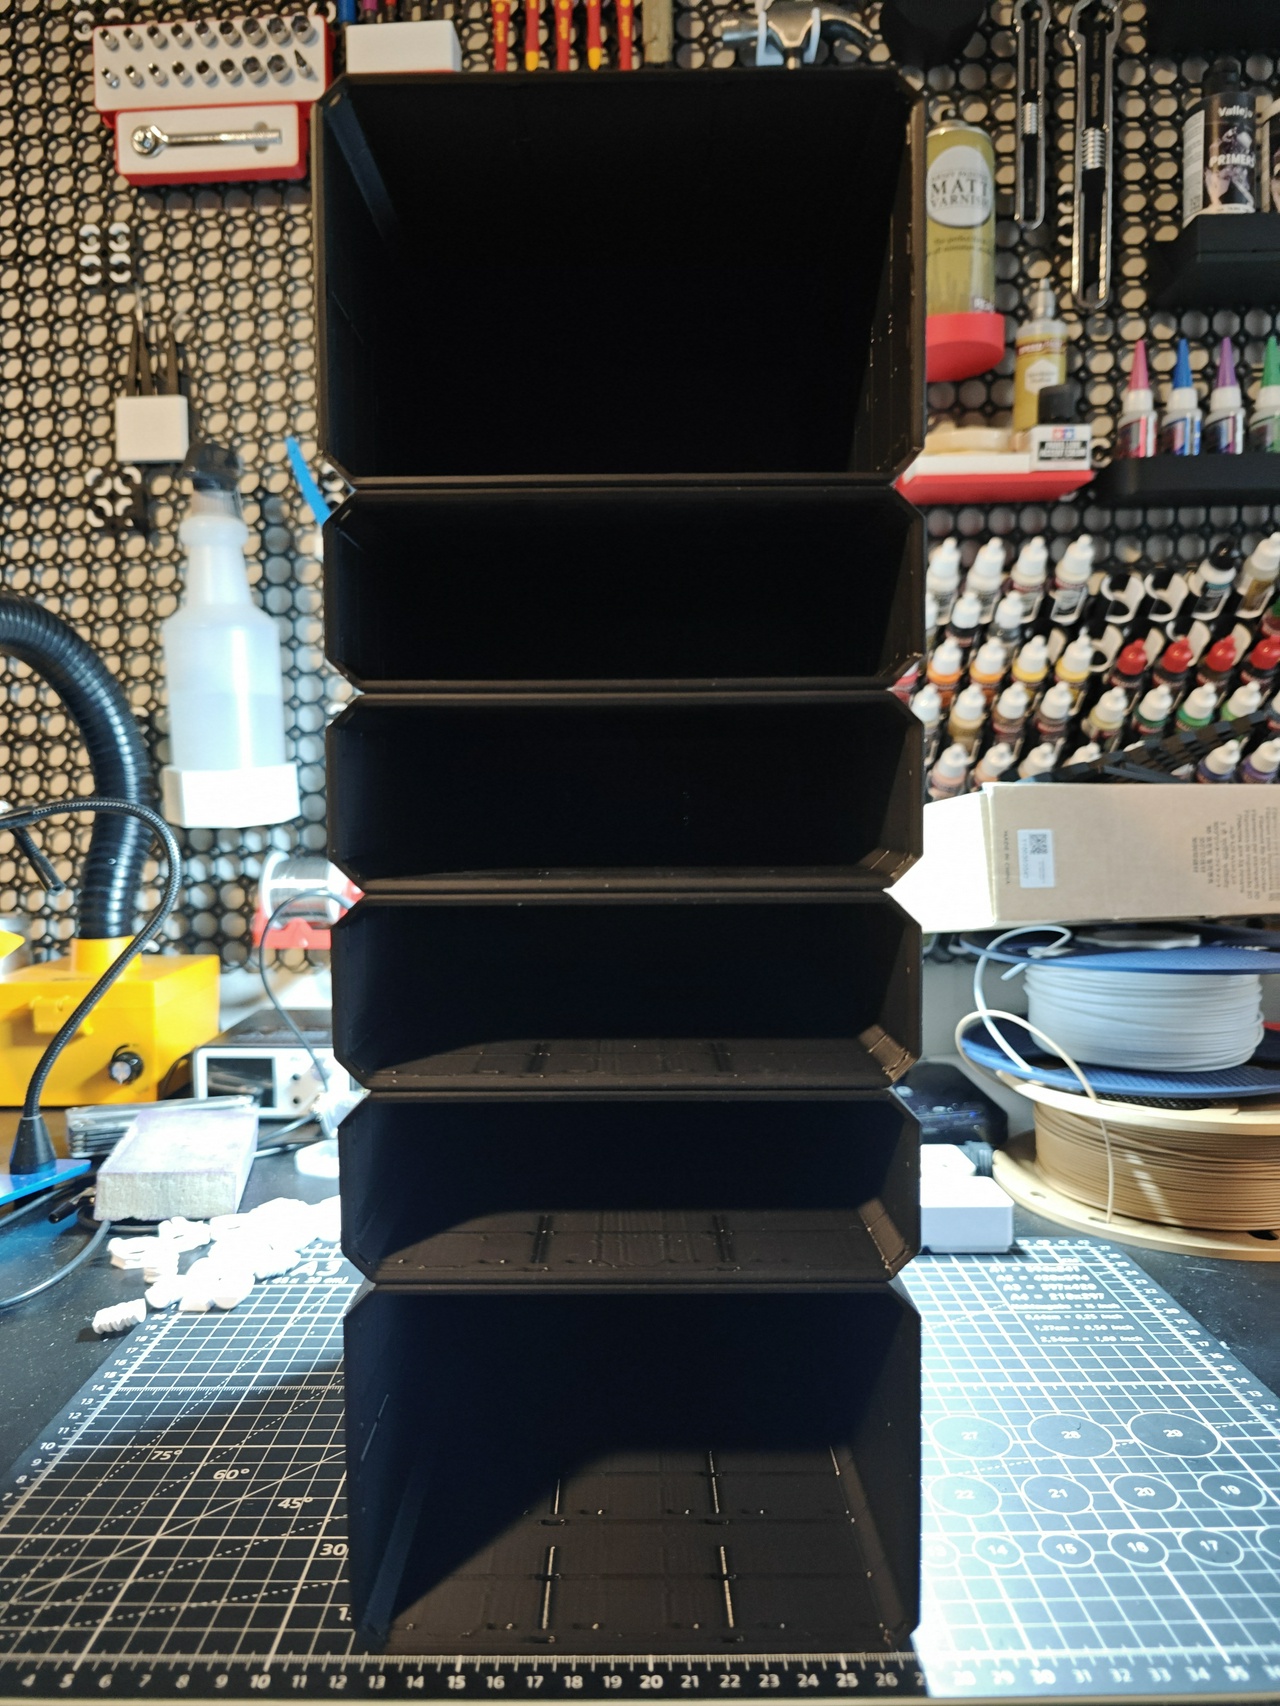
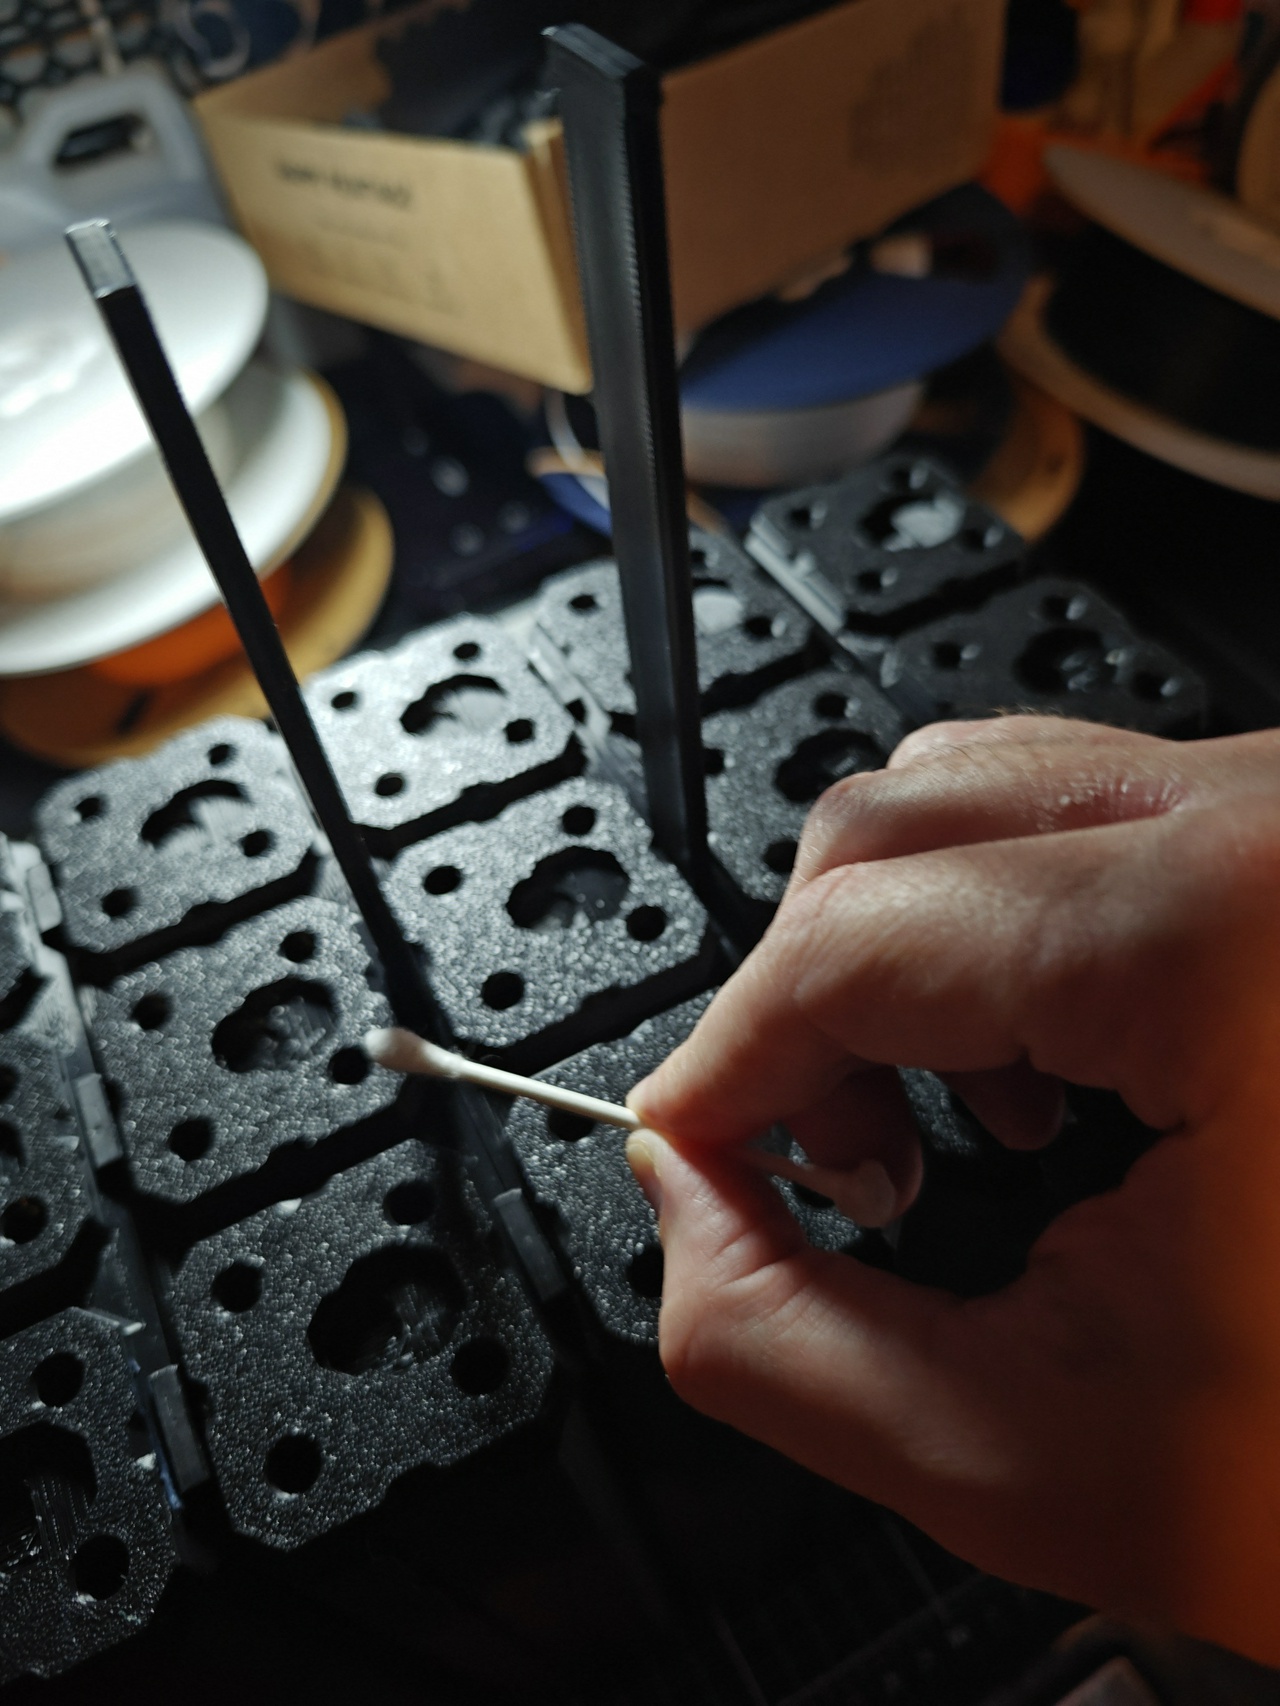
I spent a lot of time printing Multibin shells for the drawers. Two 4x3x2, four 4x3x1. It was really hard to pin these things together because the part that slots between them was experiencing a lot of friction. I decided to use some keycap lubricant I had lying around (I double-checked that it wouldn’t turn the part brittle first).

This actually worked pretty well.
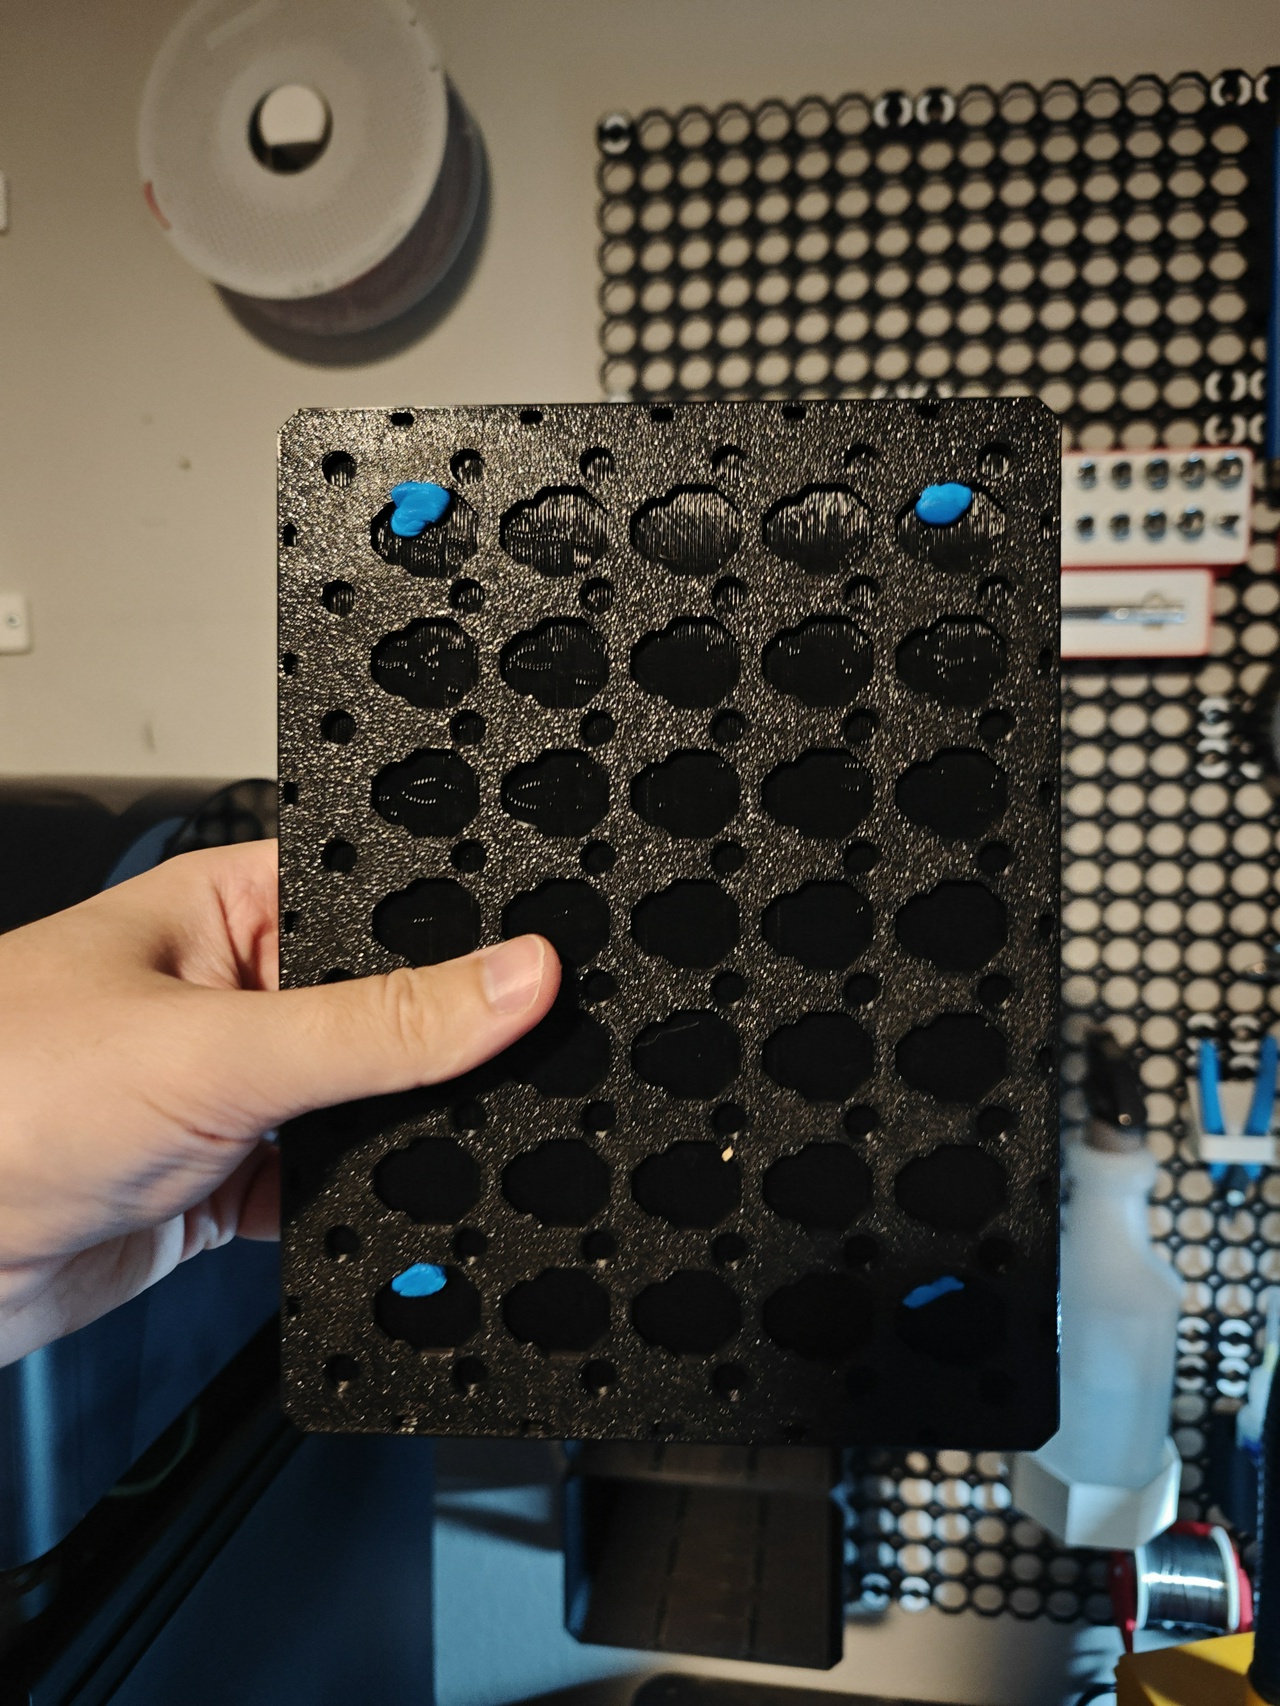
For the drawers themselves, I figured the two larger drawers would be good for dumping bulk stuff into, but the smaller ones would need further organization. There are ways of subdividing the standard Multibin drawers, but I like Gridfinity’s way of doing things and wanted to have a Gridfinity grid within the drawers. This didn’t seem to exist, but it was easy enough to merge the models in Blender myself.
That said, I did actually manage to mess it up the first time. I set the Z-axis on the Gridfinity grid too high, so the grid came out technically functional, but I wanted something sturdier that didn’t look like garbage with all the strands going everywhere.
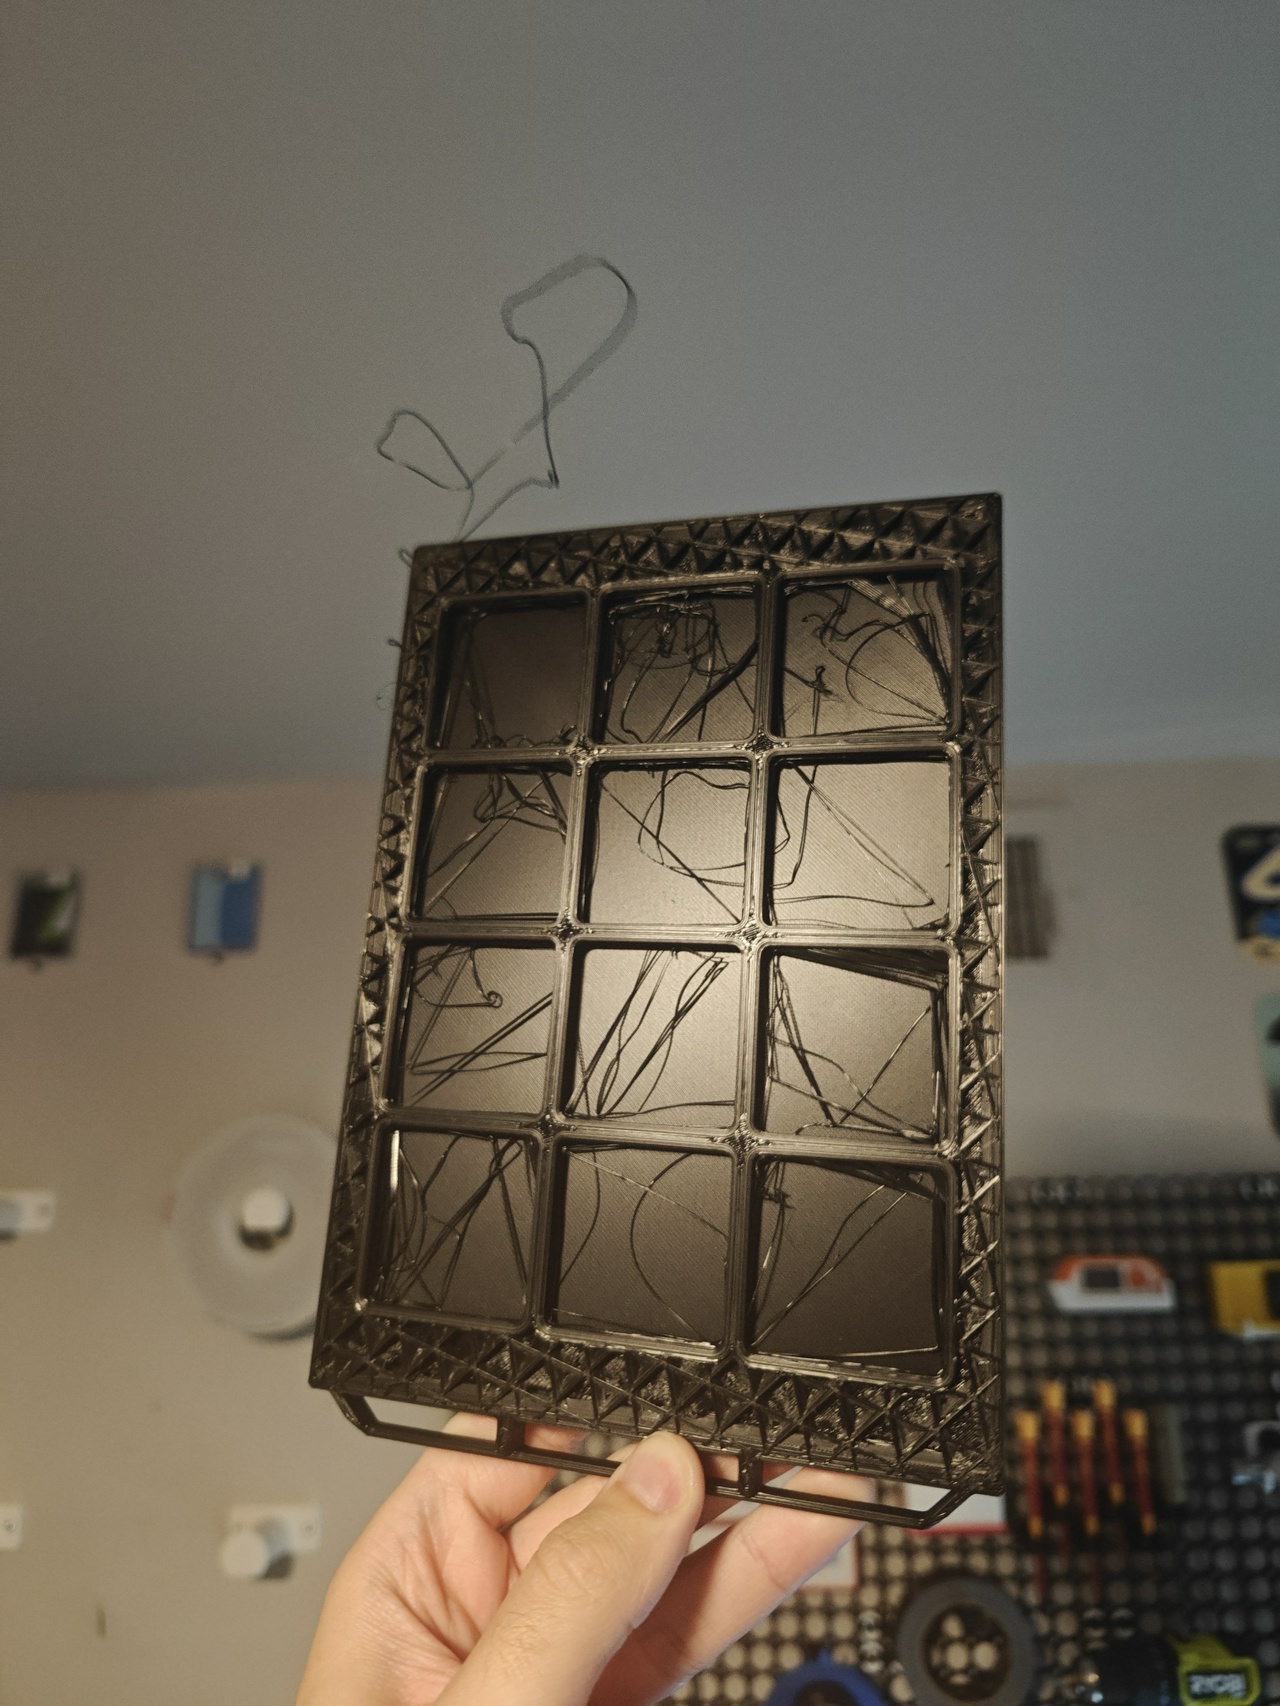
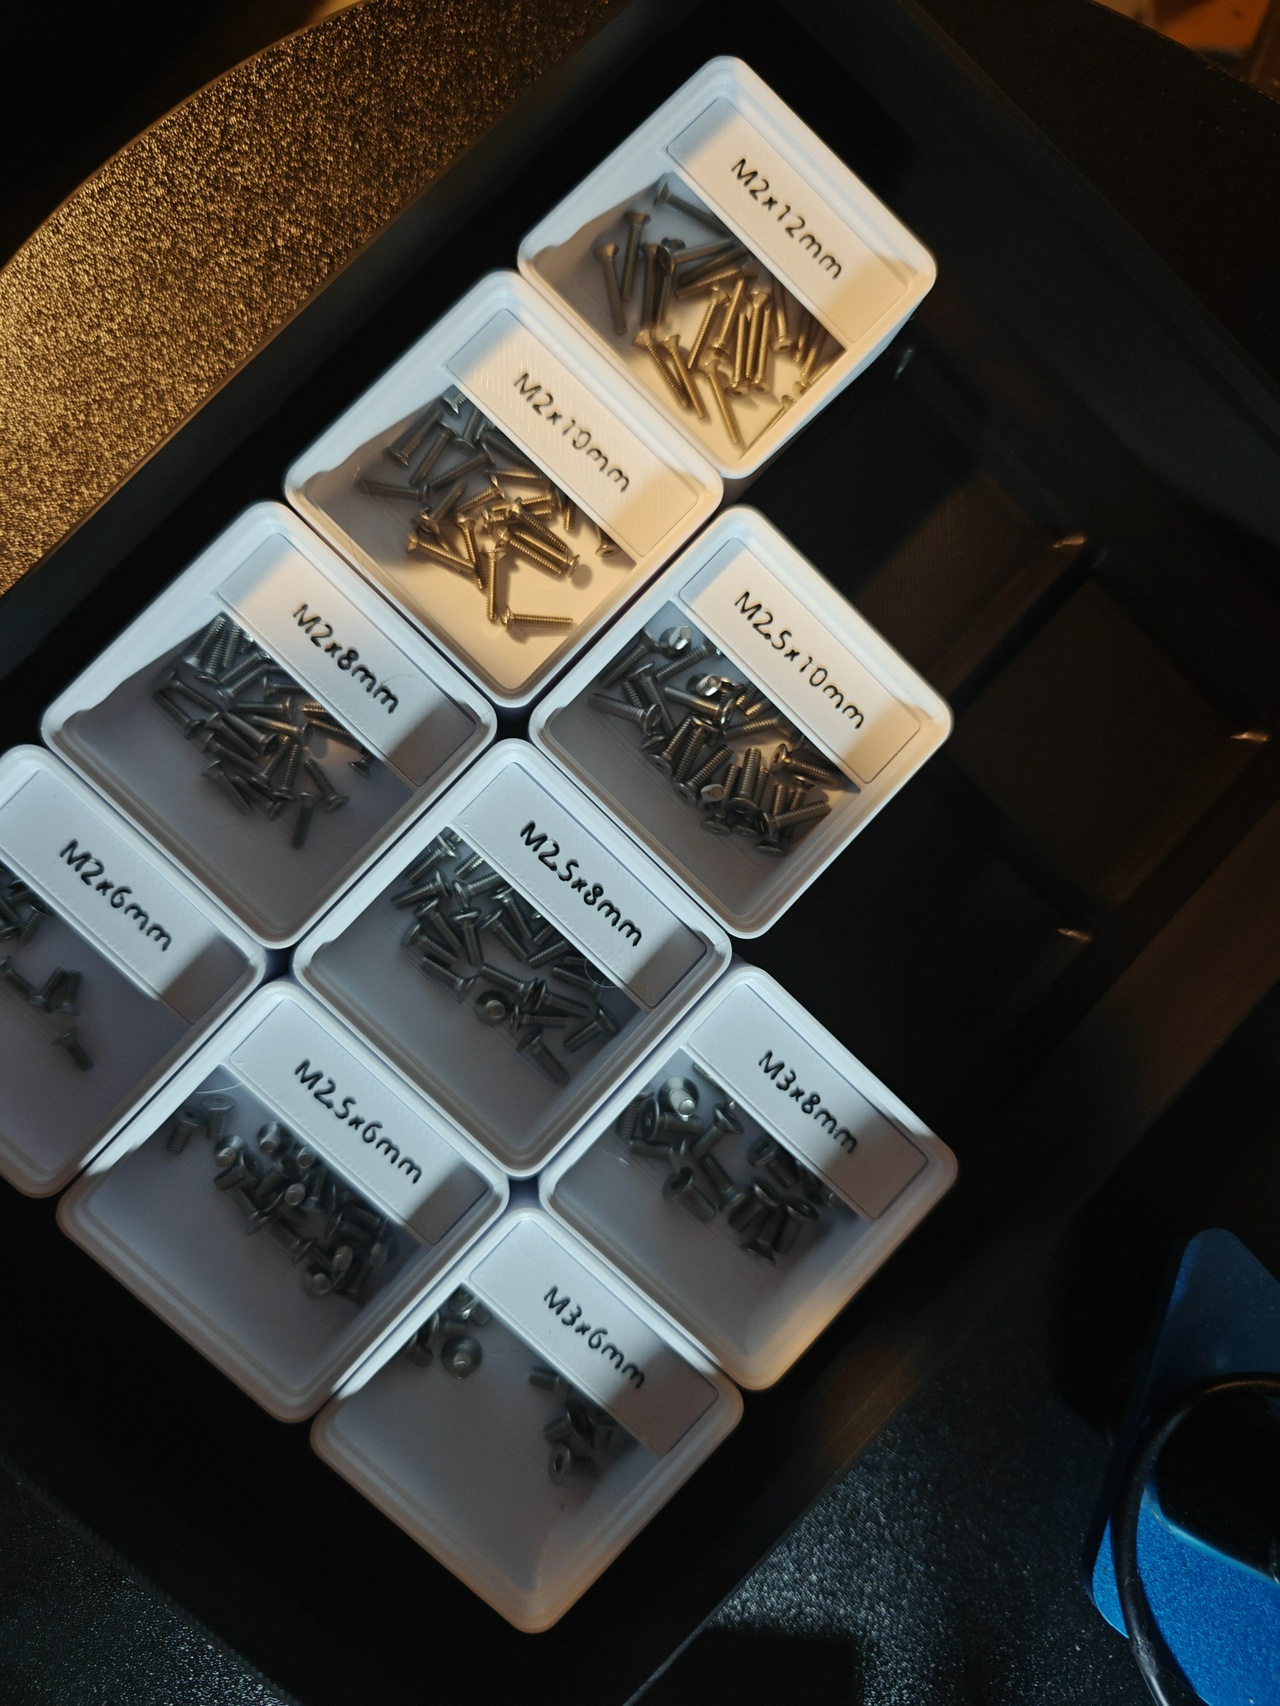
After simply lowering the grid down to the appropriate position, these drawers printed without issue. I also printed some bins to go with them, with labels.
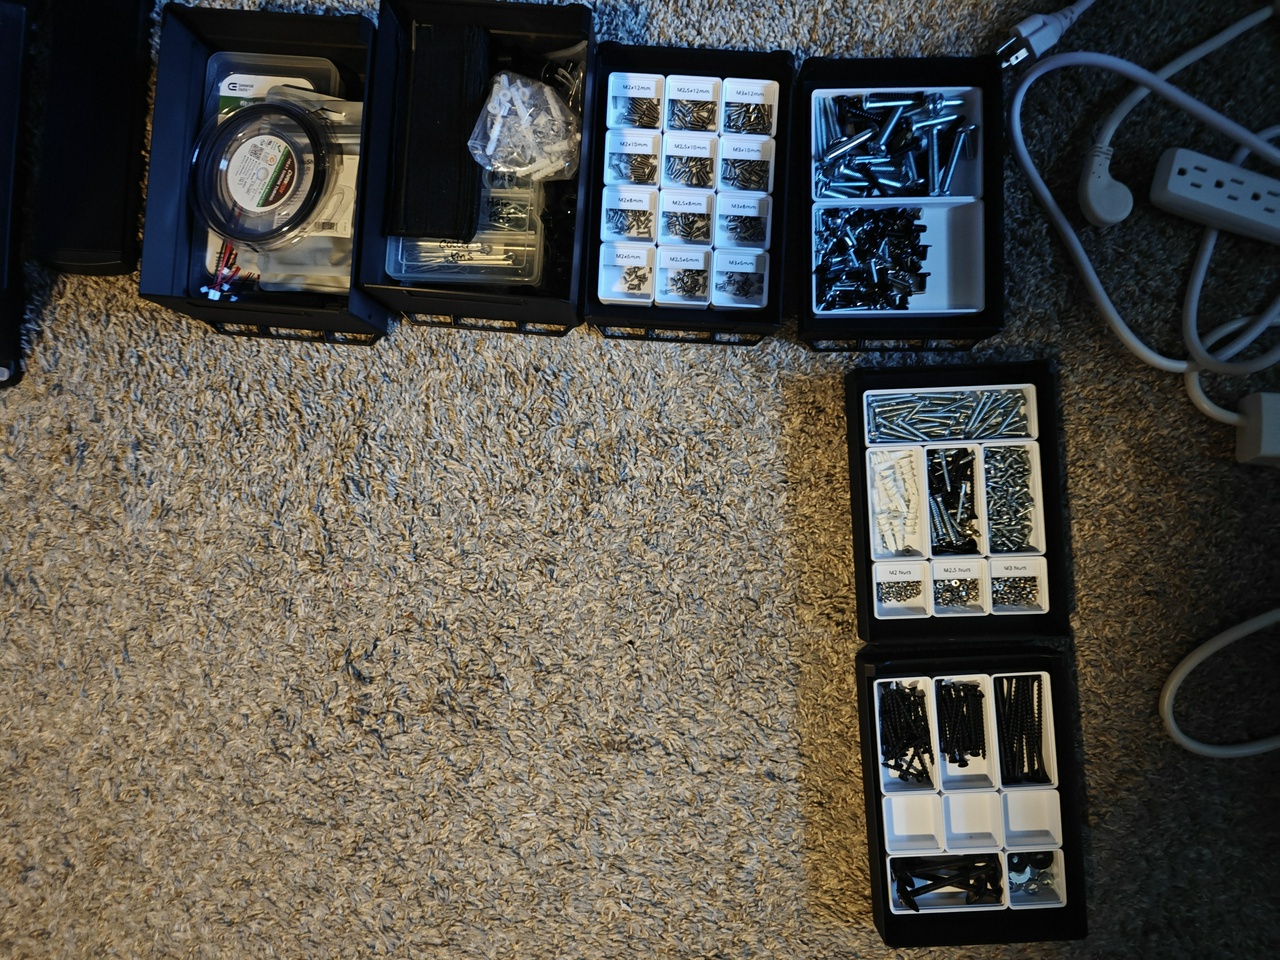
Finally, I had all six drawers completed.
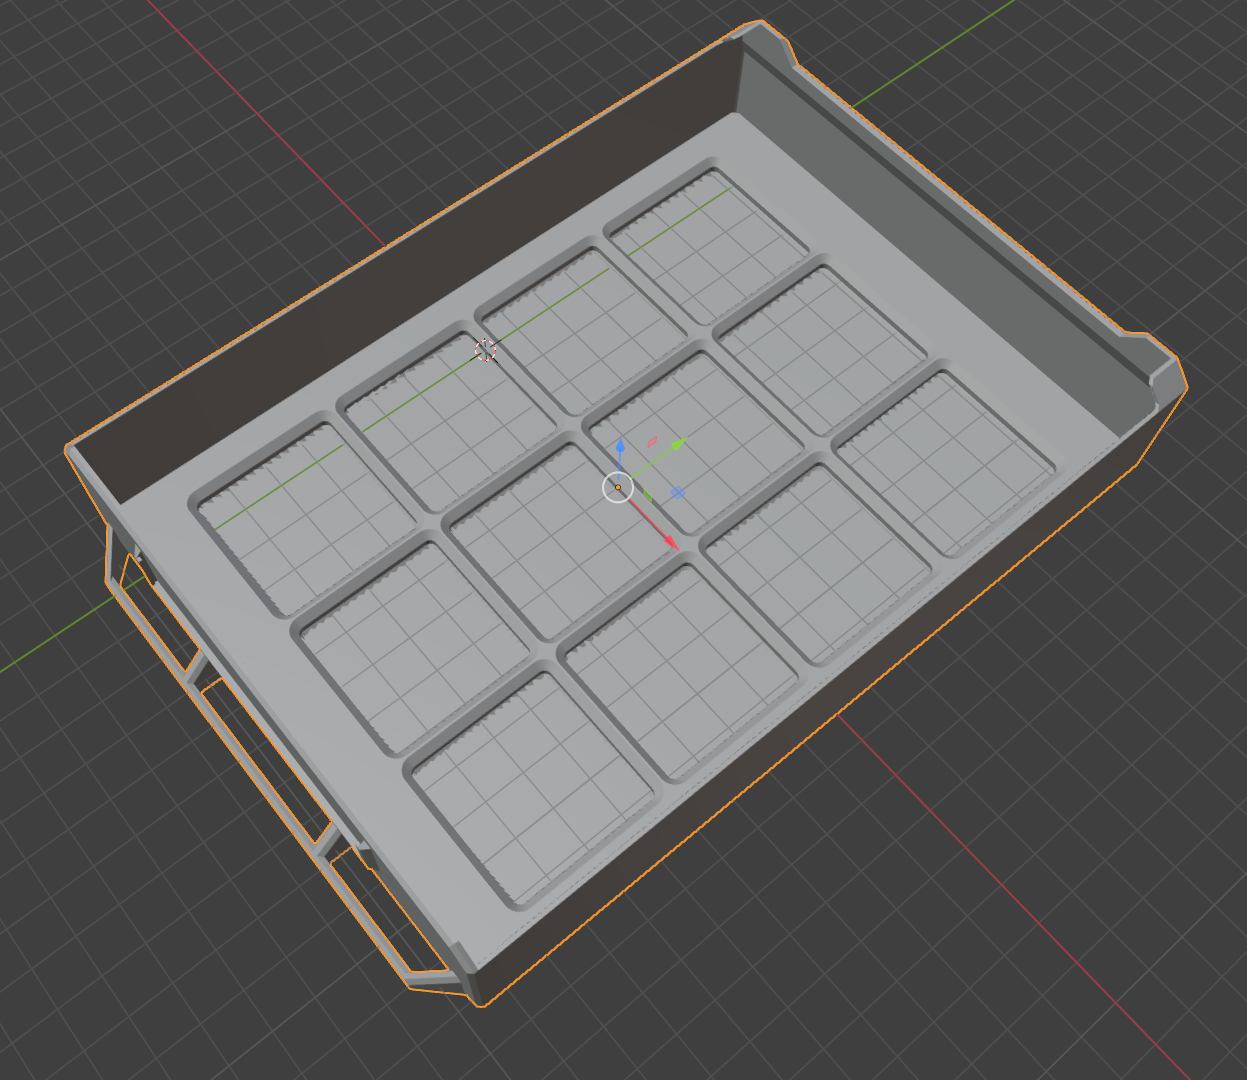
I also printed out a tray that’s designed to affix to the top of a wall-mounted bin. There wasn’t enough friction to hold this thing in place, so I ended up sticking a little bit of poster tack to it. It turned out to be just the right thing. It can still be popped off and removed, but now it’s secure enough that I would only be able to do it intentionally.
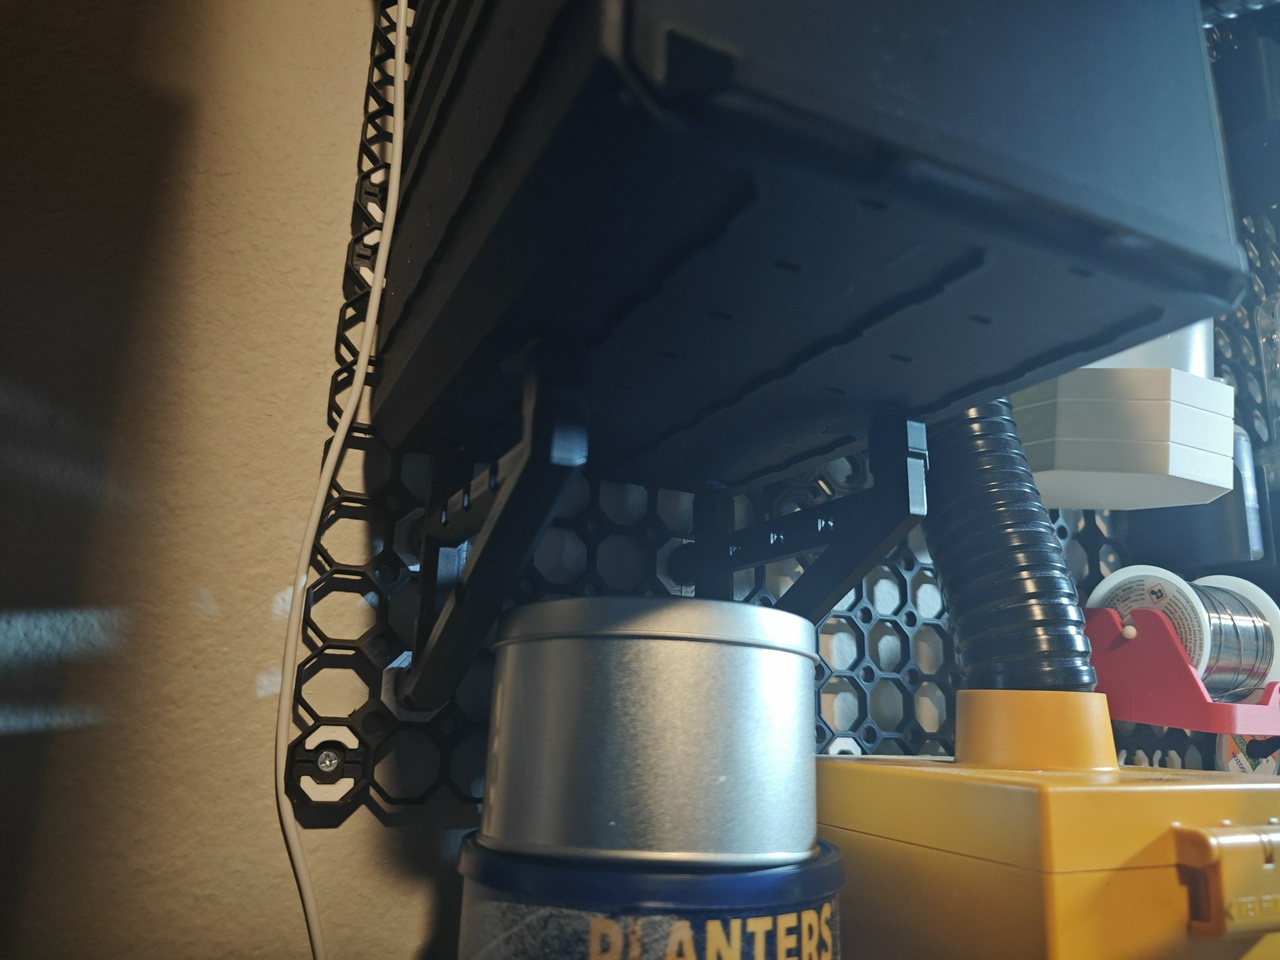
For mounting the whole thing to the wall, I used weight-bearing snaps and some mid threads. I also had a couple of brackets that would support the bins from underneath.

Each of these mid threads proved to have a good bit of friction, to the point where I couldn’t get the bins to push down onto them securely; they’d just hover halfway-on, halfway-off, unable to go any further. The simple fix was to remove some of them, so I took out the middle row. Even then, it was still too much friction, so I decided to hit the rear connectors with the same lubricant as before.
This got the job done. From there, I was able to secure the bins to the board.

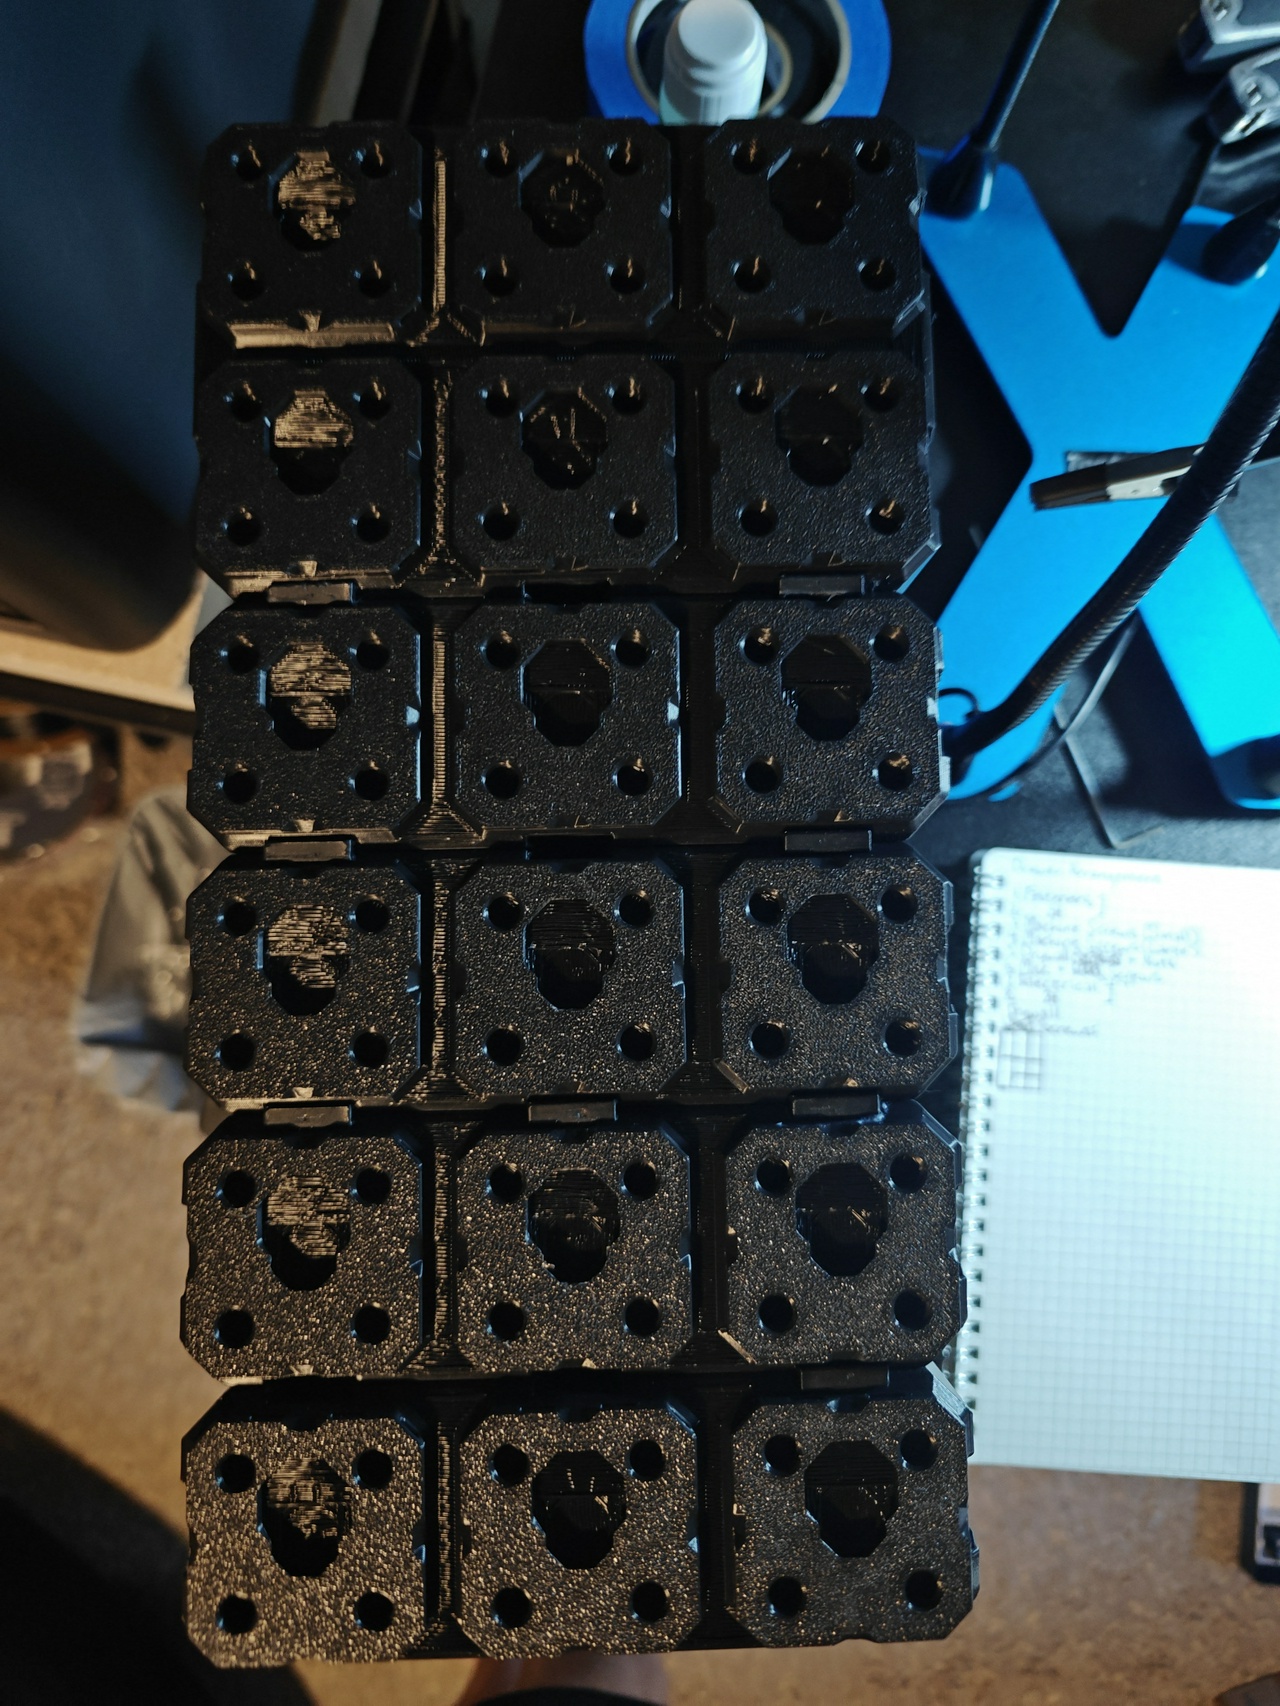
I wasn’t too sure about these brackets I got though. They were supposed to be 3x3, but I misunderstood what 3 meant in this case. The drawers are a 4 in one measurement, but an 8 in another. You’ll see that there are 8 ‘wide spots’ on these rail inserts on the bottom of the bin, and that the bracket is seated in the third of them (thus 3x3).
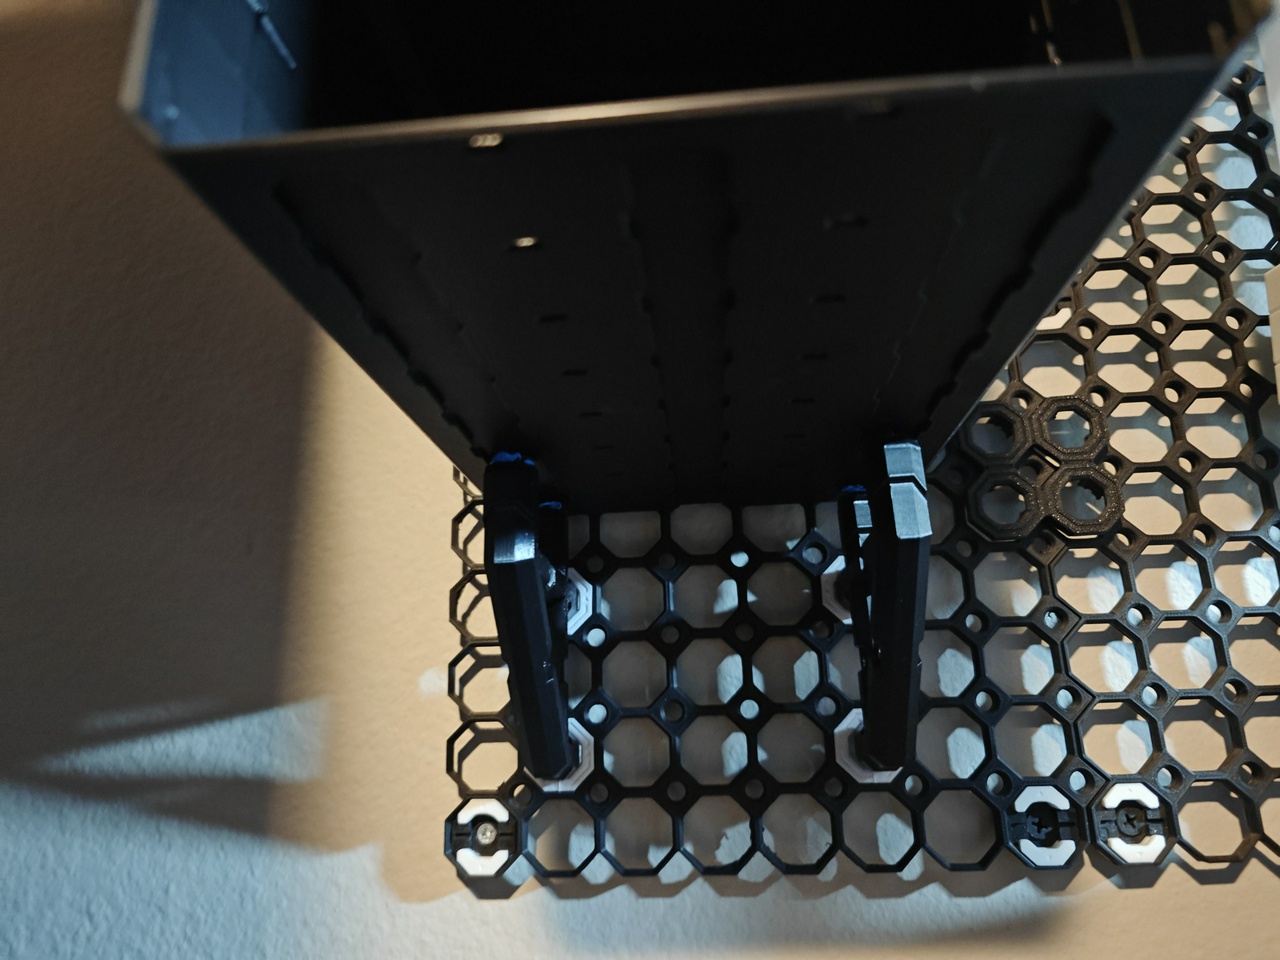
While the bins looked fine for now, I really wanted these brackets to connect on the front half so the whole thing is less likely to sag. I think it’s a torque thing. So I decided to try a different bracket size, 5x3. This I felt much better about.
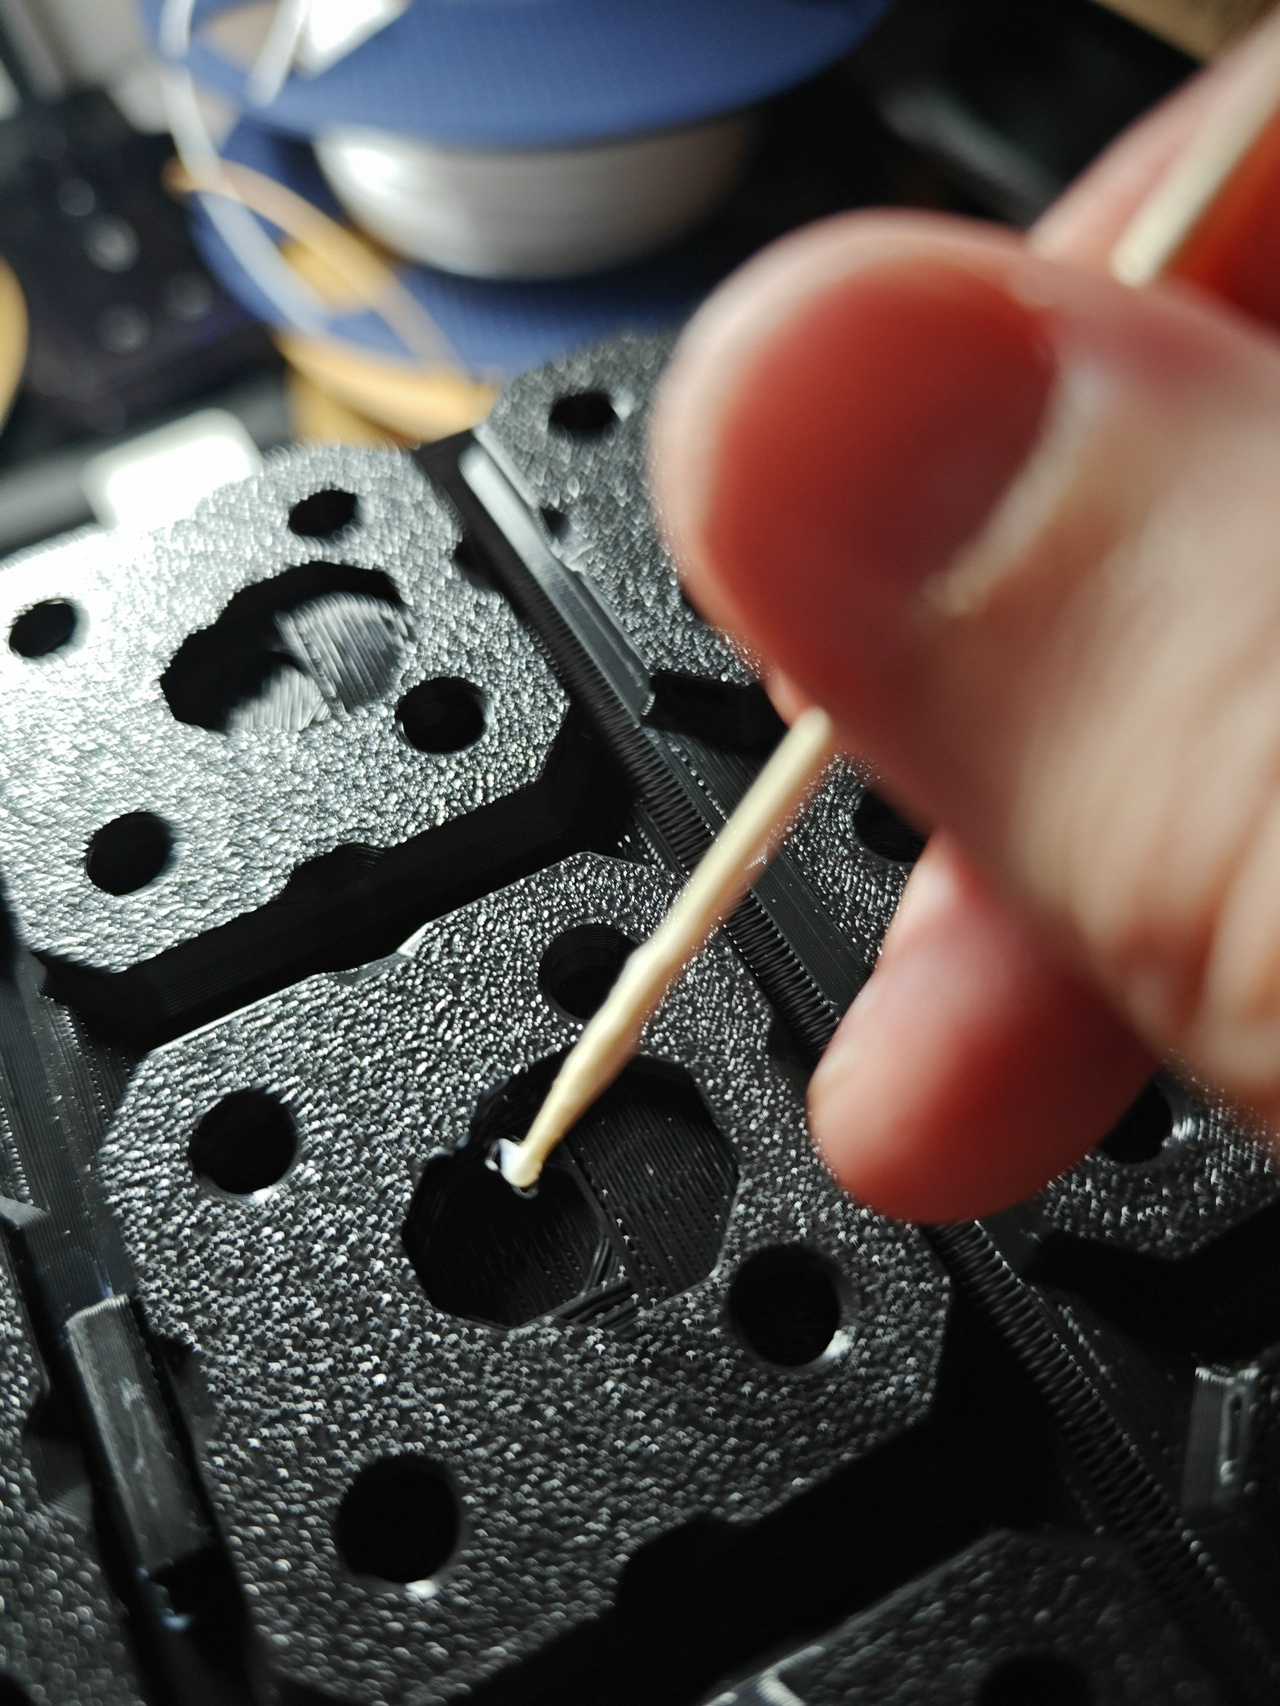
Finally, I wanted some labels for my drawers. Multiboard has blank labels as a free option, or you can pay to use the label generator. I decided to try the blank label and found the dimensions weren’t quite right; they were a little too wide so they flexed out when slotted in, and they were thin so they also rocked front to back.
So I decided to do some more modeling. First, I used an online tool to generate STL files of 3D text.
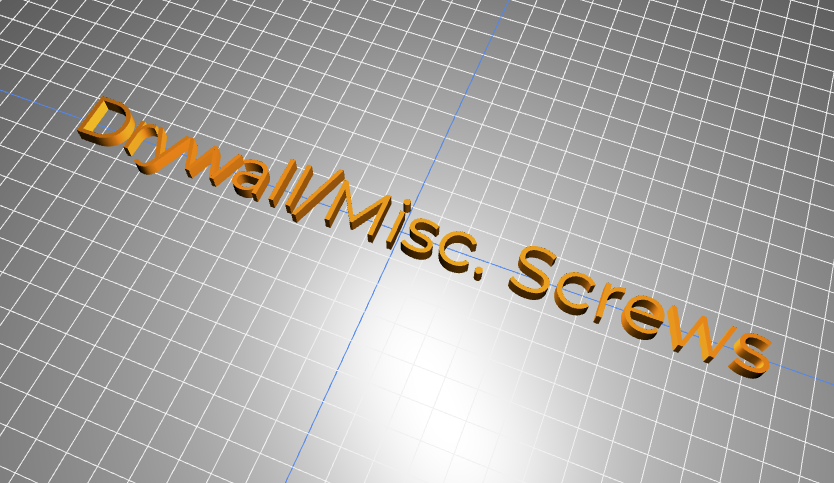
Then, I slightly modified the dimensions of the free label; I made it one layer thicker, and decreased the width by 1mm. From there, I sized and aligned the text, merged it with the label model, and recolored it white in the slicer.
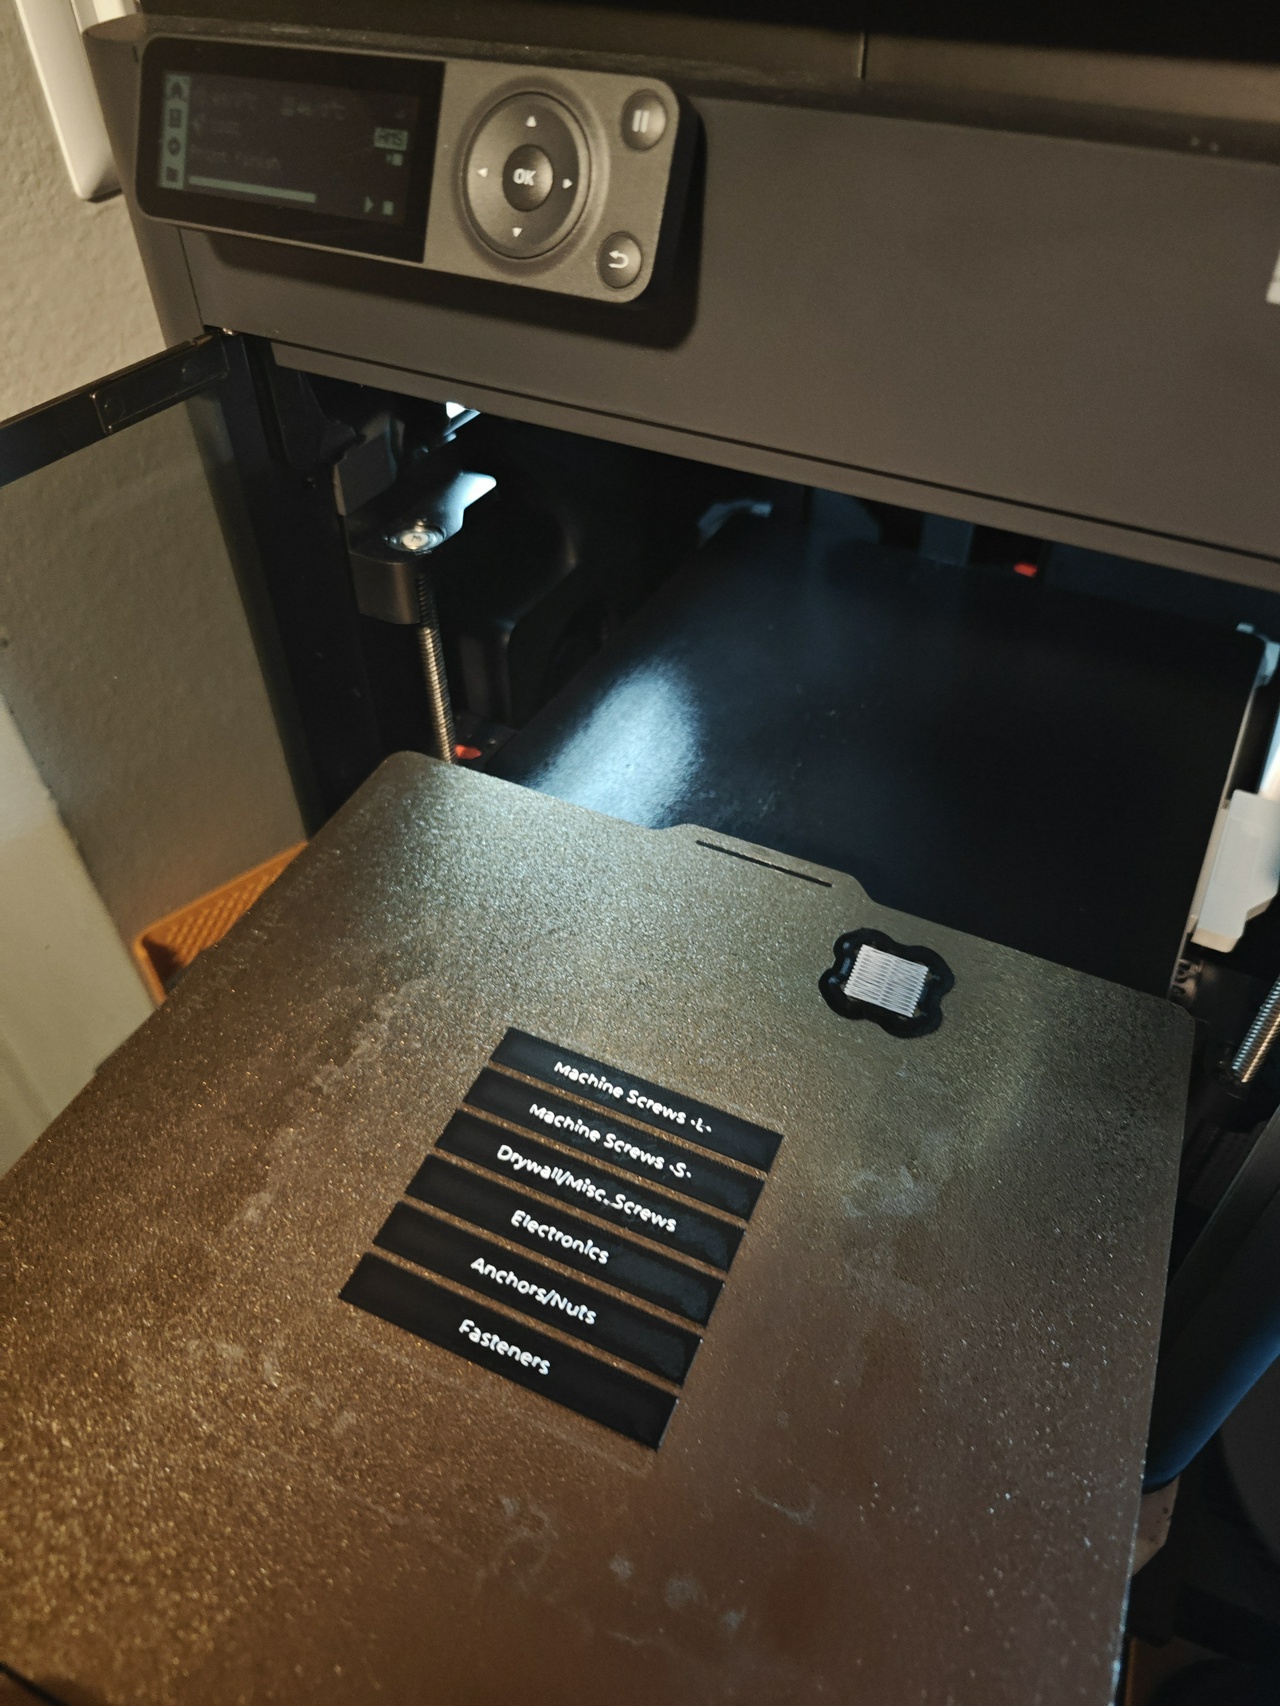
And with that, the drawers were ready. These labels fit perfectly.
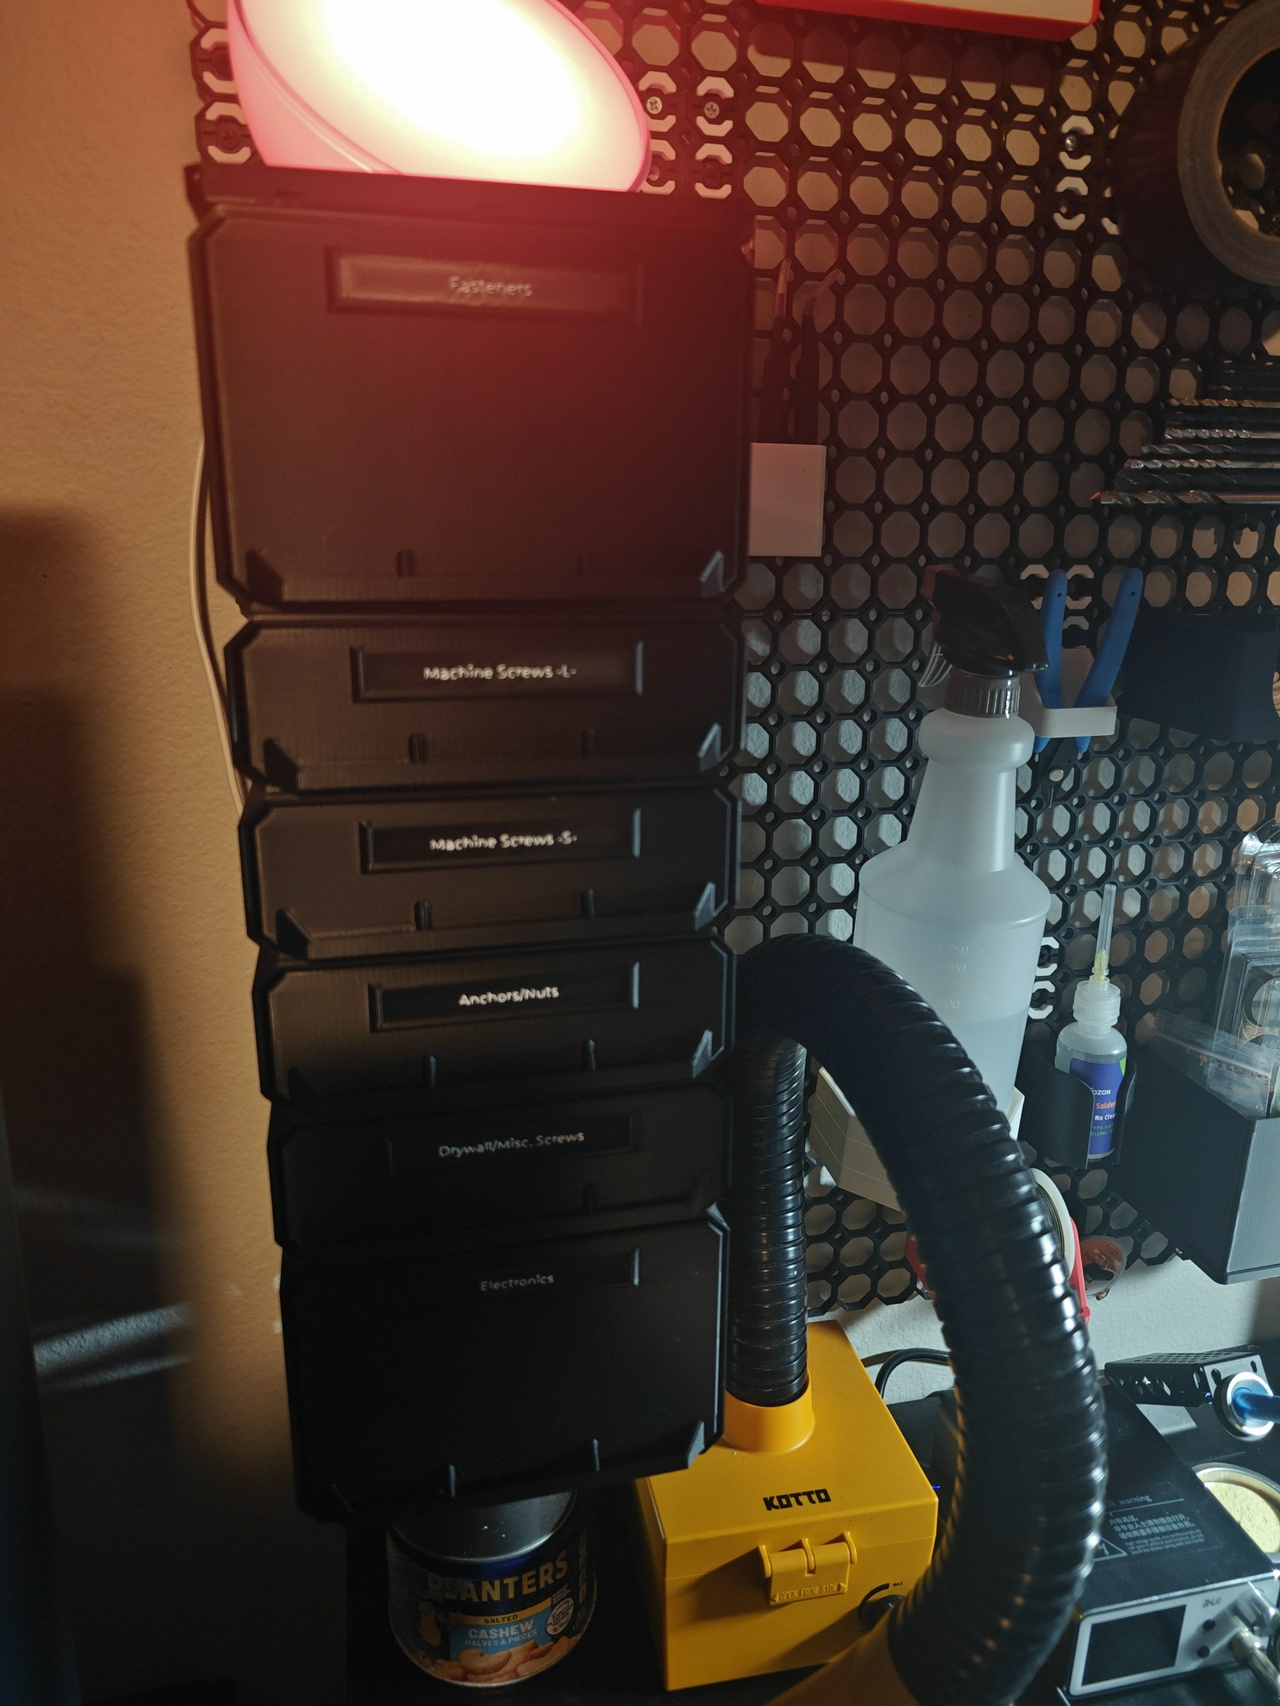
Overall, I’m very pleased with how these drawers turned out.
There were still a few things I wasn’t able to fit into them: things like rubber feet, printer maintenance tools, magnets, and sandpaper. These are generally more crafting oriented, so they’ll probably go into one of the larger Sterilite drawer sets once I organize those.
Next up: arc lighting using an LED strip and some PETG.