Humidity Control, Cable Cover Woes, and the Hydra AMS
This weekend I decided to upgrade my stock AMS to a Hydra AMS. The main reason I wanted to do this was because of this modded middle piece that lets you get at the Bowden tubes more easily in order to disconnect them and fix a jam without taking the whole AMS apart.
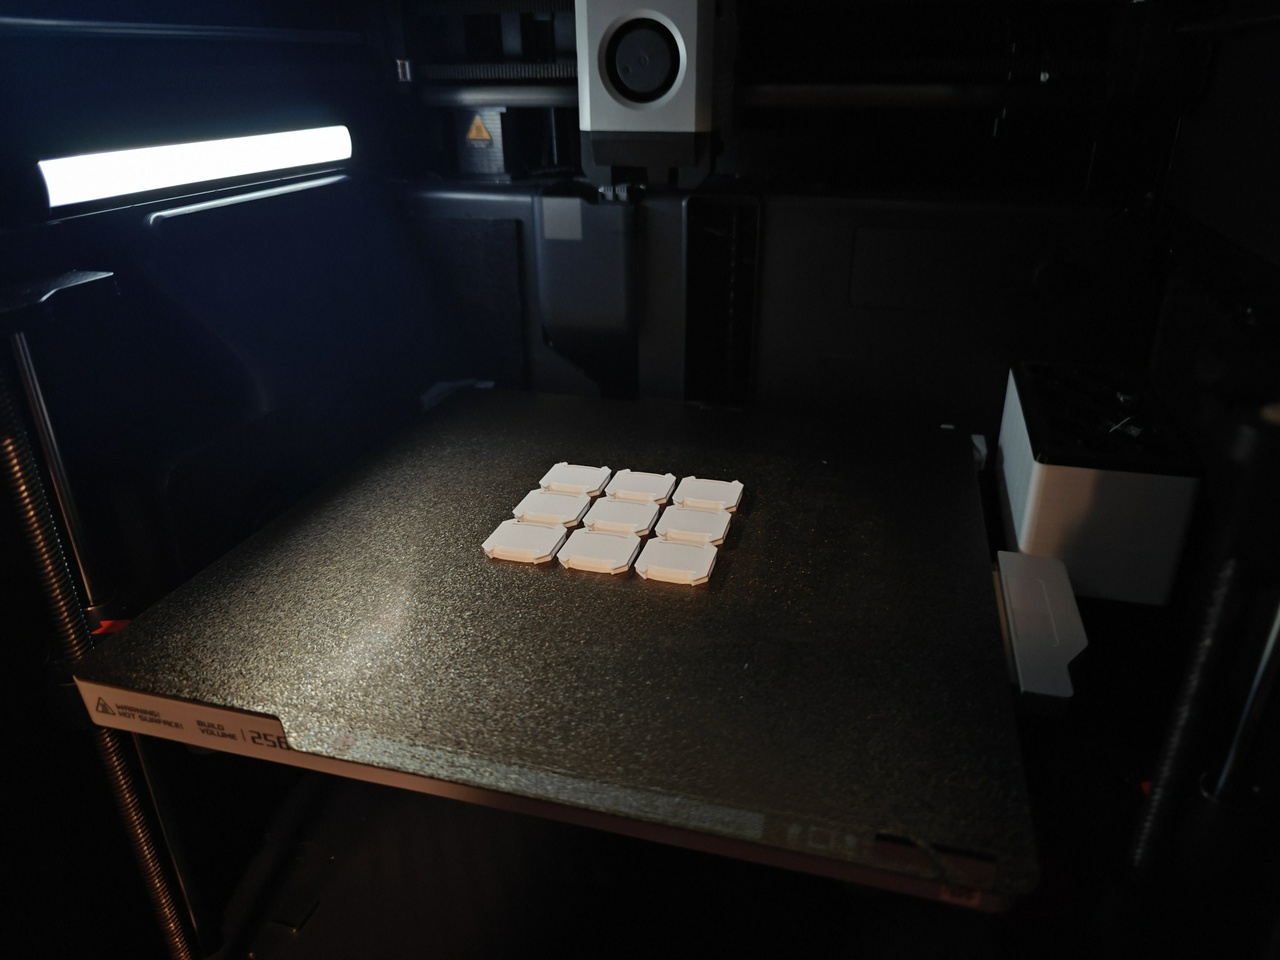
There were three main pieces I needed. They took about 7 hours each to print. I used ABS, which is super toxic as it turns out. I ran these print jobs overnight with a window open, ceiling fan on, tower fan blowing air out the window, fume extractor running next to the printer, SwitchBot air purifier going full power, and the Bento Box inside the printer automatically switching on the second Home Assistant tells it I’m printing in ABS. After the print jobs finish, it’s an extra hour or two before I go back into the office, and as far as I can tell everything vented correctly. I guess I’ll know for sure in about 40 years.
As part of the mod, I had to disassemble the stock AMS. Wasn’t hard, but was surprisingly time-consuming.
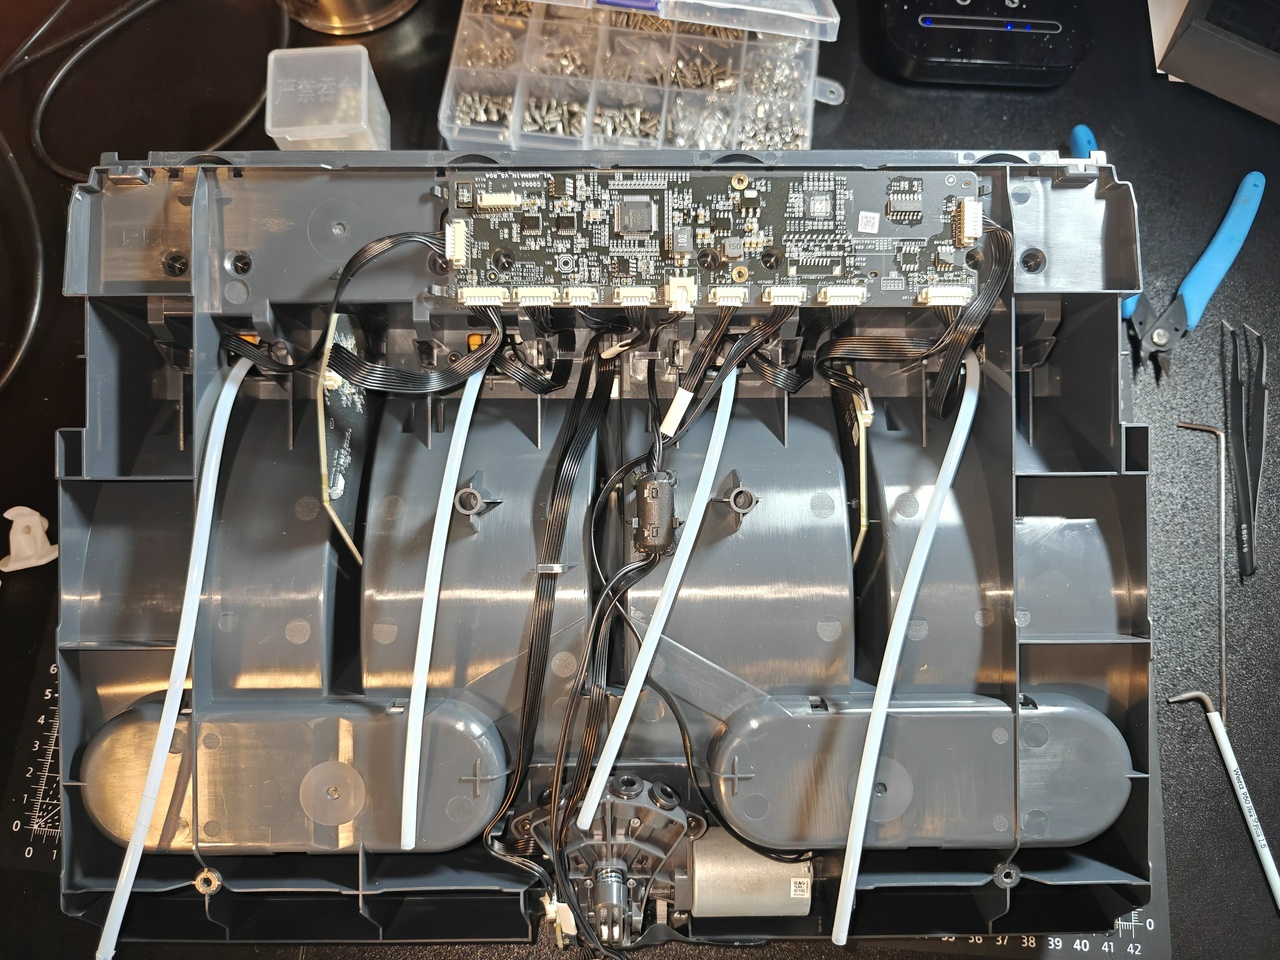
Putting the parts into the new housing was slightly more challenging. I had a little trouble lining up the screw holes on the feeder units. One of them was slightly out of place and needed to be adjusted. Then once I put the whole thing together, one of the two boards that gets stuffed into a little slot and held by friction was pushed too deep into the slot to the point that it was flexing the bottom of the AMS just enough that the feet of the unit weren’t able to touch the ground at the same time. I shoved on the bottom of the plastic where the contact was being made and shoved it out of the way without much trouble.
Once I connected everything and turned my printer back on, the screen came on but nothing on the printer woke up. I started to get nervous that I had bricked my printer (shorting something in the AMS by improperly connecting a cable somewhere and then plugging the AMS into the printer; it seemed extremely unlikely at the time but it wasn’t coming on so what else was I supposed to think). I unplugged the AMS and turned the printer on. Same thing. I waited for a moment. I watched the BambuStudio software on my computer to see if it was detecting the printer. Eventually the printer came on. I turned it off, connected the AMS again, and turned it back on. Same long boot time, but it came on. I did a quick look into why that might be happening, and from what I can tell some people have said that this can be an issue with SD card bloat of some kind. Something to properly investigate eventually.
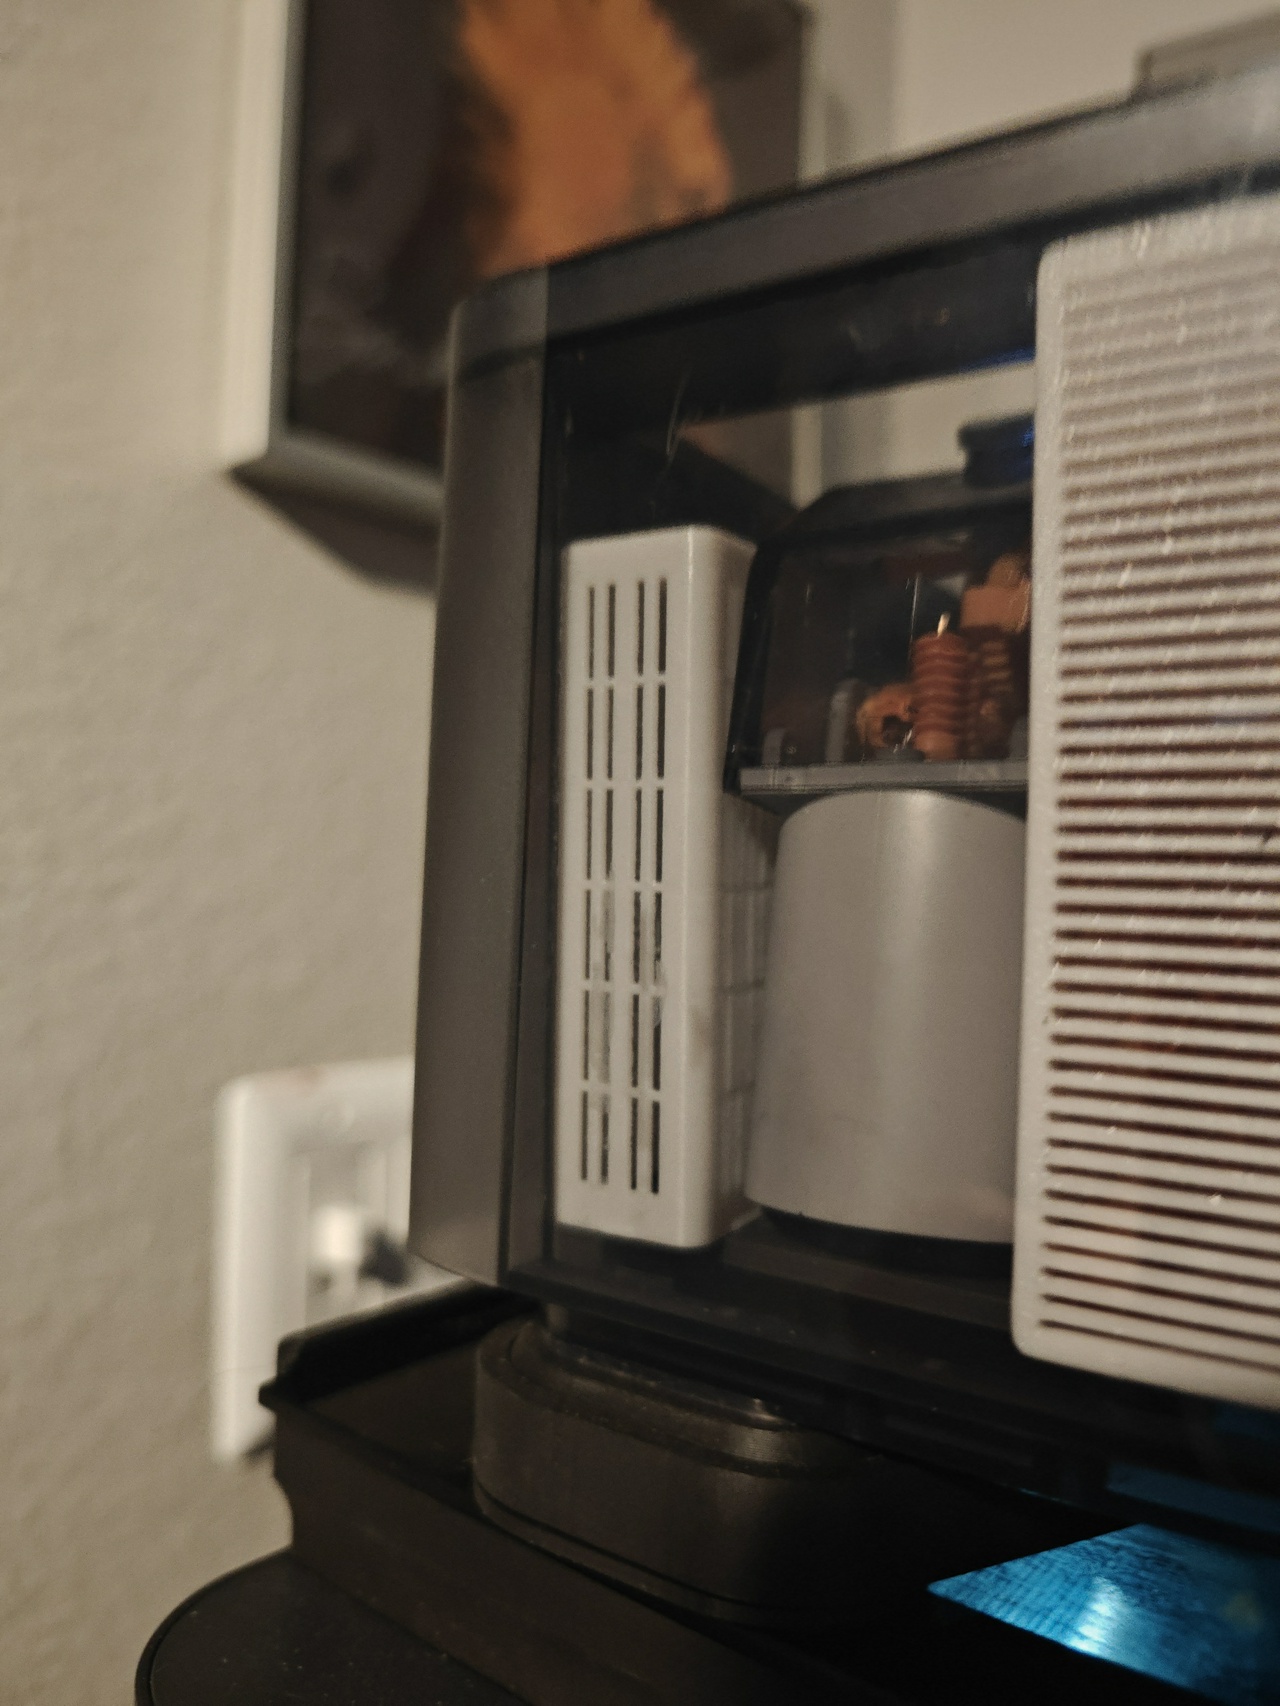
I had also printed one of the recommended add-ons for the Hydra AMS, these silica gel holders that manage humidity in the unit. You can also optionally pop a hygrometer in one of these ones with a housing for it, so I decided to do that. It turned out really well!

I don’t really have any reason to doubt that this percentage is accurate, but it’s consistent with the sensor on the Bambu unit itself which is reassuring.
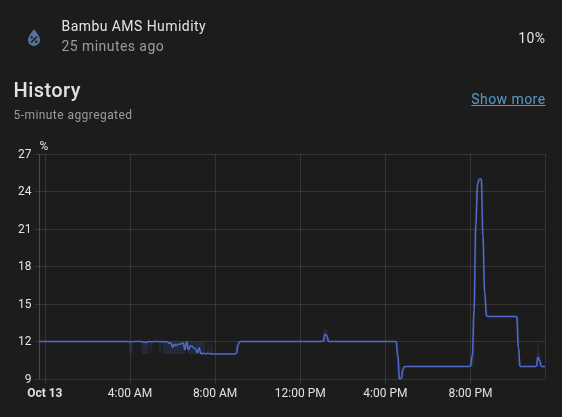
This was my first foray into properly managing humidity beyond a couple of stray silica gel packets in my stock AMS here and there. The sensor always read at about 25% before, which was not ideal. It’s not totally surprising, the room itself is at 38% on a cool night and can creep closer to 50% when it warms up during the day. At least one of these hygrometers in the box of 6 I ordered is going to go into a filament drybox I plan to put together eventually (I have dedicated shelf space to it and have a vague design in mind, but because of the form factor I need to fit that space it’ll have to be homemade).
I decided to mount one of them in the back of the printer itself as well (you can also see the new nozzle wiper I installed in this picture). It’s up on this little ledge where the print head can’t get to it. If the print head isn’t blocking it, the camera feed can actually pick this thing up really well.
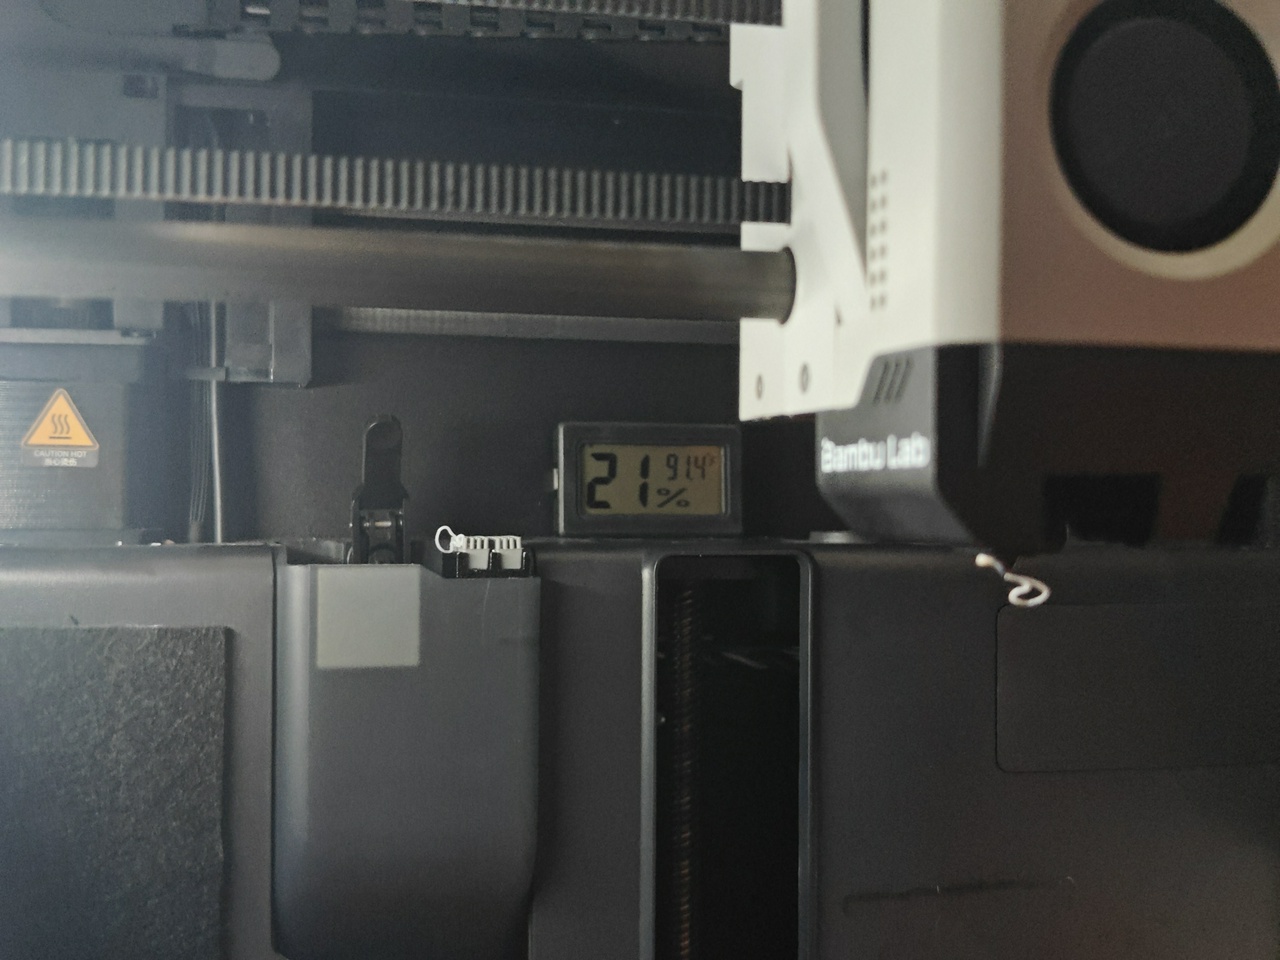
While I was doing that, I figured… why not put a little silica gel in the printer itself? I ran a PETG print job to make another silica gel holder, and by watching the hygrometer in the back I could see that the temperature approached but never exceeded 100 degrees. This is probably not surprising to most people, but the humidity reading did drop as the print job went on. It would creep back up when I opened the door to the printer.
I secured it next to the Bento Box and double-checked that the bed would not clip it. It’s actually not even as close to hitting the handle as it looks in the picture. It didn’t make a huge difference, but the humidity went from 21% to 19%, possibly due to the install or maybe due to environmental factors. But it seems harmless enough.
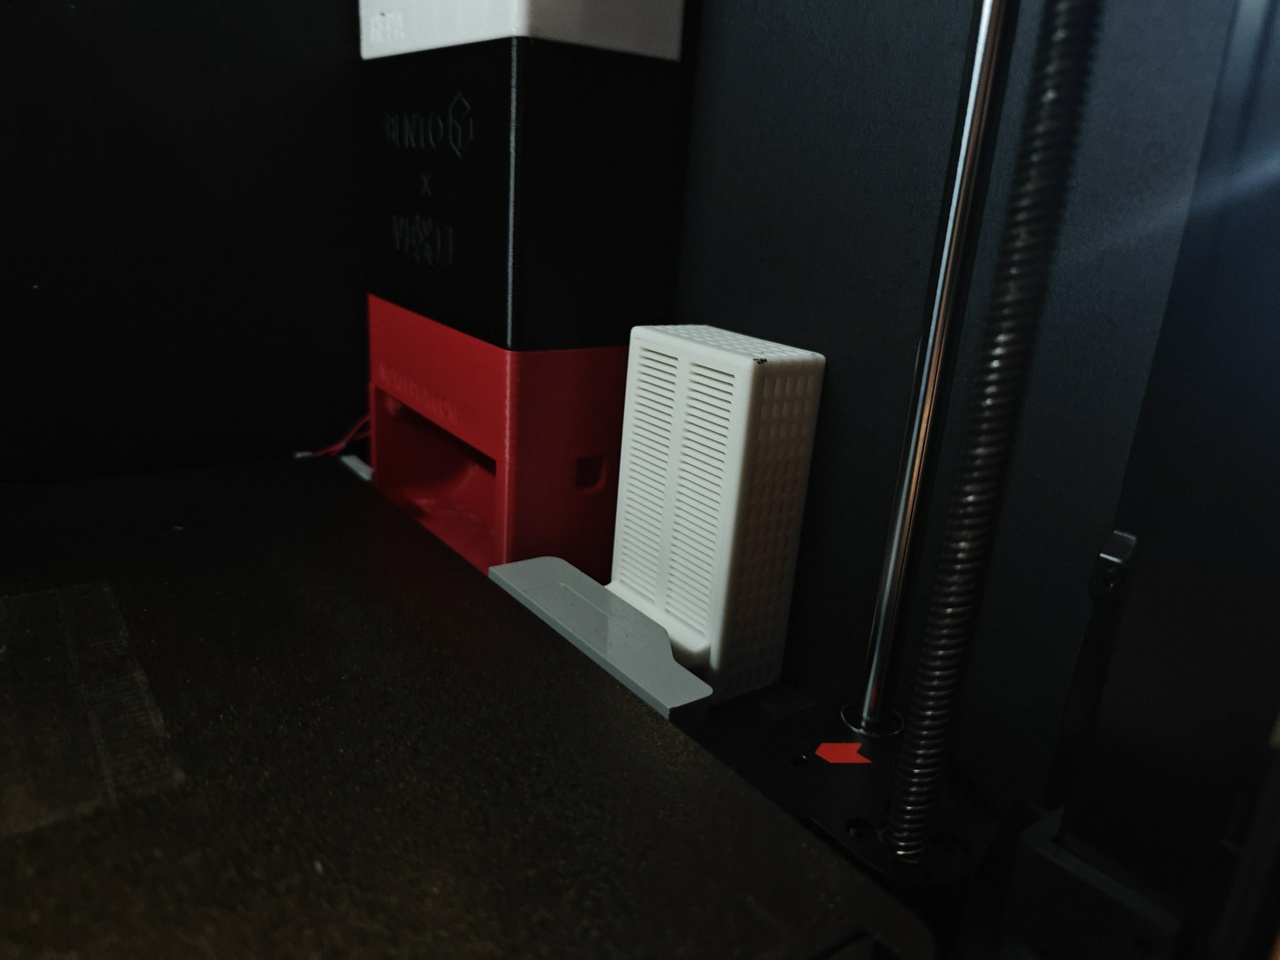
From there, I realized that someone had made custom corner dryboxes to put even more silica gel into the AMS. I figured, why not make some of those?
It pays to read instructions or at the very least look at sample photos. When mine finished printing, I decided to drop one of the empty boxes into the corner to check the fit. I couldn’t get it back out. Turns out I had it turned around backwards, and nothing I did was enough to pull it out.
I didn’t want to have to go through the effort of dismantling the feeder, so I ended up taking a pair of pliers to it and crushing it so I could crumple it and take it out. Imagine if I’d tested it with silica gel in it already. After reprinting the drybox, it was fairly easy to install (and remove—I checked!) once I turned it around the right way.
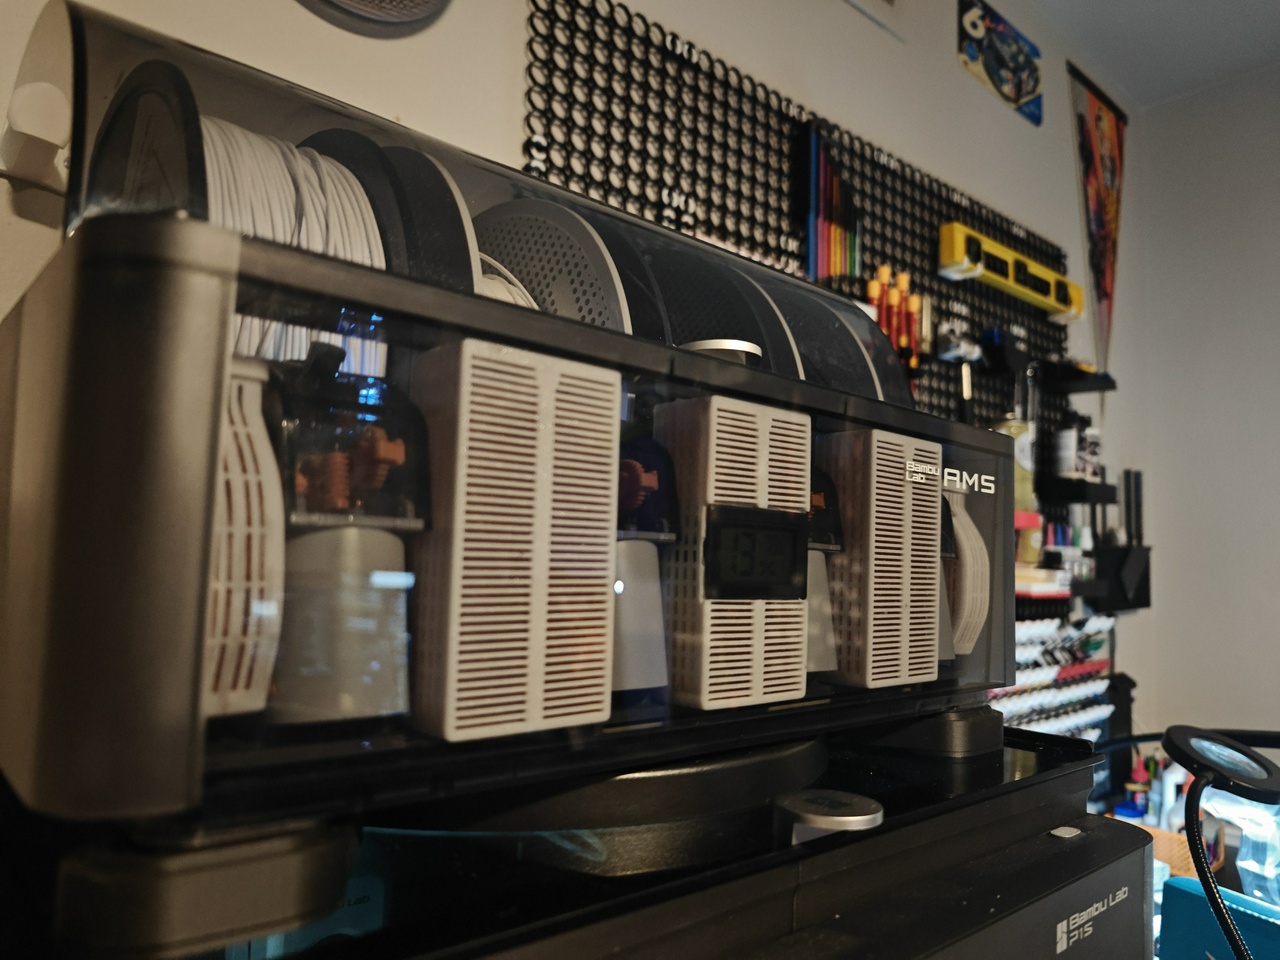
I still had plenty of reusable silica gel left, so I installed another recommended addition to the Hydra AMS, four of these spool holders that you can put silica gel in. I had plenty to spare.
So that was the big project I checked off recently. One woe I have had with the Hydra AMS is that the roller on the first feeder doesn’t do the best job of gripping the filament for whatever reason. It doesn’t seem far out of line with the other feeders. I noticed it worked better if I moved the rear filament roller to the front slot so the spool made better contact with the front roller, but the spool was just big enough to be held still by friction with the lid. I fiddled with it and *think* I fixed it, but I ordered some silicon tubing so I can try modding one or both of the filament rollers to help hit the spool better. The stock rollers are something I haven’t really been all that happy with in general.
From this title you were probably expecting me to talk about cable covers. Rest easy, weary reader. You finally made it to the Promised Land.
So I’ve been using openGrid and Hands On Katie’s Underware for my cable cover needs. For the most part it was getting the job done, but these things had been prone to popping off the grid.
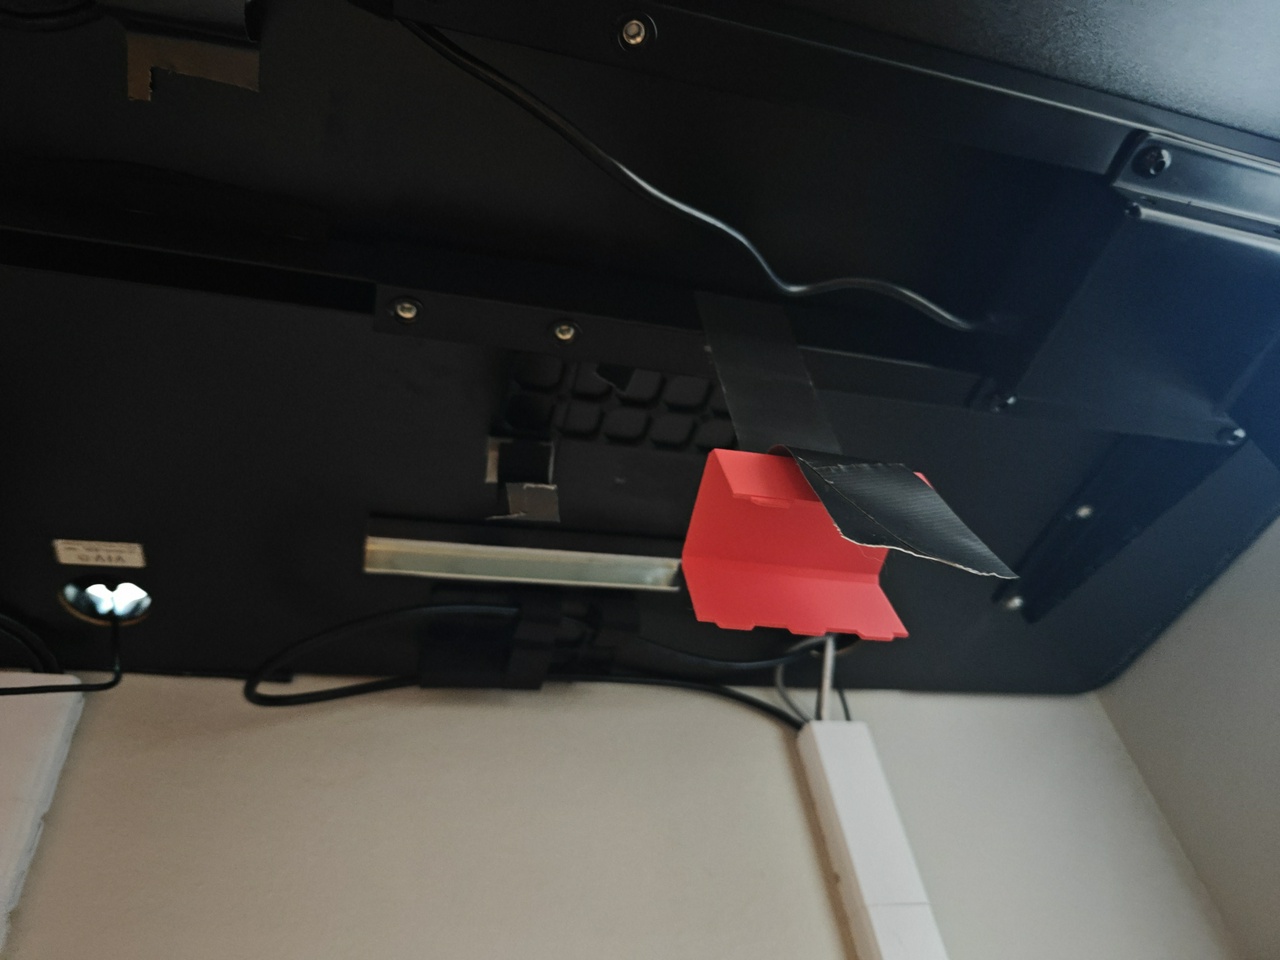
I had tried inelegant (and ineffective) temporary solutions with duct tape, but finally I decided to look into the problem deeper. Turns out there’s some grip snaps within the Underware project page for this very issue. That thing I was saying about reading the instructions? That’s twice now I got to live that lesson.
I printed a few of them out and I swear it’s like magic. They don’t even feel that secure on their own, but once the cable covers are on they’re totally solid. It’s like that old Mitch Hedberg bit.
My belt holds my pants up, but the belt loops hold my belt up. I don't really know what's happening down there. Who is the real hero?
I was a little hesitant to stick with the Underware setup for when I eventually redo the cable management on my computer desk, but now that I know about these things, I have no concerns at all about that. It’s going to work out beautifully.
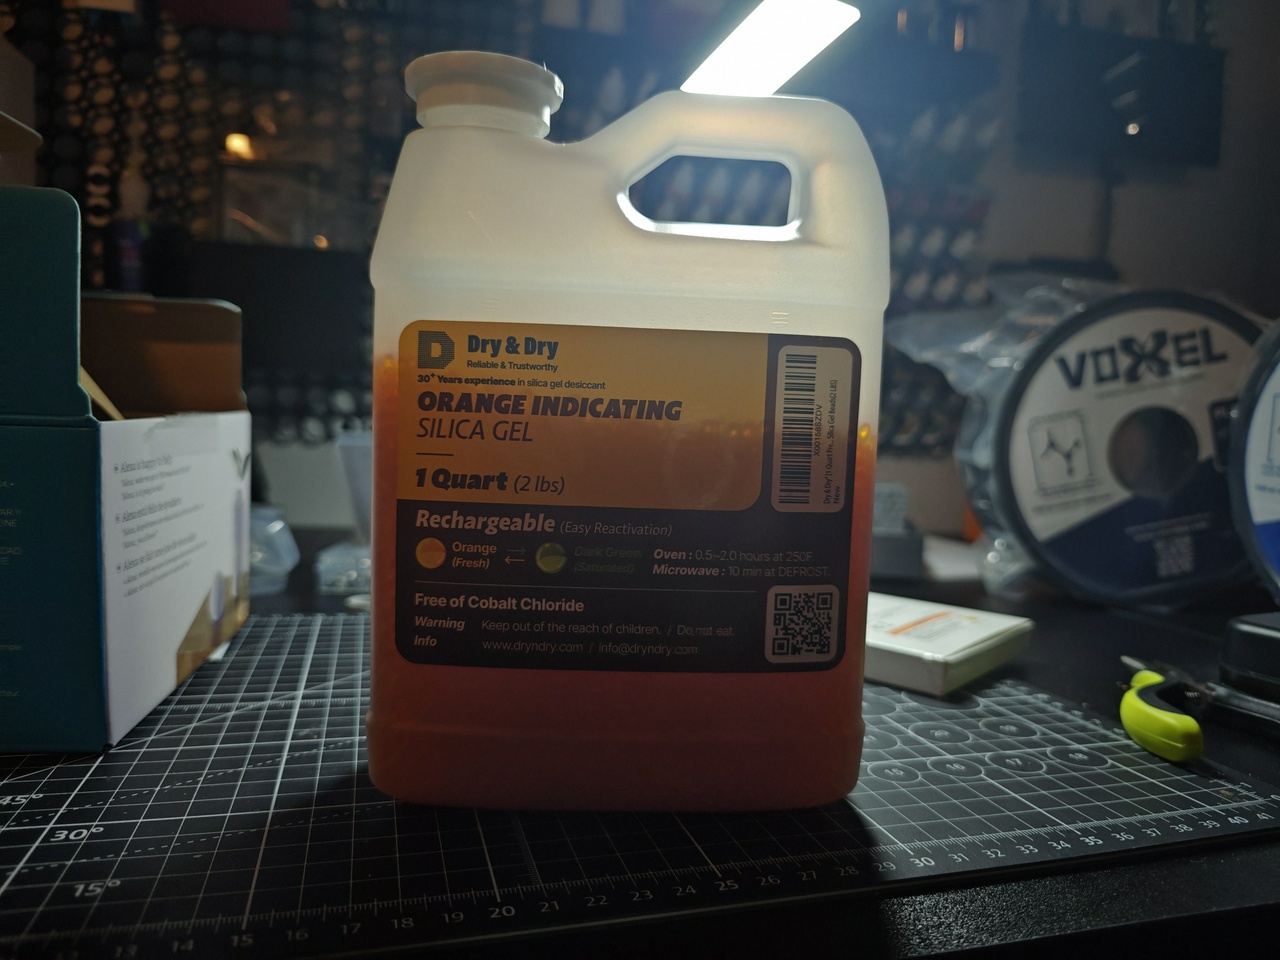
The next project I have planned is some new Multiboard drawers to fill that bare spare on the wall between the actually-being-used Multiboard tiles and the printer. They’re mainly going to be for screws, but depending on how well I’m able to maximize the space I might also dedicate some of them to cable storage. You may have noticed the VoxelPLA rolls in one of the pictures earlier… now you know what they’re for.