Boring Tools Till – Another Day, Another Drawer
Dec 29, 2021
Another question I received was someone asking Why do you need so many drawers for your bits? Well, I have the following types of bits (and use them all for different tasks):
- spoon
- spade
- hardwood auger
- softwood auger (the lead screw is different for hardwood and softwood)
- brad-point ship-augers (longer)
- Forstner
- plug-cutters
- gimlets
- cheap twist-bits for drilling metal
And that's not even counting the reamers, spoke-pointers, hollow augers, hole saws, or expansive bits. I have a lot of boring tools. ;–)
First a photo of how the till looked at this point.

That's yesterday's drawer-box in the lower right corner. I took it to the belt-sander to bring the dovetails down to level. I had cut them so the pins and tails protruded just a little, and it's a lot easier to fix that on the belt-sander than with a plane. Normally I cut dovetails so the flat surfaces are slightly proud of the end-grain, which is easier to plane flat. Maybe tomorrow's blog will cover that…
Todays update will fill in some blanks in yesterday's drawer construction. If I were a better person I'd go back and edit them into that blog.
As there are some variations in the carcasse, I'm measuring each drawer individually. No idea how many inches each is, but they should fit pretty good…


So that's how I measure them. I also noticed that yesterday's drawer has the dovetails the wrong way around for greatest strength, so I switched things up today and cut the tails on the sides (which are the shorter boards).
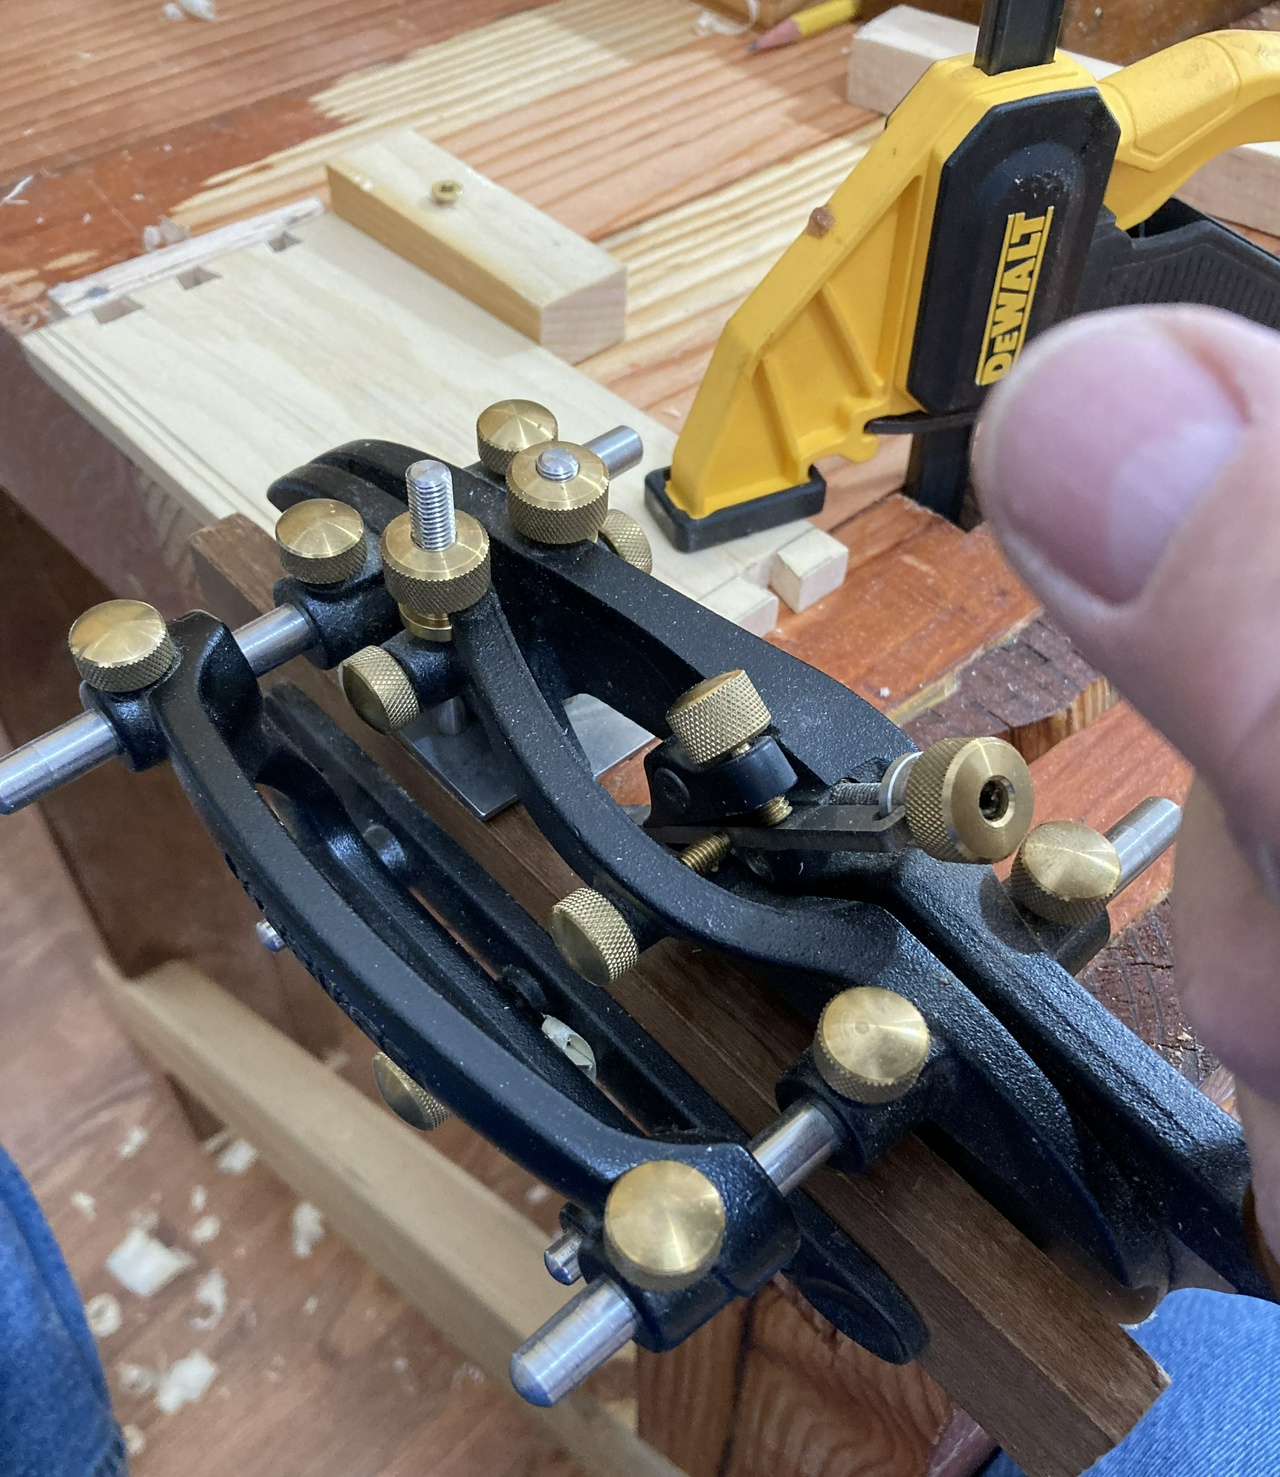
And here's a picture of using the combination plane to make the grooves. I clamp the board to my new small bench (because there's room) with the edge just over the edge of the bench so the combination plane can index off the edge of the board.

And here's a completed board (either the left or the right of the drawer, don't remember which)

To mark the size of the bottom, I set the (test-fit) drawer on the piece of ¼ inch plywood, with the outside of two edges on two edges of the plywood.

Then I mark along the inside of the box for the other two sides of the drawer-bottom.

Since I set the depth-stop of the combination plane to about half the thickness of the boards, this will work out to be about right.
And sure enough, it fits pretty well. The bottom was maybe tighter than ideal, but it's close enough that I won't worry about it unless I move the till to somewhere more humid. On future drawers, I'll plane a hair off the edges of the bottom to leave a little more slack.

It took about 90 minutes from cutting the first board to length to shutting off the lights with the next drawer-box in the clamps.
Contents #woodworking #storage #drawer #build
Discuss...
Reply to this in the fediverse: @davepolaschek@writing.exchange