Boring Tools Till – Dovetails and Sliding Dovetails
May 5, 2020
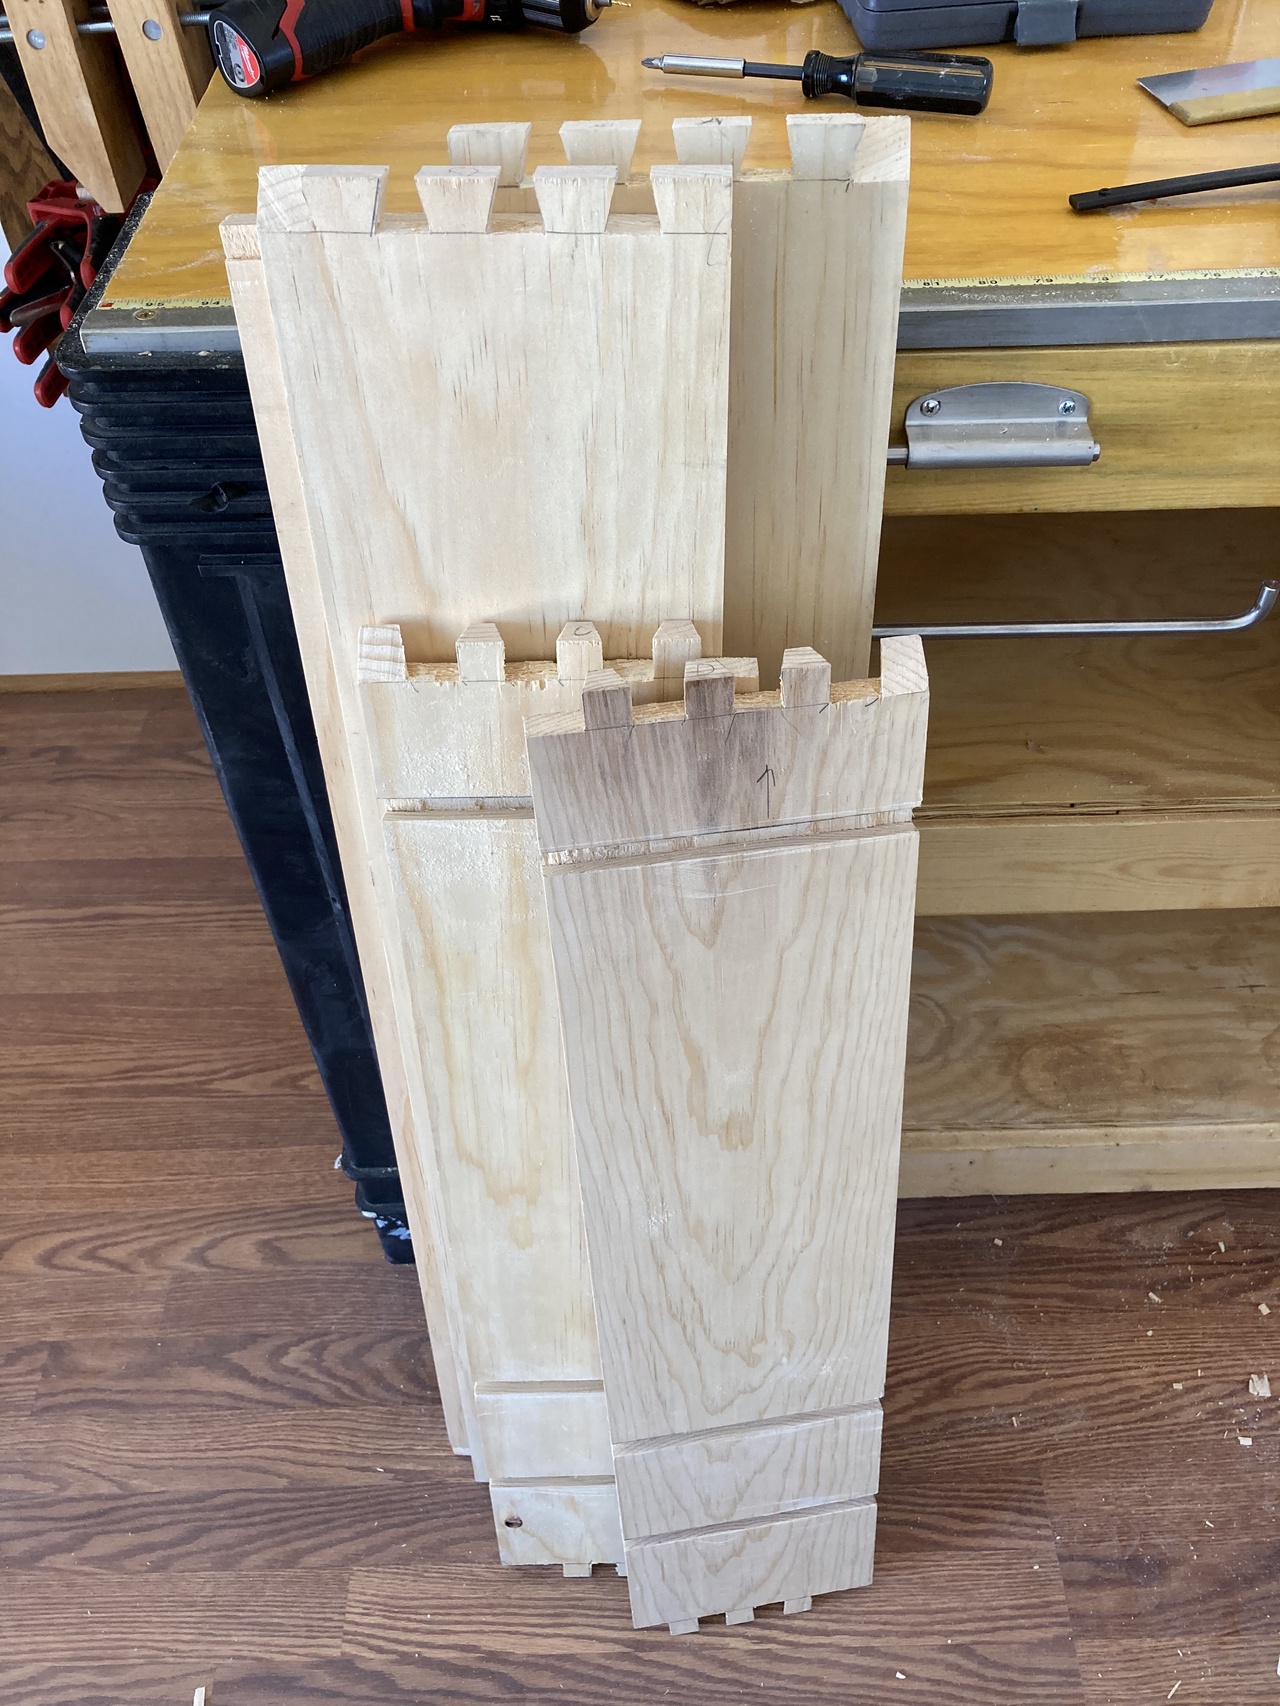
Today was dovetail day, and I'm still not done, but I made a lot of progress.
As I'm doing mitered shoulder dovetails on the carcass (to practice them for the bookcases I'm building next), I took my time laying them out and cutting them. Spent all morning just cutting the tails.
After lunch, I headed out to the shop to cut the pins. That went pretty well, so I got started on the sliding dovetails for the shelves as well. They're not super hard, but I took pictures along the way, so I'd be better able to remember what I did and any improvements I found along the way.
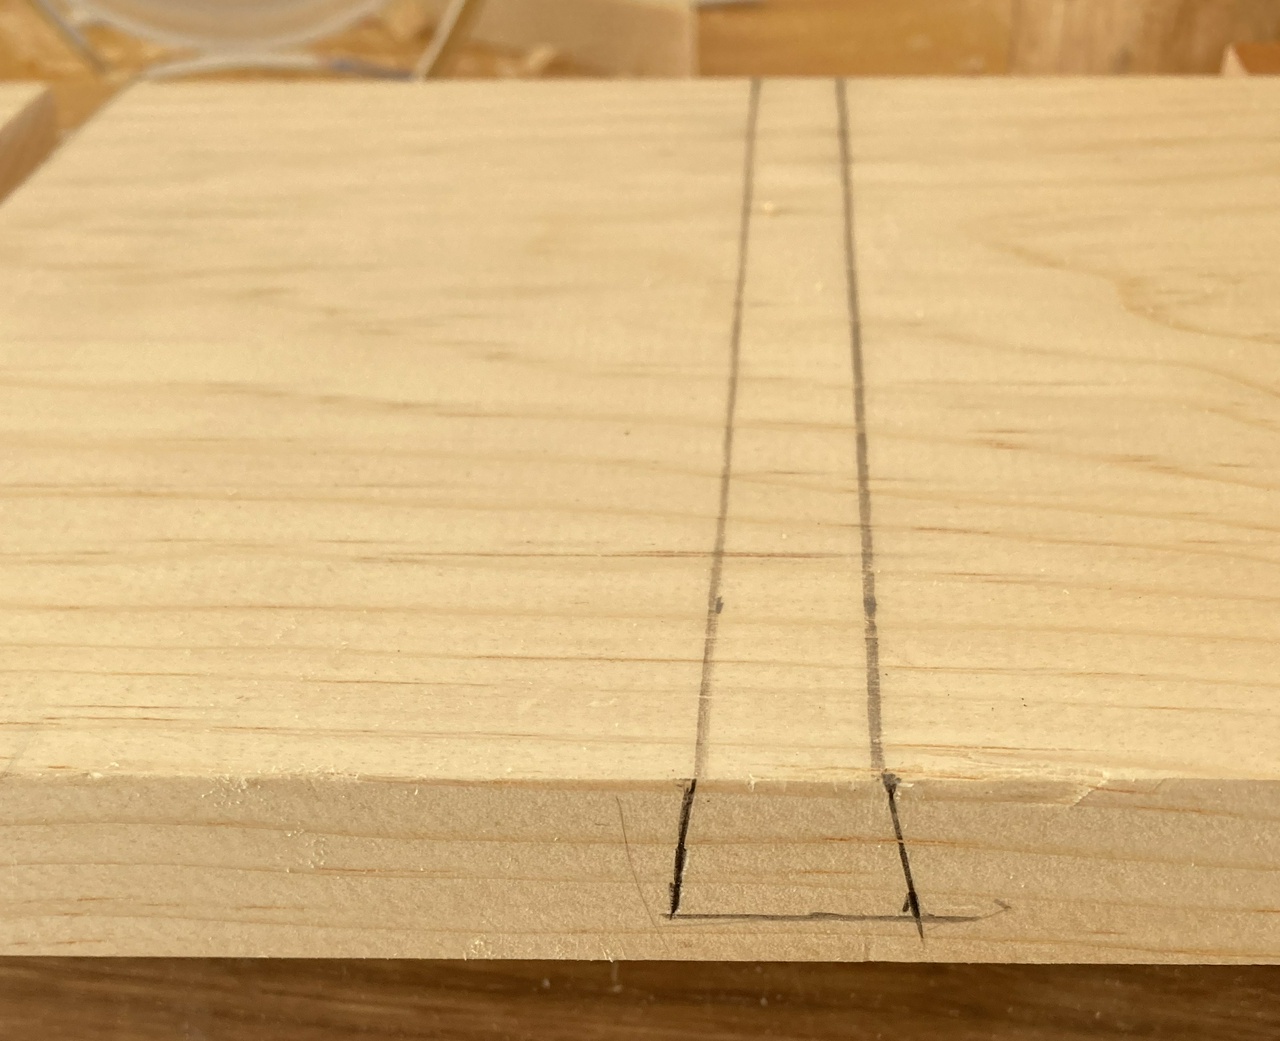
First step is to layout your lines. Make sure the width is the width of the narrow part of the dovetail (cut in part 1 of this blog).

Then saw the two angled lines. As with normal dovetails, start on one end, then angle to the other end. I started on the near side, since it was easier for me to see.

After cutting the two angled lines, cut a straight line between them. This will make is easier to chisel out the waste. Note that the depth of this line you're sawing is your depth-gauge, so try to cut it to the line, but no further.

Then chisel our the waste. I did half from the front, turned the board around and did another half (to ¾ of the final depth) from the far side, and about an inch to full depth, then turned the board around again, and finished up from the front.


And that's where I finished the day. I still need to saw out the ten sliding dovetail sockets for the vertical pieces between the two shelves, and also the slots to hang the braces in. And I need to cut rabbets in the rear of the sides and top for the back, so there will be a couple more entries before I'm finished with the carcass.

Thanks for following along!
Contents #woodworking #storage #slidingDovetails #joinery
Discuss...
Reply to this in the fediverse: @davepolaschek@writing.exchange