Boring Tools Till – Starting on Drawers
Dec 28, 2021
Nineteen months ago I said I needed to get started on the drawers for my brace till soon.
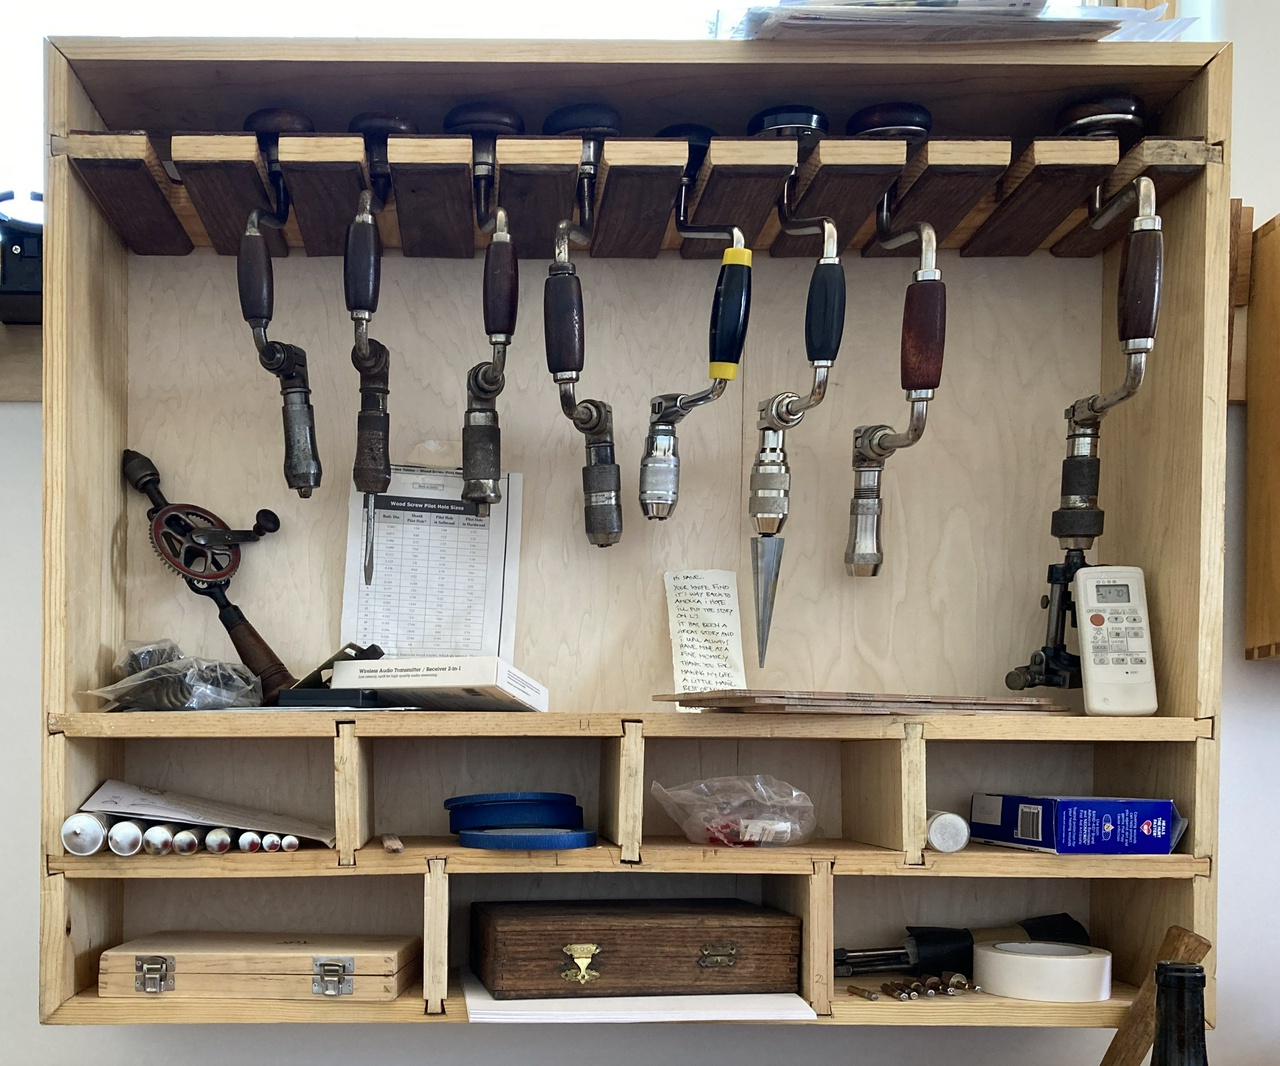
I guess it was finally soon!
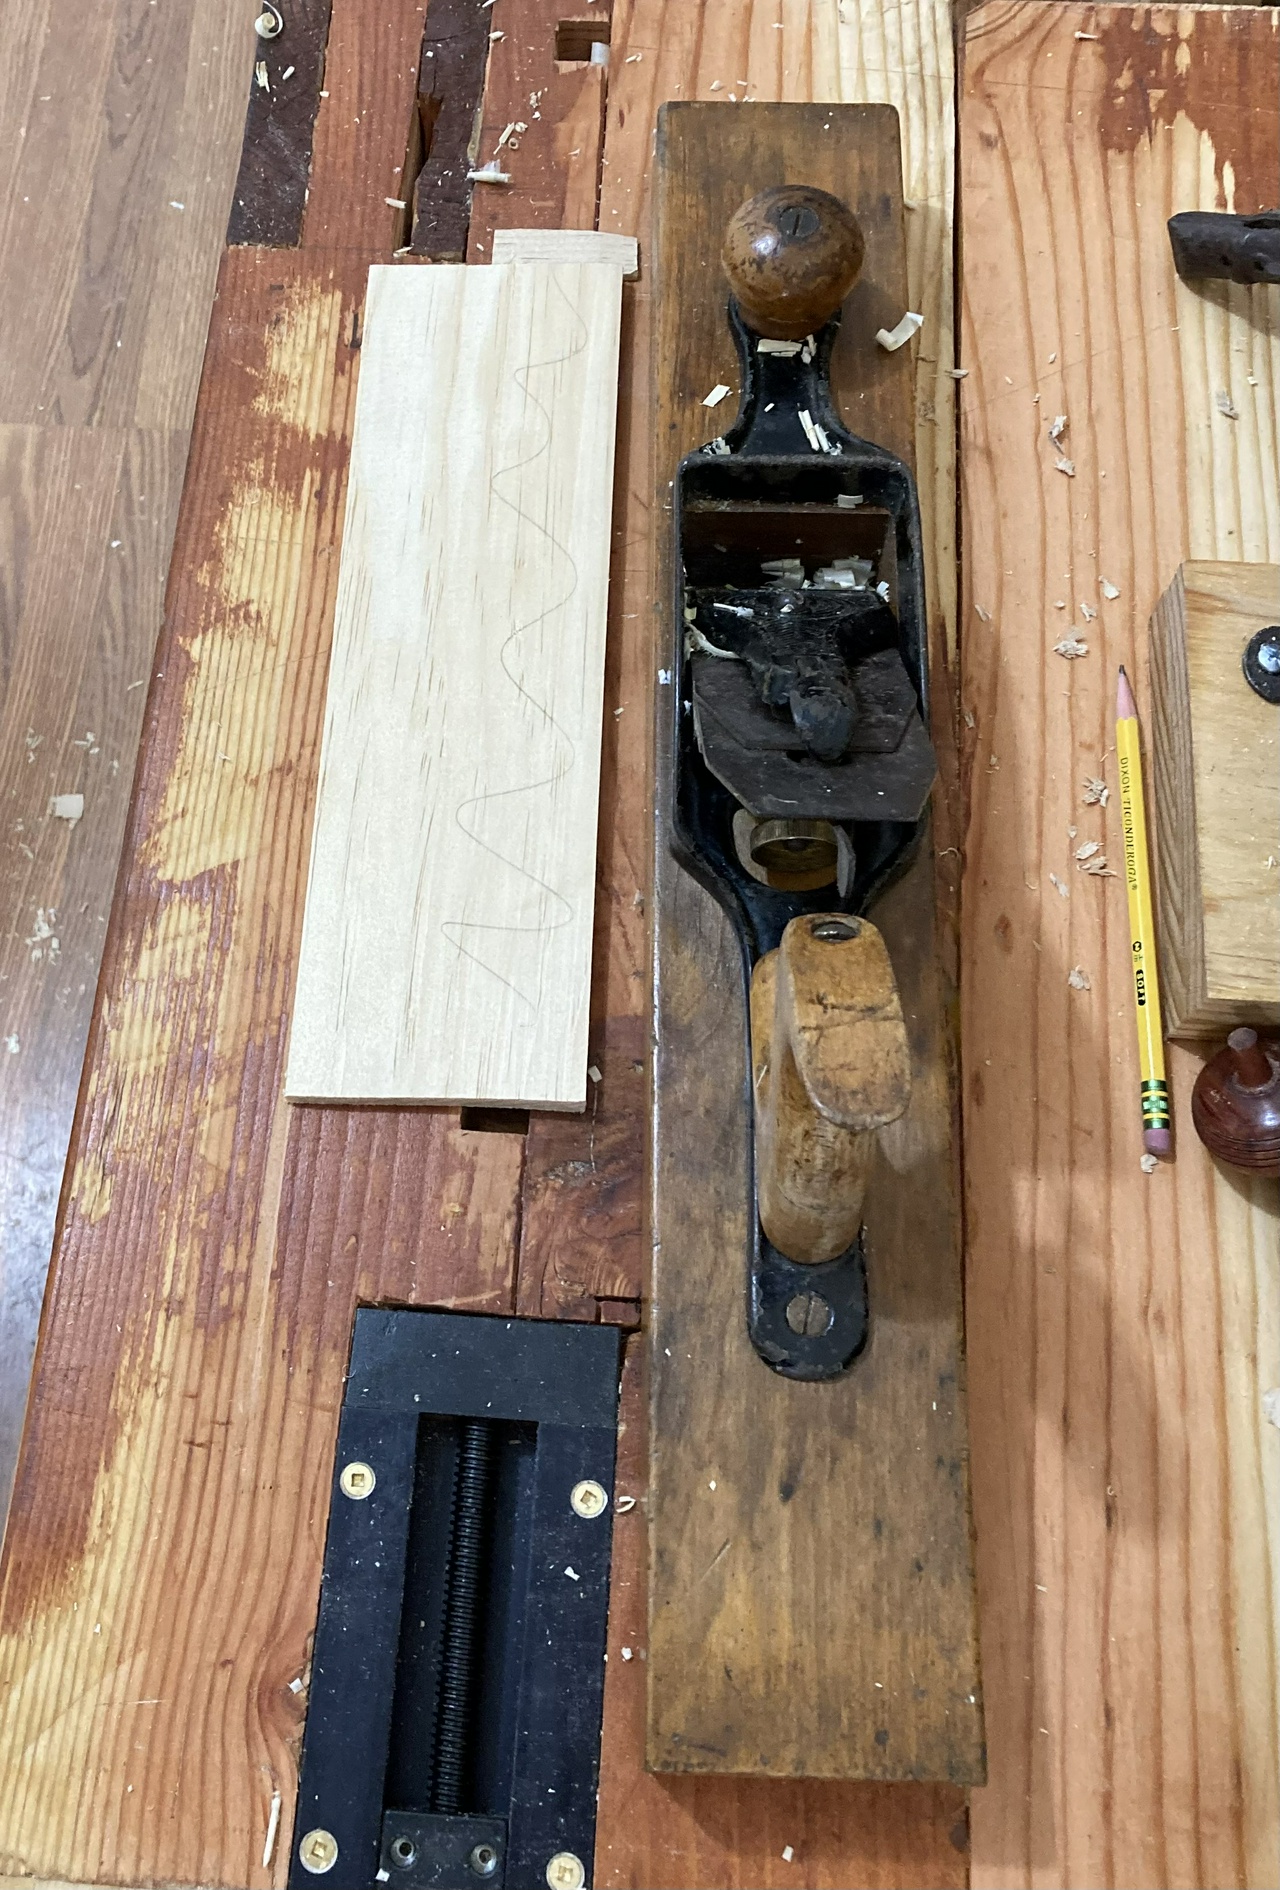
I had resawed a bunch of pine down to about ¼ inch. First up was cutting it to size and flattening it. When I'm flattening a board, I will often mark the high bits or areas that need work with a pencil, then plane away the pencil marks, and re-check the board.
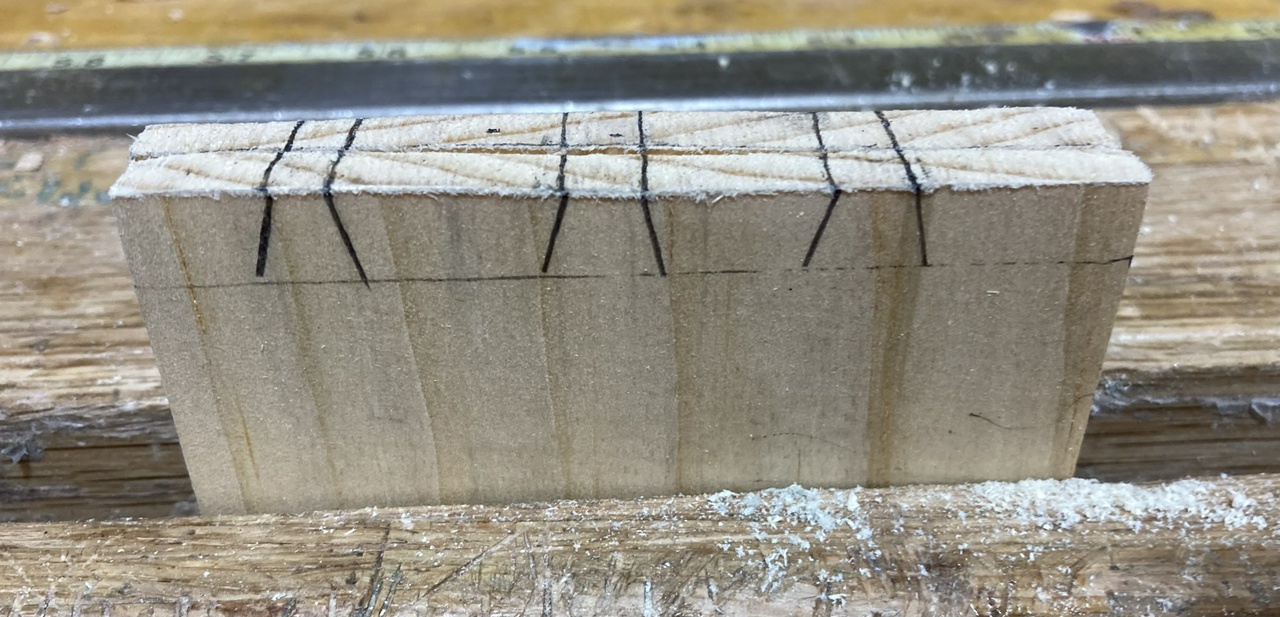
Then I laid out the tails on a pair of boards. I do tails-first because I can gang-saw two boards worth of tails at once. When working in thin boards like this, that helps give me more area as a flat reference surface, plus cuts the sawing in half for the tails.
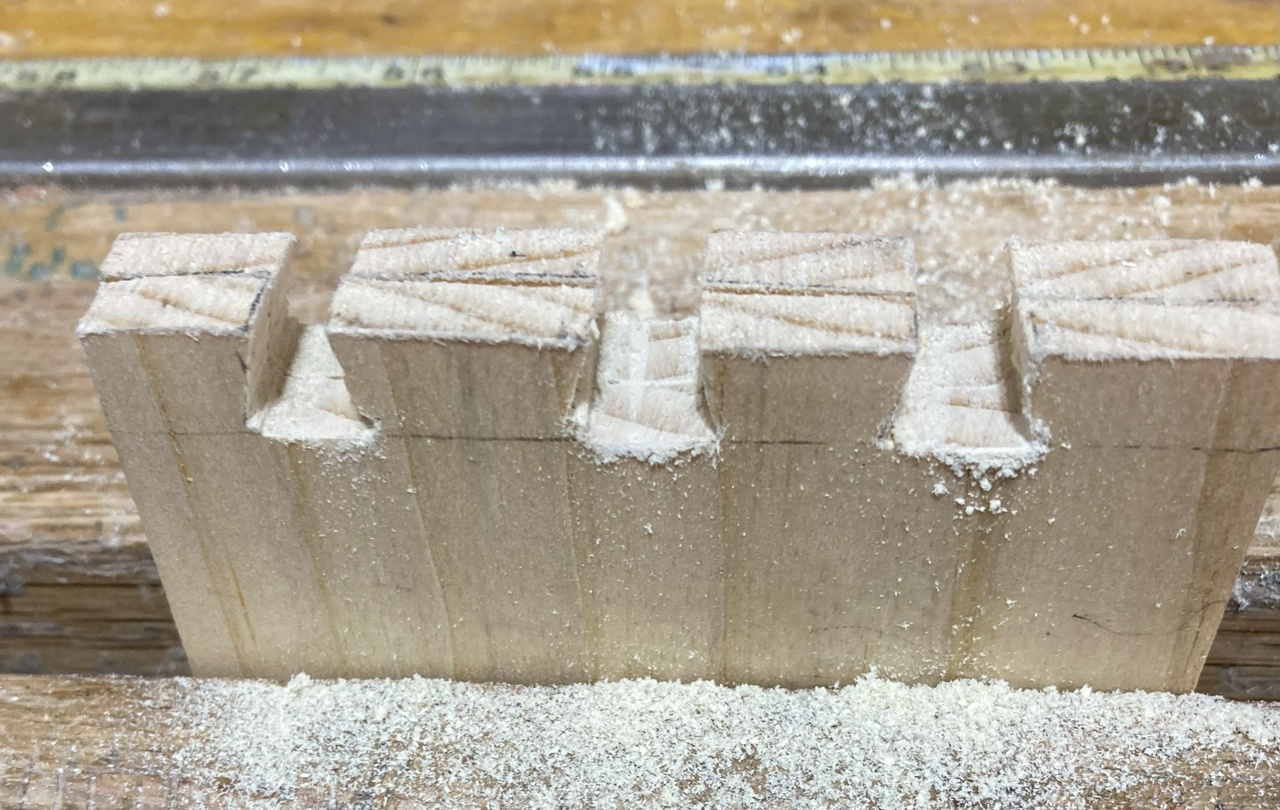
Cut the tails, sawing out the waste with a small bow-saw, then flattening the bottom of the tails with a rasp or float.
Laid out the pins on a single board. Note that I mark each of the tail boards first, then once the pin board fits, I mark the matching pin board. This has saved me from getting a joint backwards or mismatching the joints. If I were more uniform in sawing my dovetails, it might not matter as much, but there is enough variation where the boards will usually only fit one way.
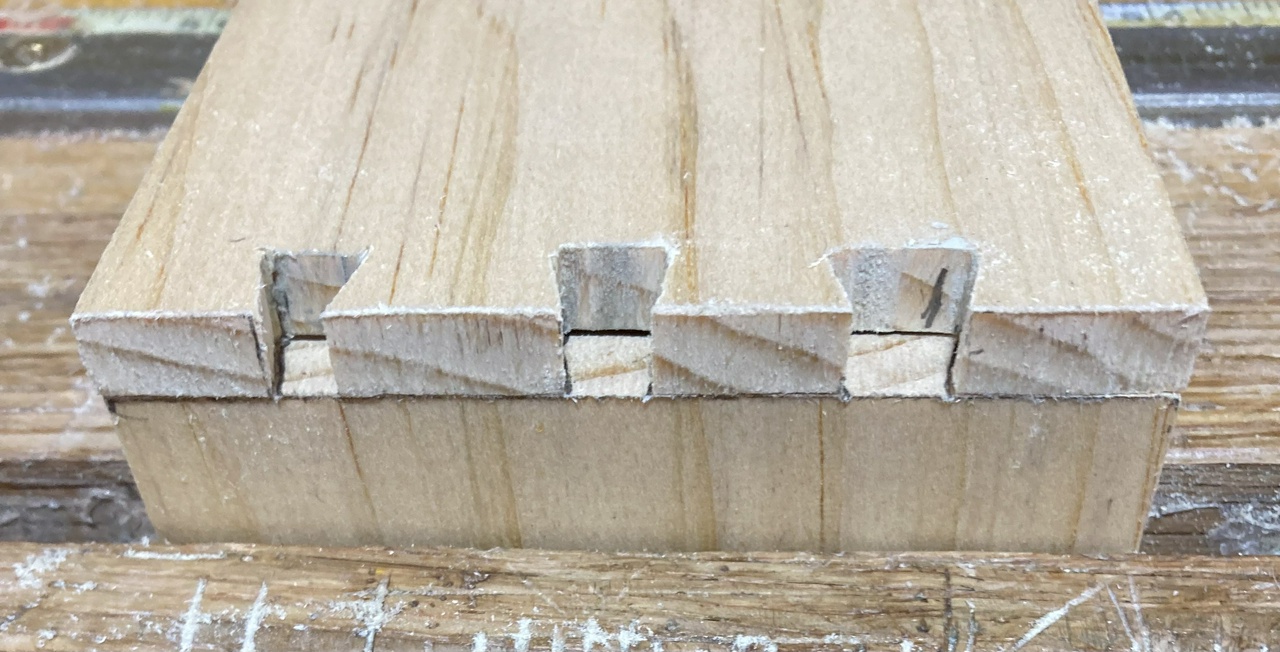
I also transfer the thickness of each end of the tail board to the proper end of the pin board that will fit with it. Since the boards are hand-resawn and hand-planed, they are seldom all the same thickness, and sometimes even vary in thickness from one end to the other.
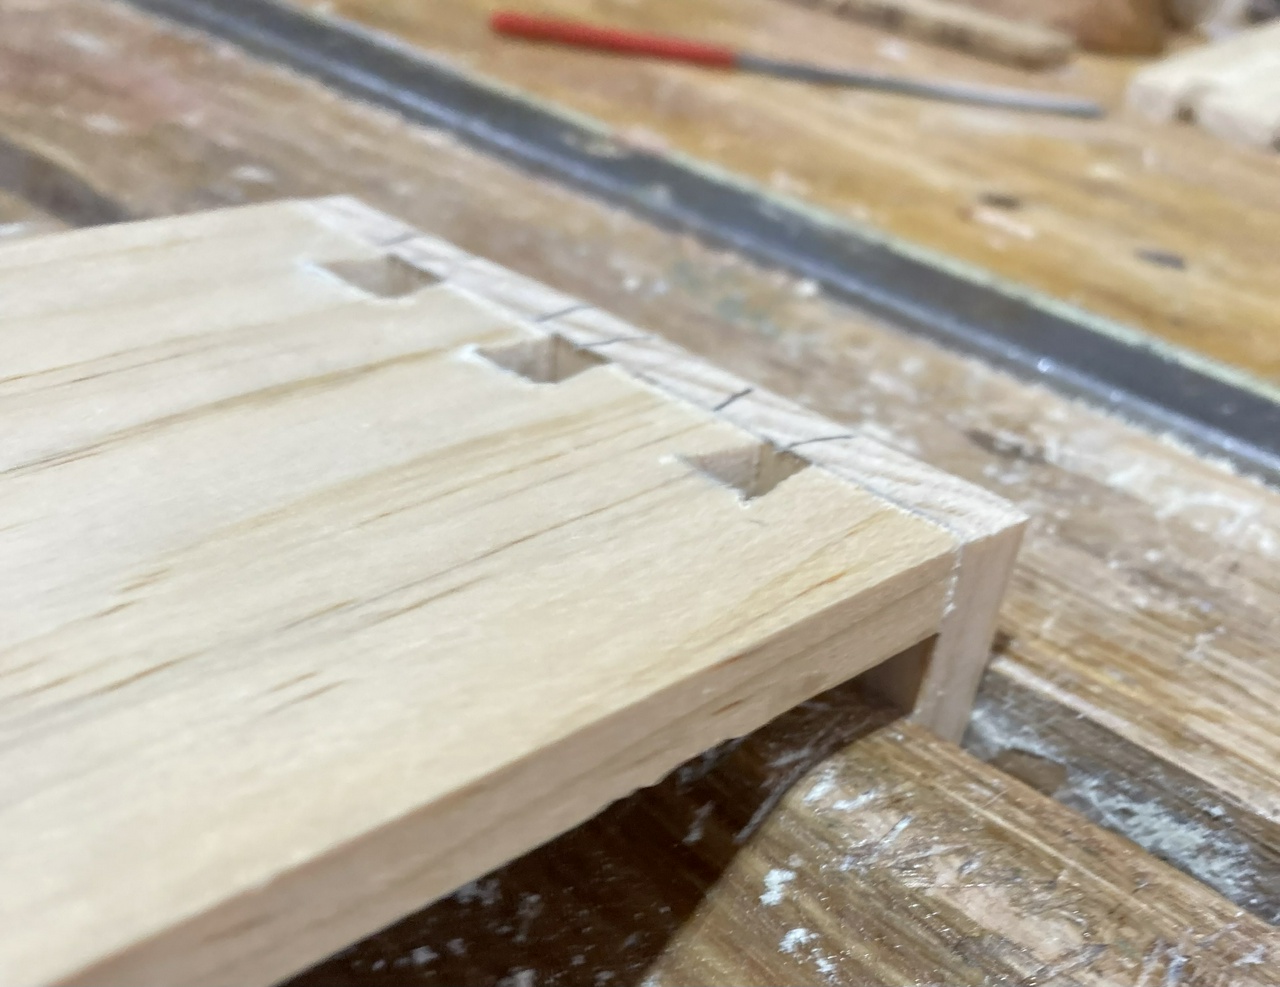
Cut the pins. And remember to mark the waste before cutting out the wrong bits.
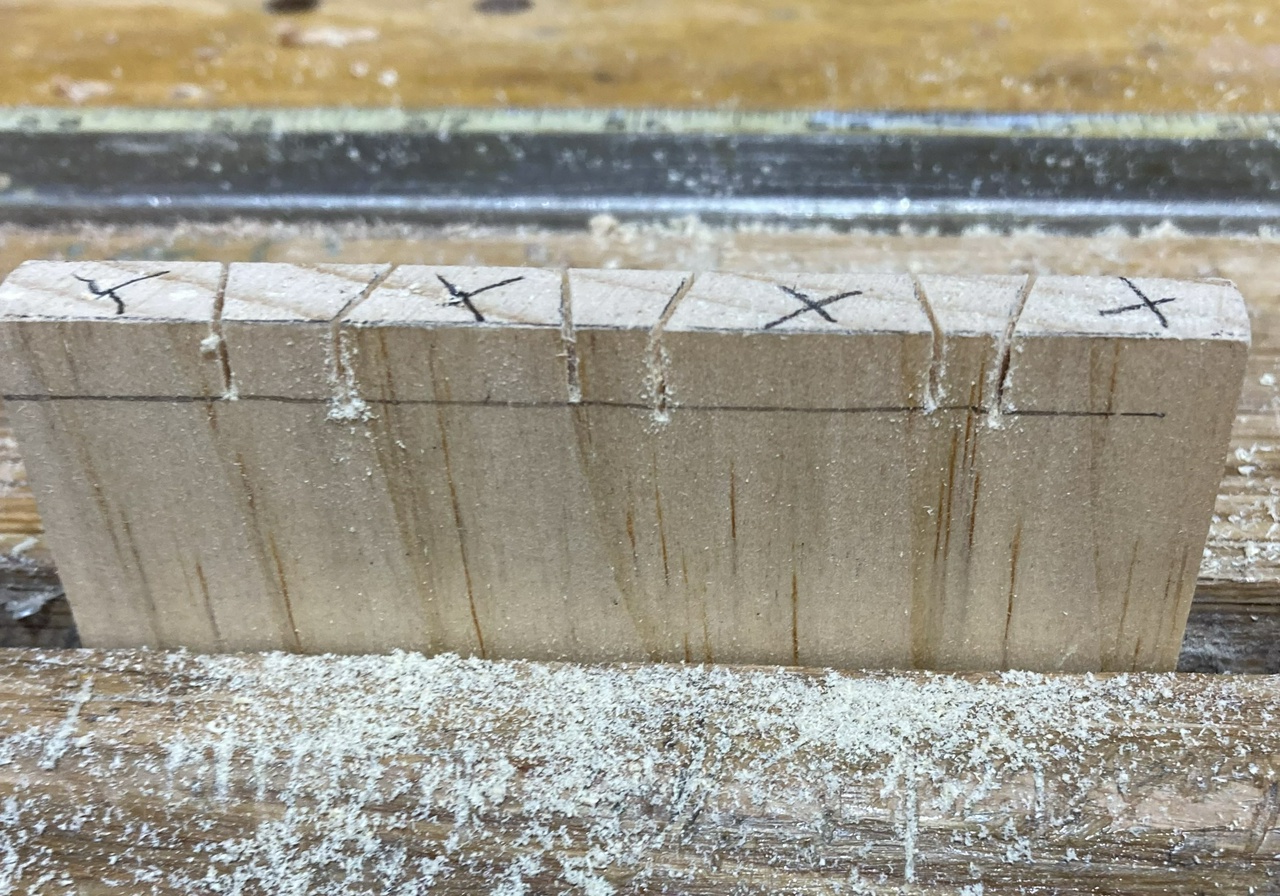
Then remove the waste with a bow saw.
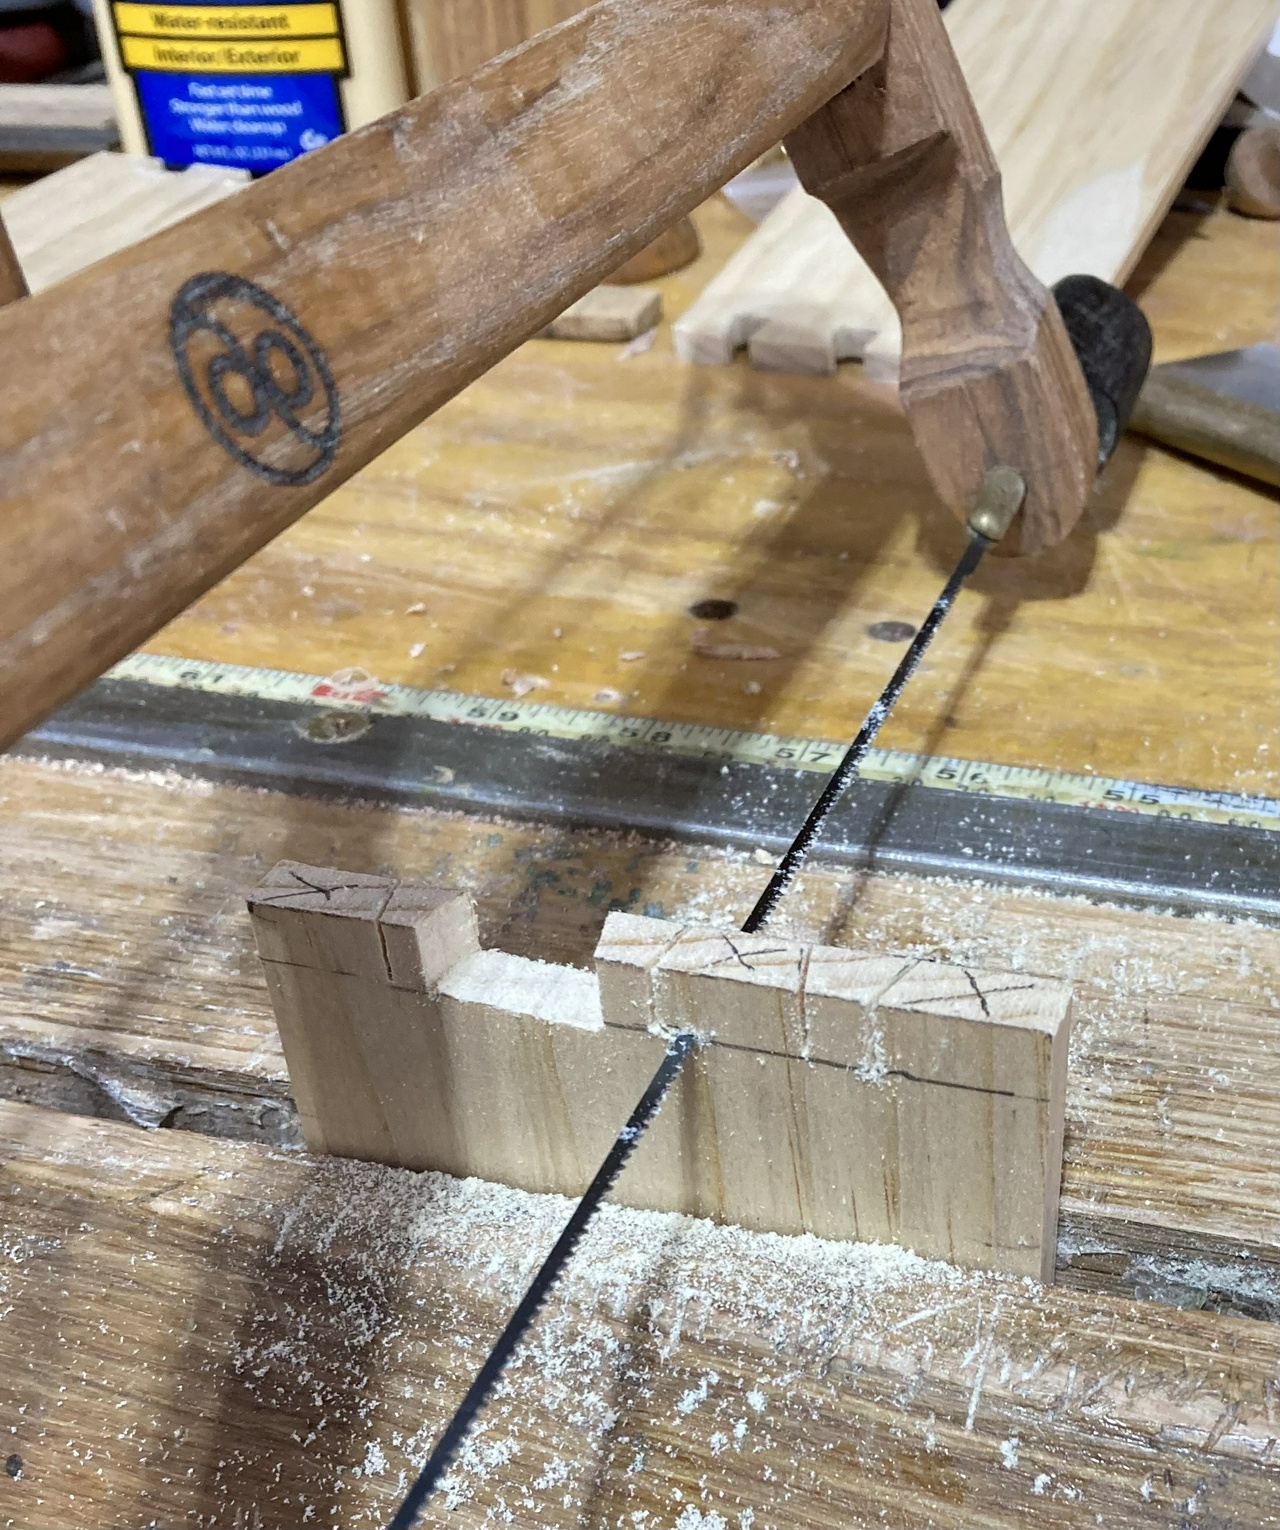
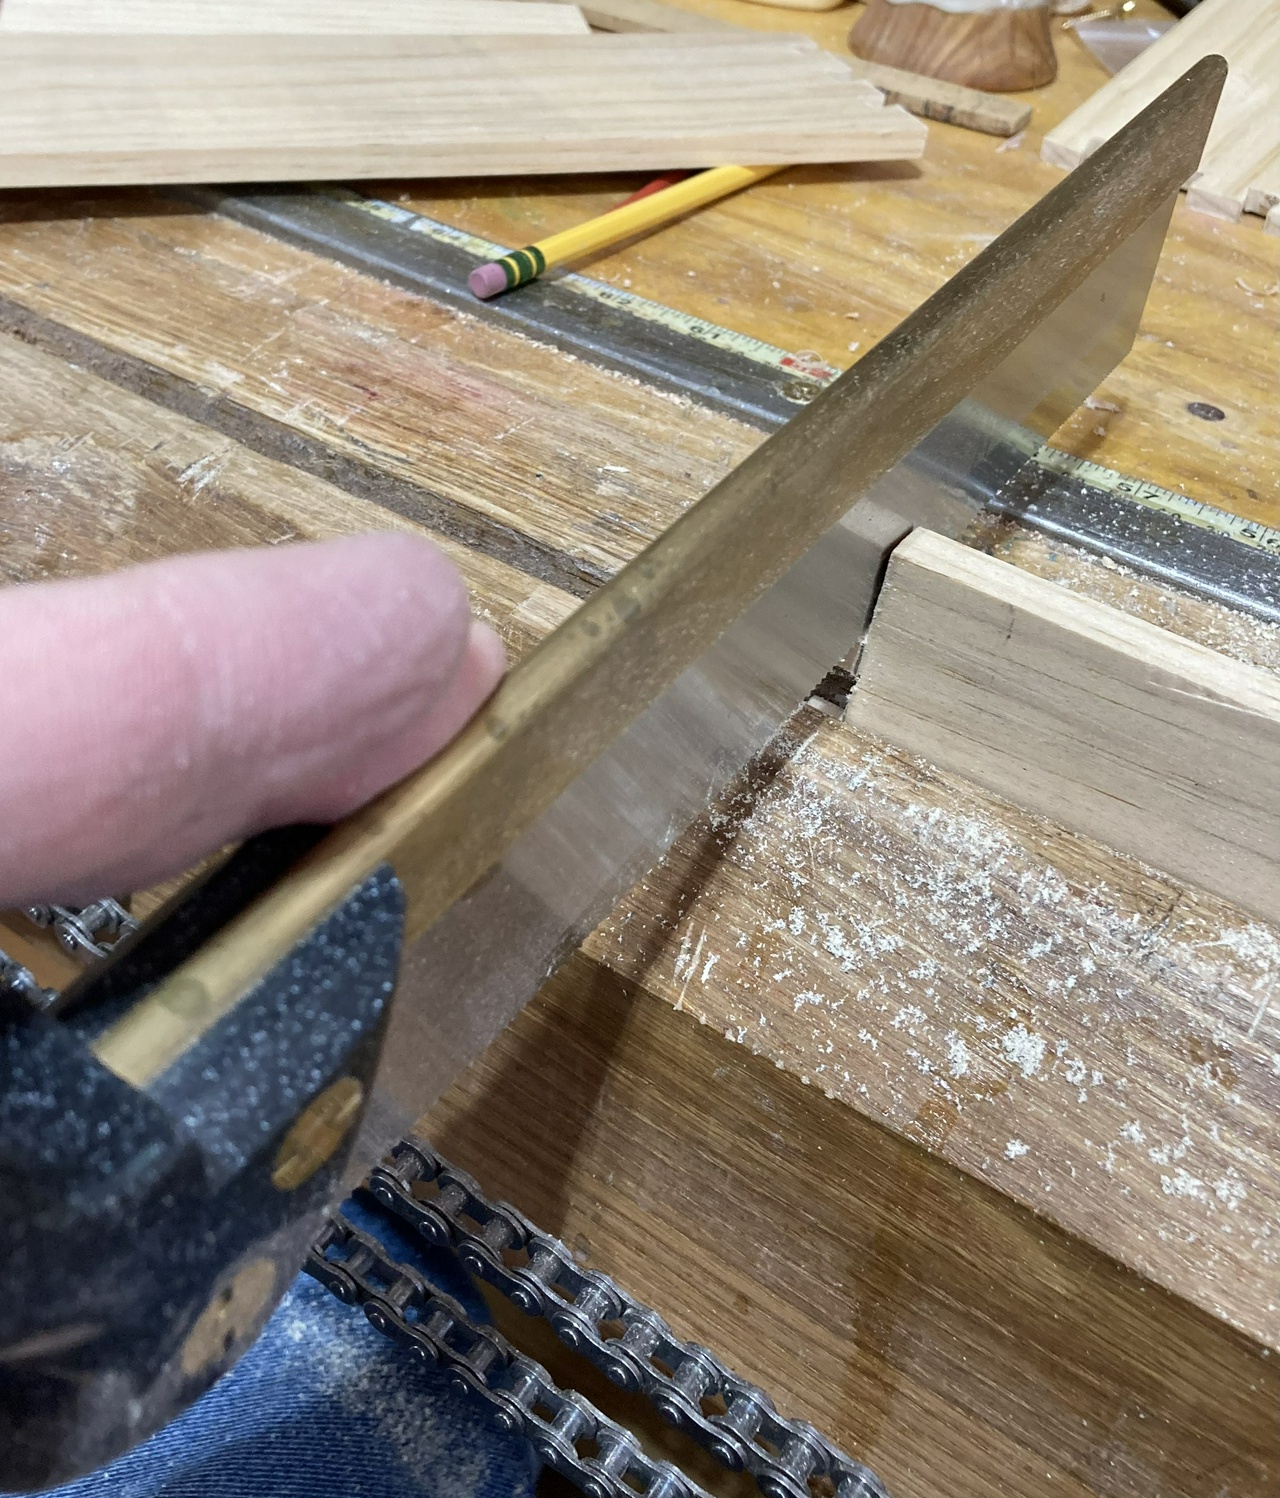
And remove the waste from the ends using a backsaw, which makes it easier to get a flat cut.
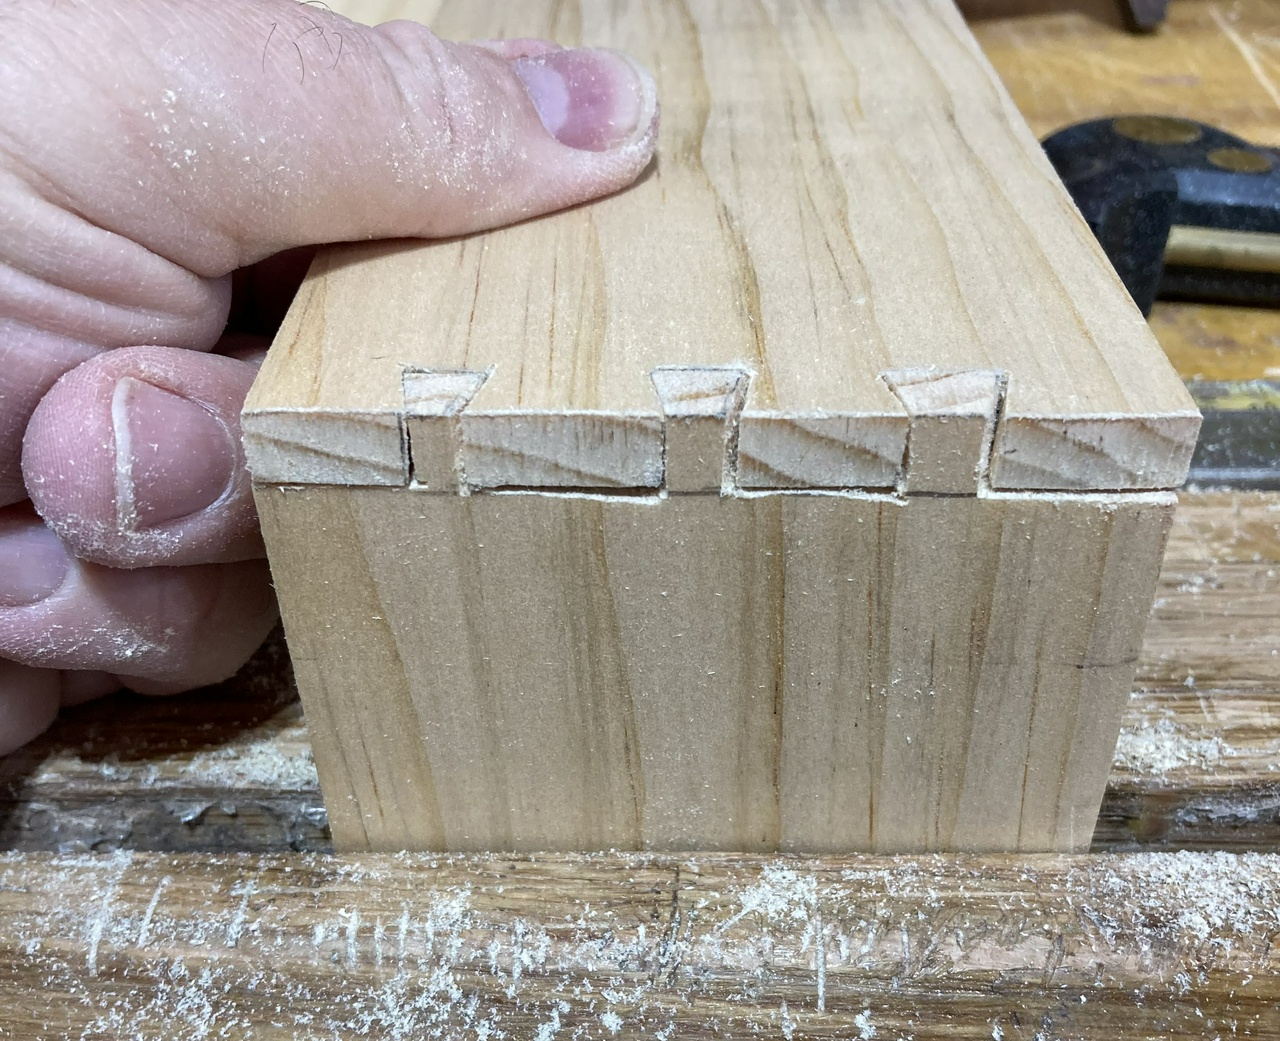
And then test-fit the corner.
Then I marked where the grooves for the bottom will go before I got something worng. Having the grooves on the bottom of the drawer on one side, and on the top on the other doesn't make for a terribly useful drawer.
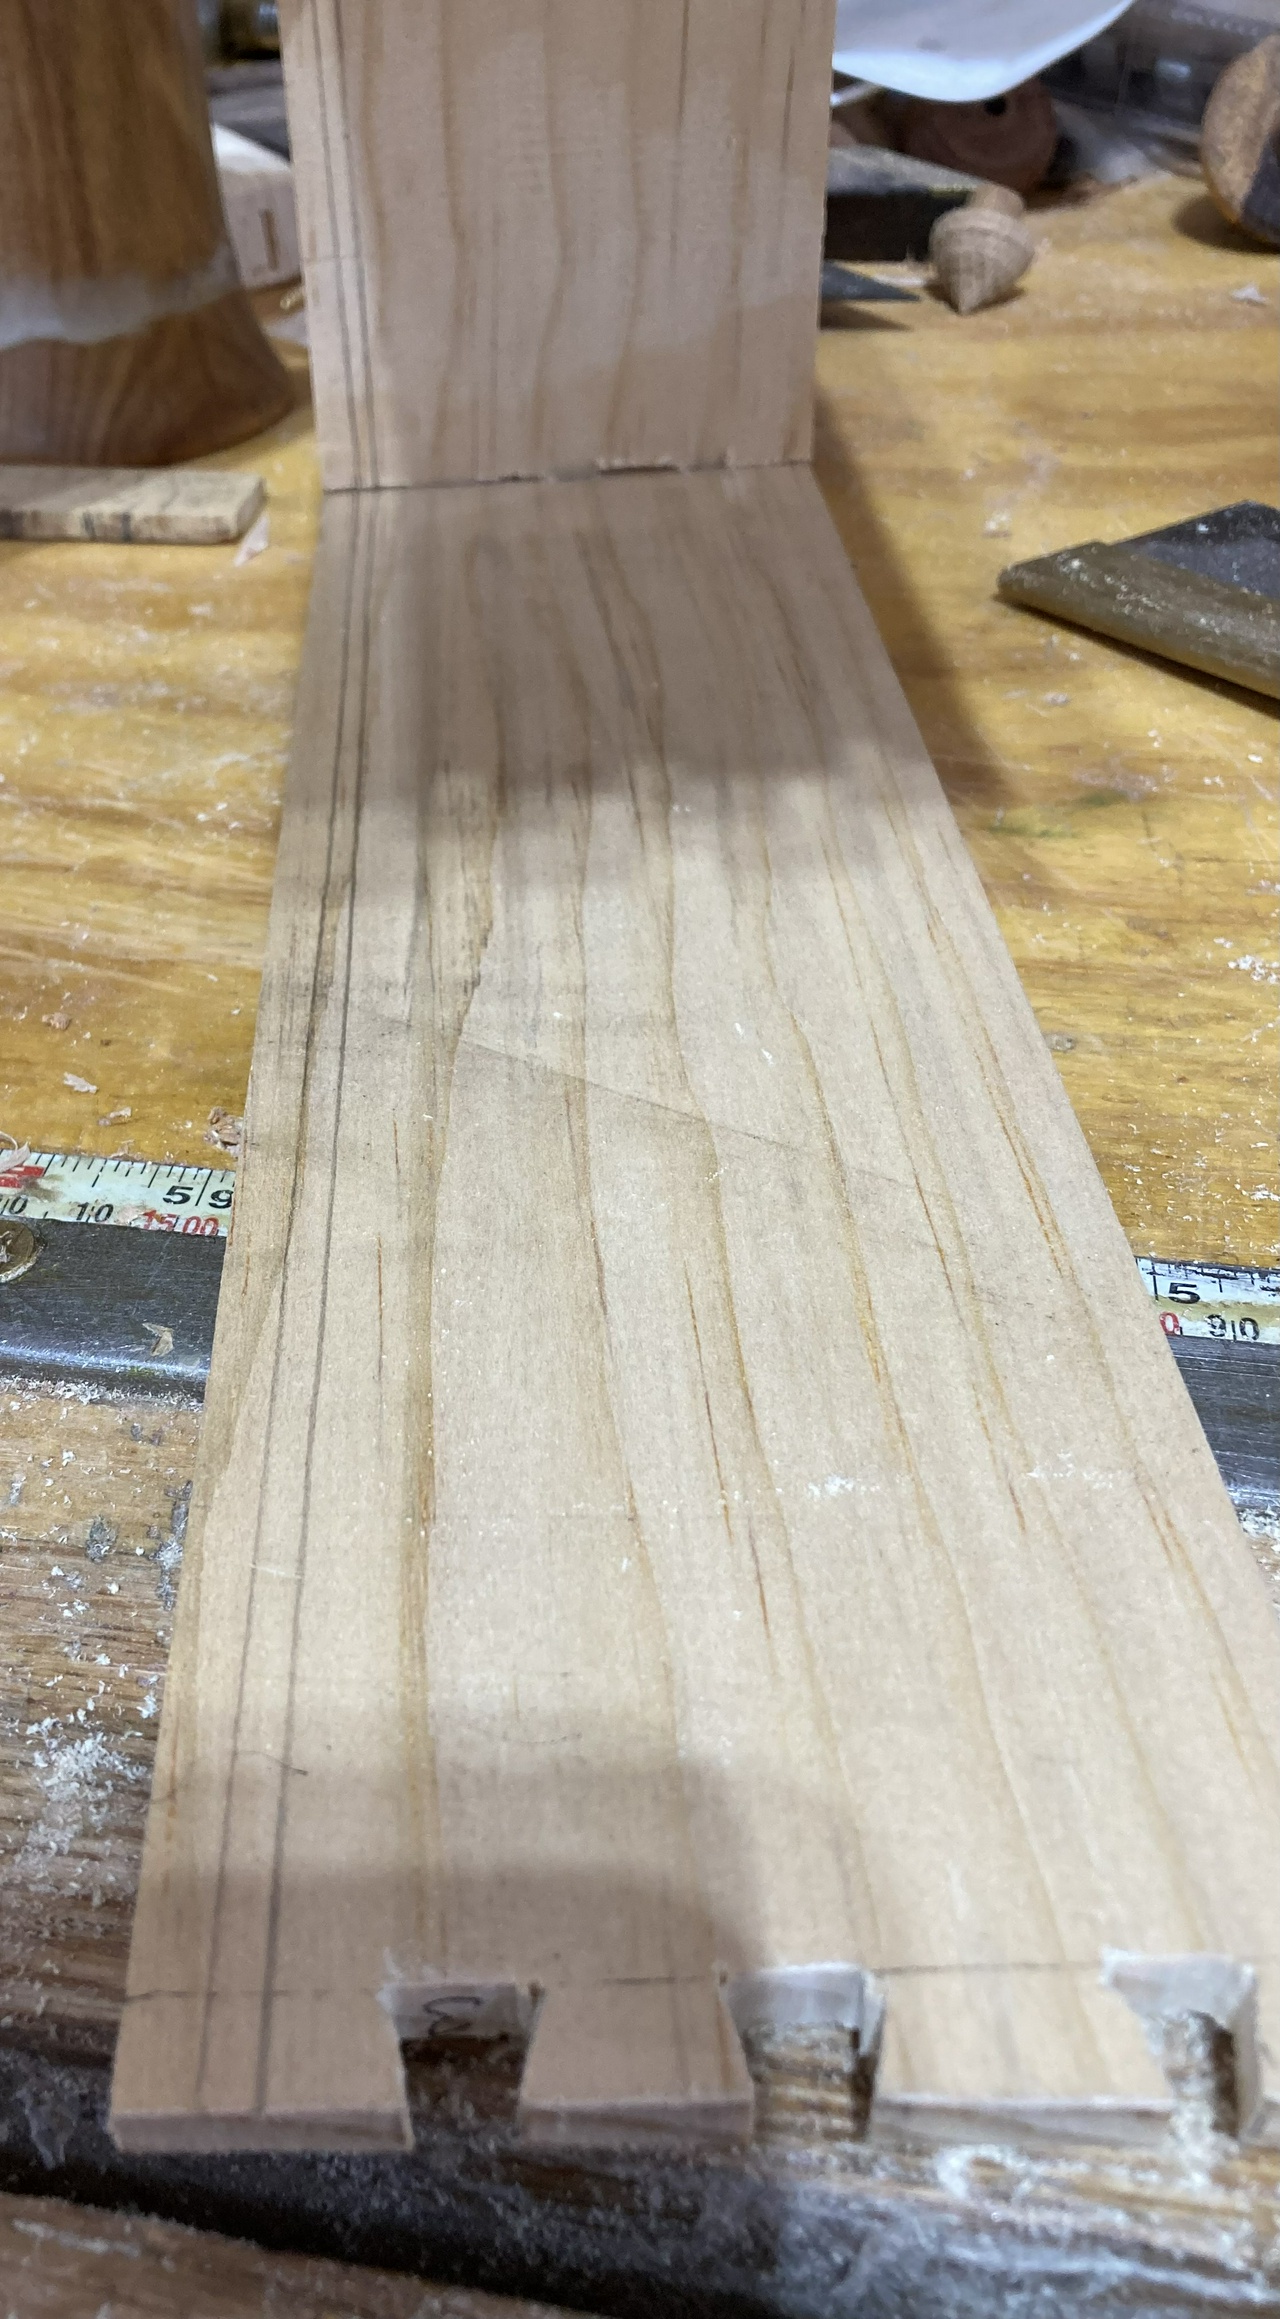
And got a little groovy.
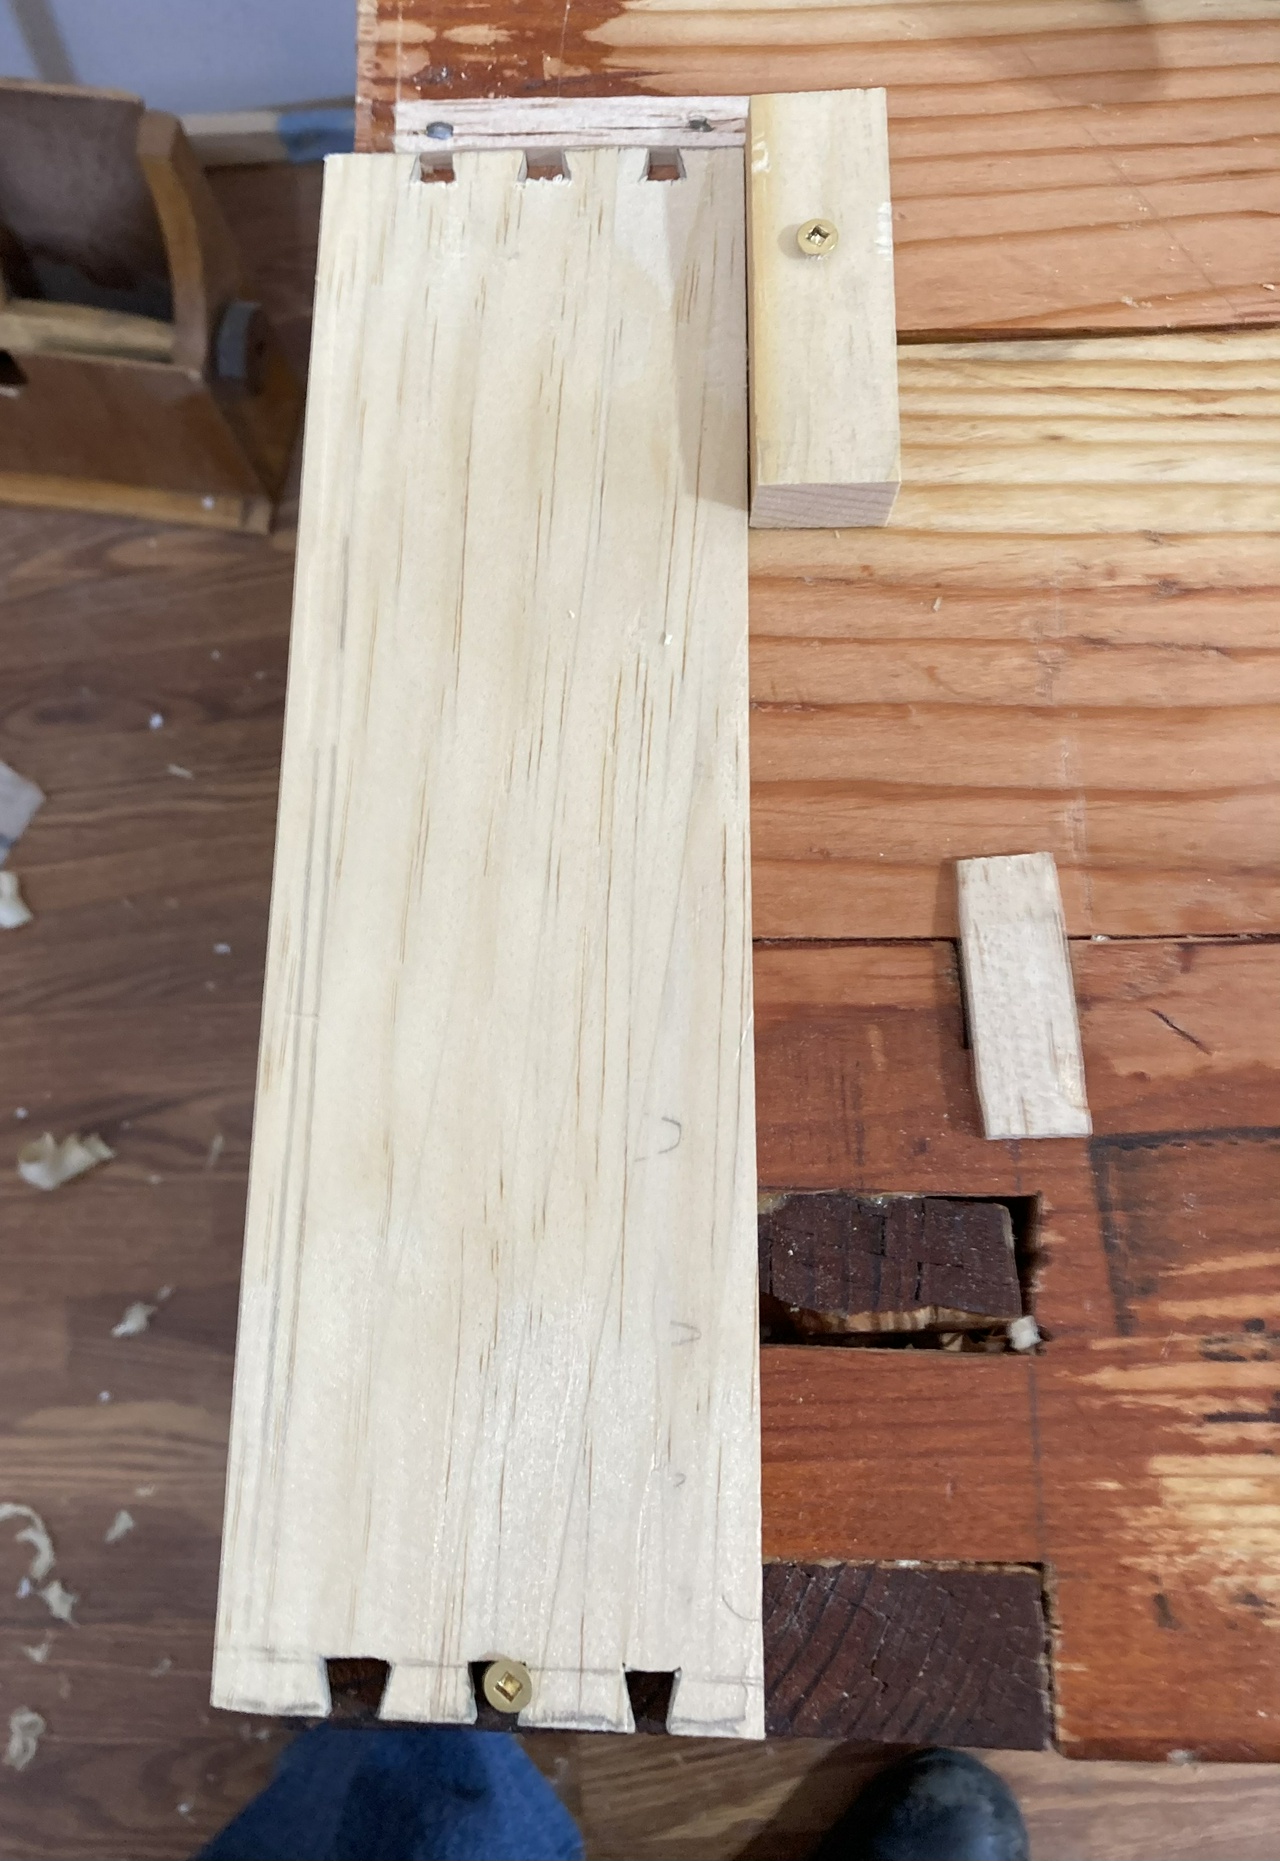
After cutting out a piece of ¼ inch plywood to fit in the bottom of the box, I test fit everything, and glued together the first box. This one will fit in the lower right drawer slot, and will contain my set of long brad-point auger bits (I think). The drawer fronts and handles go on after all seven boxes are done. I'll also put in runners on the sides of the cubbies to hold the drawers level. But next up, is building six more drawers and then fitting out something to hold the bits in place in each of them.
I'll try to remember to show the setup for the combination plane and how I mark the size of the drawer bottom when I'm doing one of the next drawers. I think I may also need to put some slips under the bottom in some of the drawers, as I can only cut about a ⅛ inch deep groove for the bottom, which may not hold great if I've got heavy stuff in the drawer.
Stay tuned!
Contents #woodworking #storage #drawer #build
Discuss...
Reply to this in the fediverse: @davepolaschek@writing.exchange